Category: Oven baked

  • Unlock the Secret to Perfectly Juicy Oven Baked Chicken Breast

    Unlock the Secret to Perfectly Juicy Oven Baked Chicken Breast

    Chicken breast. It’s a staple in so many kitchens. Versatile, healthy, and a great source of protein. But let’s be honest, oven-baked chicken breast can sometimes end up dry and bland. Fear not! Today, we’re diving deep into the art of baking chicken breast to juicy, flavorful perfection. Forget dry, rubbery chicken – we’re about to unlock the secrets to consistently delicious results. Get ready to master easy and foolproof oven-baked chicken breast recipes that will become your go-to for quick weeknight dinners and meal prep success.

    The Ultimate Guide to Basic Oven Baked Chicken Breast: Juicy Every Time

    Let’s start with the foundation – the perfect basic oven-baked chicken breast. This recipe is all about technique and simple seasonings to let the natural flavor of the chicken shine, while ensuring it stays incredibly juicy.

    Ingredients for 2 servings:

    • 2 boneless, skinless chicken breasts (about 6-8 ounces each), try to choose breasts of similar size for even cooking
    • 1 tablespoon olive oil (or any cooking oil you prefer)
    • 1 teaspoon salt (kosher salt is recommended, but table salt works too – adjust amount if using table salt as it’s saltier)
    • 1/2 teaspoon black pepper, freshly ground
    • 1/2 teaspoon garlic powder (optional, but adds a nice savory note)
    • 1/4 teaspoon dried herbs (like thyme, rosemary, or oregano – choose your favorite or a mix) – optional for a more herby flavor

    Equipment:

    • Baking sheet
    • Meat thermometer (highly recommended for accuracy)
    • Optional: Plastic wrap or resealable bag for pounding

    Preparation:

    1. Preheat your oven to 400°F (200°C). Make sure your oven is properly preheated. This is crucial for even cooking and preventing the chicken from drying out. A preheated oven ensures the chicken starts cooking immediately when it goes in.
    2. Prepare the chicken breasts: Take your chicken breasts and pat them dry with paper towels. This is a key step! Drying the chicken breast is essential for getting a nice sear and preventing it from steaming in the oven. Excess moisture will hinder browning.
    3. Pound the chicken breasts for even thickness (Optional but Recommended): If your chicken breasts are unevenly thick (thicker at one end than the other), it’s a good idea to pound them to a more uniform thickness. This ensures they cook evenly. Place the chicken breast between two pieces of plastic wrap or inside a resealable bag. Using a rolling pin or the flat side of a meat mallet, gently pound the thicker parts until the breast is about 1/2 inch thick all over. Don’t pound too hard, you just want to even it out, not make it paper thin. If your chicken breasts are already relatively thin and uniform, you can skip this step.
    4. Season generously: Place the chicken breasts on a baking sheet. Drizzle them with olive oil, ensuring both sides are lightly coated. This helps with browning and adds flavor. Now, season generously with salt, pepper, garlic powder (if using), and dried herbs (if using). Don’t be shy with the seasoning! Chicken breast is lean and needs proper seasoning to taste flavorful. Rub the seasonings into both sides of the chicken breasts, ensuring they are evenly coated.
    5. Bake in the preheated oven: Place the baking sheet with the seasoned chicken breasts in the preheated oven. Bake for 20-30 minutes, or until the chicken is cooked through. The exact baking time will depend on the thickness of your chicken breasts and your oven.
    6. Check for doneness using a meat thermometer: The most accurate way to know when chicken breast is cooked is to use a meat thermometer. Insert the thermometer into the thickest part of the chicken breast. Chicken breast is cooked when it reaches an internal temperature of 165°F (74°C). Avoid overcooking, as this will make the chicken dry. Start checking the temperature around the 20-minute mark and check every few minutes after that.
    7. Rest the chicken (Crucial for Juiciness!): Once the chicken reaches 165°F (74°C), remove it from the oven and let it rest for 5-10 minutes before slicing or serving. This resting time is absolutely vital for juicy chicken. During resting, the juices redistribute throughout the meat, resulting in a more tender and flavorful chicken breast. Don’t skip this step! You can loosely tent the chicken with foil while it rests, but don’t wrap it tightly as it can steam and lose its crisp exterior.
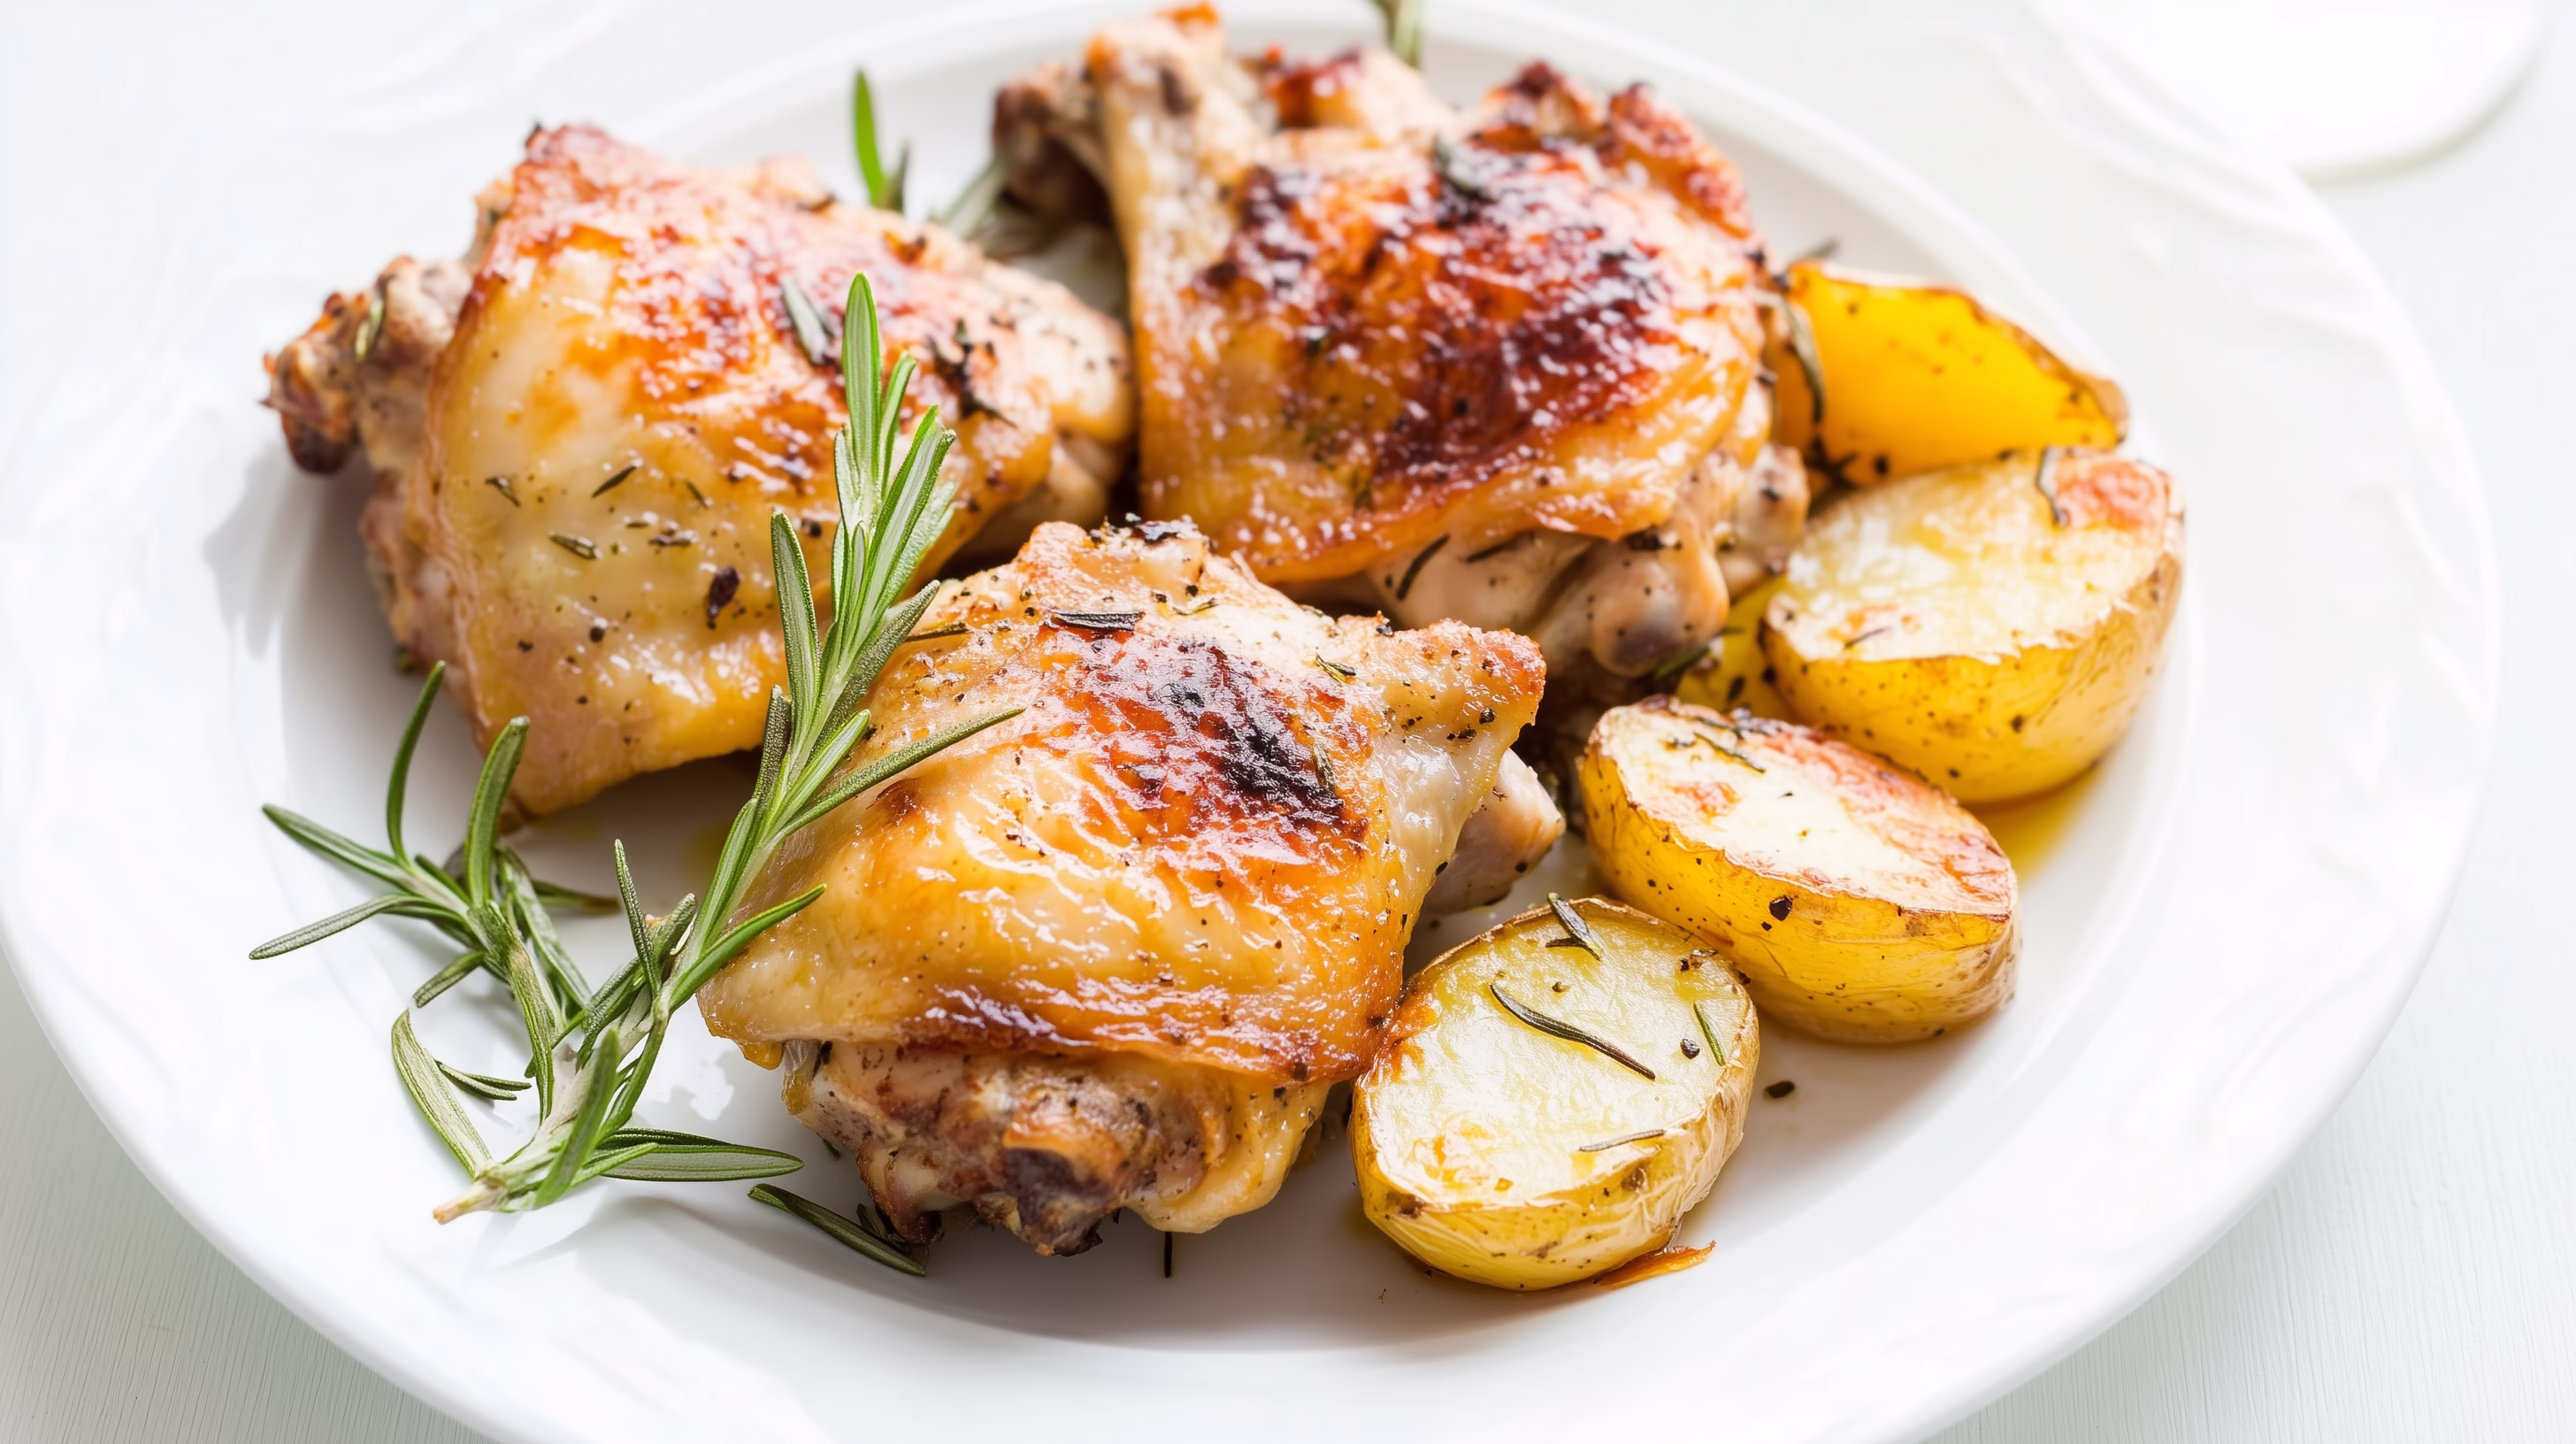
    8. Serve and enjoy! After resting, your perfectly baked chicken breast is ready to be sliced and served. It’s delicious on its own, sliced over salads, in sandwiches, or as part of a complete meal with your favorite sides.

    Tips and Tricks for Basic Baked Chicken Breast:

    • Marinades are your friend: For even more flavor and tenderness, marinate your chicken breasts for at least 30 minutes (or up to overnight in the refrigerator) before baking. Simple marinades like Italian dressing, lemon juice and herbs, or soy sauce and ginger work wonders.
    • Don’t overcrowd the baking sheet: Give the chicken breasts some space on the baking sheet. Overcrowding can lead to steaming instead of browning. Use a larger baking sheet or bake in batches if necessary.
    • High heat for searing (Optional): For a more pronounced sear and crispy exterior, you can sear the chicken breasts in a hot skillet on the stovetop for 1-2 minutes per side before transferring them to the oven to finish baking. This is an extra step but can enhance the texture.
    • Variations on seasonings: Get creative with your seasonings! Try different herb and spice combinations like:
      • Italian Herb: Italian seasoning, paprika, onion powder
      • Spicy Cajun: Cajun seasoning, cayenne pepper, smoked paprika
      • Lemon Pepper: Lemon zest, lemon pepper seasoning, dill
    • Serving suggestions: Baked chicken breast is incredibly versatile. Serve it with:
      • Roasted vegetables (broccoli, asparagus, carrots, potatoes)
      • Salad (garden salad, Caesar salad, quinoa salad)
      • Grains (rice, quinoa, couscous)
      • Pasta (with pesto, marinara, or creamy sauce)

    Flavor Boost: Lemon Herb Oven Baked Chicken Breast

    Want to add a bright, zesty twist to your baked chicken breast? This Lemon Herb variation is incredibly refreshing and easy to make.

    Ingredients (in addition to the basic recipe):

    • 1 tablespoon lemon juice, fresh
    • 1 teaspoon lemon zest (zest of about 1/2 lemon)
    • 1 tablespoon fresh herbs, chopped (like parsley, thyme, rosemary, or a mix)

    Instructions:

    1. Follow steps 1-3 of the basic recipe.
    2. In a small bowl, combine olive oil, lemon juice, lemon zest, salt, pepper, garlic powder (if using), dried herbs (if using), and fresh herbs.
    3. Pour the lemon herb mixture over the chicken breasts on the baking sheet, ensuring they are evenly coated.
    4. Follow steps 5-8 of the basic recipe for baking and resting.

    Tips and Tricks for Lemon Herb Chicken Breast:

    • Use fresh lemon zest and juice: Freshly squeezed lemon juice and zest provide a much brighter and more vibrant flavor than bottled juice.
    • Pair with Mediterranean sides: Lemon herb chicken breast pairs beautifully with Mediterranean-inspired sides like roasted vegetables with feta cheese, Greek salad, or couscous with olives and sun-dried tomatoes.

    Flavor Boost: Garlic Parmesan Oven Baked Chicken Breast

    For a richer, more savory flavor, try this Garlic Parmesan baked chicken breast. The parmesan creates a delicious cheesy crust that’s simply irresistible.

    Ingredients (in addition to the basic recipe):

    • 1/4 cup grated Parmesan cheese, finely grated
    • 1 teaspoon garlic powder (you can use 1/2 teaspoon in the basic seasoning and add another 1/2 teaspoon here for extra garlic flavor)

    Instructions:

    1. Follow steps 1-4 of the basic recipe.
    2. In a small bowl, combine grated Parmesan cheese and garlic powder.
    3. Sprinkle the Parmesan mixture evenly over the top of the chicken breasts on the baking sheet, pressing lightly to help it adhere.
    4. Follow steps 5-8 of the basic recipe for baking and resting.

    Tips and Tricks for Garlic Parmesan Chicken Breast:

    • Use finely grated Parmesan: Finely grated Parmesan cheese will melt and create a better crust than coarsely grated Parmesan.
    • Broil for extra crispiness (Optional): For an even crispier Parmesan crust, you can broil the chicken breast for the last 1-2 minutes of baking. Watch it closely to prevent burning!
    • Serve with Italian-inspired dishes: Garlic Parmesan chicken breast is fantastic with Italian-inspired sides like pasta with marinara sauce, creamy risotto, or roasted vegetables with Italian herbs.

    Baked Chicken Breast: Your Kitchen Superstar

    Oven baked chicken breast is truly a kitchen superstar. Mastering these simple techniques and recipes will transform your weeknight dinners and meal prep game. With endless flavor variations and its incredible versatility, you’ll find yourself reaching for this healthy and delicious protein again and again. Enjoy experimenting and creating your own signature baked chicken breast dishes!

  • Oven-Baked Pork Tenderloin Recipe – Tender and Juicy

    Oven-Baked Pork Tenderloin Recipe – Tender and Juicy

    Oven-Baked Pork Tenderloin Recipes

    Oven-Baked Pork Tenderloin Recipes: Tender, Juicy, Versatile!

    Pork tenderloin is a premium cut of meat that’s perfectly suited for oven baking. It’s lean, tender, and incredibly versatile. Whether classically marinated, elegantly stuffed, or simply seasoned with herbs and spices, oven-baked pork tenderloin always turns out wonderfully and is a highlight for any occasion. In this article, we’ll show you how to prepare pork tenderloin perfectly in the oven, ensuring it stays juicy and develops a delicious crust. Discover the best tips and tricks for successful oven-baked pork tenderloin!

    Basic Recipe: Oven-Baked Pork Tenderloin (Plain)

    This basic recipe serves as a foundation for many variations and shows you how to prepare a juicy and flavorful pork tenderloin in the oven.

    Ingredients (for 4 servings):

    • 1 pork tenderloin (approx. 500-600g / 1.1-1.3 lbs), trimmed
    • 2 tablespoons olive oil
    • 1 teaspoon salt
    • ½ teaspoon black pepper
    • 1 teaspoon dried thyme or rosemary (or fresh herbs of your choice)
    • 1-2 cloves of garlic (optional), peeled and lightly crushed
    • Optional: 1 tablespoon butter
    Oven-Baked Pork Tenderloin Instructions

    Instructions:

    1. Prepare the Pork Tenderloin: Remove the pork tenderloin from its packaging and pat it dry with paper towels. Trim away any silverskin or tendons (trimming). Trimming ensures a more tender result by removing tough areas.
      Tip: A sharp, flexible knife makes trimming easier.
    2. Season the Tenderloin: Rub the pork tenderloin all over with salt and pepper. Then, evenly distribute the dried herbs (thyme or rosemary) over the tenderloin. If using fresh herbs, chop them finely and distribute them over the tenderloin as well. Optionally, add the lightly crushed garlic cloves. These will release their aroma while roasting.
    3. Sear the Tenderloin (optional, but recommended): Searing creates Maillard reaction flavors and a beautiful crust, intensifying the taste of the pork tenderloin. Heat the olive oil in an oven-safe skillet or roasting pan (that can later go into the oven) over medium-high heat. Once the oil is hot, place the seasoned pork tenderloin in the pan and sear it on all sides (about 2-3 minutes per side) until it has a nice brown color.
      Tip for extra flavor: Towards the end of searing, add a tablespoon of butter to the pan and let it foam. Baste the tenderloin several times with the butter while searing.
    4. Transfer to the Oven: Once the pork tenderloin is seared on all sides, remove the skillet from the stovetop and place it in the preheated oven.
    5. Preheat the Oven: Preheat the oven to 180°C (350°F) for conventional oven settings (top and bottom heat). For convection oven, set to 160°C (320°F).
    6. Baking Time: The baking time for pork tenderloin in the oven depends on the thickness of the tenderloin and the desired level of doneness. For a medium-rare result (recommended), the baking time is about 15-20 minutes. For well-done tenderloin, extend the baking time to about 25-30 minutes.
      Doneness Test with Meat Thermometer: The most reliable method to determine doneness is to use a meat thermometer. For medium-rare, the core temperature should be around 58-60°C (136-140°F), for well-done around 65-70°C (149-158°F). Insert the thermometer into the thickest part of the tenderloin, without touching any bones if present.
    7. Resting Time: Once the pork tenderloin has reached the desired core temperature, remove the skillet from the oven. Transfer the tenderloin to a cutting board and loosely cover it with aluminum foil. Let it rest for about 5-10 minutes. Resting time is crucial because it allows the meat juices to redistribute evenly throughout the tenderloin, preventing them from running out when slicing. The result is a juicier tenderloin.
    8. Slice and Serve: Slice the pork tenderloin against the grain into approximately 1-2 cm (½-¾ inch) thick slices. Serve immediately and enjoy the tender and juicy flavor. Suitable side dishes include potatoes (e.g., potato gratin, rosemary potatoes, mashed potatoes), vegetables (e.g., green asparagus, green beans, ratatouille), or salads. A light sauce based on the pan drippings (deglazed with a little broth, cream, or wine) perfectly complements the dish.
    Pork Tenderloin Tips and Serving Suggestions

    Tips and Tricks for Perfect Oven-Baked Pork Tenderloin:

    • Quality of the Meat: Pay attention to the quality of the pork tenderloin. Meat from good sources, such as organic quality or from regional providers, often has a better flavor and finer texture.
    • Trimming: Trimming the tenderloin is important to remove tough areas and silverskin, resulting in a more tender outcome.
    • Searing for Flavor: Searing the tenderloin before baking is optional but highly recommended. It creates delicious Maillard reaction flavors and a beautiful crust.
    • Avoid Overcooking: Pork tenderloin can quickly become dry if left in the oven for too long. Pay attention to the baking time and ideally use a meat thermometer to determine the doneness accurately. Medium-rare (core temperature around 58-60°C / 136-140°F) is ideal for a particularly juicy result.
    • Resting Time is Key: Resting time after baking is crucial for the juiciness of the tenderloin. Be sure to include this time in your cooking plan.
    • Oven-Safe Skillet/Roasting Pan: Use an oven-safe skillet or roasting pan to sear the tenderloin first and then bake it directly in the oven. This saves dishes and keeps the tenderloin warm.
    • Vary Herbs and Spices: Experiment with different herbs and spices to vary the flavor of the pork tenderloin. In addition to thyme and rosemary, sage, garlic, paprika powder, or a Mediterranean herb mix also work wonderfully.
    • Stuffings: Pork tenderloin can also be wonderfully stuffed. To do this, slice the tenderloin lengthwise, open it up, and fill it as desired (e.g., with cream cheese, herbs, sun-dried tomatoes, bacon, mushrooms). Then tie it with kitchen twine and prepare as described in the basic recipe.
    • Sauce from Pan Drippings: The pan drippings in the skillet are the basis for a quick and delicious sauce. After searing and baking, deglaze the pan drippings with a little broth, wine, or cream, reduce the liquid briefly, and season it with salt, pepper, and possibly a little mustard or lemon juice.

    Serving Suggestions:

    Classic

    With potato gratin and green beans.

    Mediterranean

    With rosemary potatoes and ratatouille.

    Festive

    With mashed potatoes, glazed carrots, and a red wine sauce.

    Light

    With a fresh salad and herb quark (herb-flavored fresh cheese).

    Rustic

    With fried potatoes and bacon-wrapped green beans.

    Oven-baked pork tenderloin is a true all-rounder and can be reinvented again and again. Try this basic recipe and discover the variety of oven-baked pork tenderloin recipes! Enjoy your meal!

  • Oven-Baked Chicken Thighs

    Oven-Baked Chicken Thighs

    Oven-Baked Chicken Thighs

    Oven-Baked Chicken Thighs

    Crispy, Juicy, Simply Perfect!

    Oven-baked chicken thighs are an uncomplicated yet incredibly delicious dish for any occasion. Prepared with just a few steps, they become wonderfully crispy in the oven while remaining juicy on the inside. This recipe will show you how to conjure perfect oven-baked chicken thighs with simple ingredients and techniques.

    Ingredients (for 4 servings)

    • 8 chicken thighs (approx. 1.2 kg / 2.6 lbs)
    • 3 tablespoons olive oil
    • 1 tablespoon sweet paprika powder
    • 1 teaspoon hot paprika powder (optional, for more spice)
    • 1 teaspoon garlic powder
    • 1 teaspoon onion powder
    • 1 teaspoon dried oregano
    • ½ teaspoon dried thyme
    • ½ teaspoon chili flakes (optional, for more spice)
    • 1 teaspoon salt (or to taste)
    • ½ teaspoon black pepper (or to taste)
    • Optional: 2-3 cloves of garlic (fresh), 1 lemon (in slices)
    Oven-Baked Chicken Thighs – Instructions

    Instructions

    1. Prepare the Chicken Thighs: Remove the chicken thighs from their packaging and rinse them thoroughly under cold, running water. Place the thighs on paper towels and pat them dry carefully. Dry skin is crucial for achieving a crispy result. Check the thighs for any remaining feather quills and remove them with tweezers if necessary.
    2. Mix the Marinade: In a sufficiently large bowl, one that can hold all the chicken thighs, add the olive oil. Now add the spices: sweet paprika powder, hot paprika powder (if desired), garlic powder, onion powder, dried oregano, dried thyme, chili flakes (if desired), salt, and black pepper. Mix all the ingredients thoroughly with a spoon or fork until a homogenous marinade is formed. If you want to use fresh garlic, peel the garlic cloves and chop them very finely or press them through a garlic press. Add the fresh garlic to the marinade and stir everything again.
    3. Marinate the Chicken Thighs: Place the dried chicken thighs into the bowl with the marinade. Use your hands (or disposable gloves) to distribute the marinade evenly on all sides of the chicken thighs. Gently massage the marinade into the meat so that all areas are covered. Try to slide some marinade under the skin as well to intensify the flavor. Cover the bowl with plastic wrap or a lid and place it in the refrigerator for at least 30 minutes, but ideally for 2-3 hours or overnight. The longer the marinating time, the more intense the flavor of the chicken thighs will become.
    4. Preheat the Oven: Preheat the oven to 200°C (390°F) for conventional oven settings (top and bottom heat). If your oven has a convection function, you can set it to 180°C (350°F). Preheating is important so that the chicken thighs start cooking at the correct temperature right from the beginning.
    5. Place Chicken Thighs on a Baking Sheet: Line a baking sheet with parchment paper. The parchment paper prevents the chicken thighs from sticking to the sheet and makes cleaning easier. Take the marinated chicken thighs out of the refrigerator and spread them side by side on the baking sheet. Make sure the thighs are not overlapping, as this will hinder air circulation and the thighs may not become crispy evenly. If you like, you can now place lemon slices between or underneath the chicken thighs. This gives the thighs a fresh aroma and prevents them from sticking to the baking sheet.
    6. Bake in the Oven: Slide the baking sheet with the chicken thighs into the preheated oven. Bake the thighs for about 40-50 minutes. The exact baking time may vary depending on the size of the chicken thighs and the performance of your oven. After about 40 minutes, perform a doneness test: pierce the thickest part of a chicken thigh with a sharp knife or fork. If clear meat juices come out and no red juices are visible, the thighs are cooked through. The core temperature should ideally reach 85°C (185°F). A meat thermometer is the safest way to check for doneness.
    7. For Extra Crispiness: If you want particularly crispy skin, turn on the broiler function of your oven or increase the temperature to top heat in the last 10-15 minutes of the baking time. Observe the chicken thighs closely to ensure that the skin becomes golden brown and crispy, but does not burn. Turn the baking sheet once to achieve even browning.
    8. Resting Time: Remove the baking sheet with the finished chicken thighs from the oven. Loosely cover the thighs with aluminum foil and let them rest for about 5 minutes before serving. This resting time allows the meat fibers to relax and the meat juices to distribute evenly, which keeps the chicken thighs particularly juicy.
    9. Serve: Serve the crispy oven-baked chicken thighs hot. They go perfectly with a variety of side dishes.

    Oven-Baked Chicken Thighs – Tips & Serving

    Tips and Tricks for Perfect Chicken Thighs

    • Quality Matters: Pay attention to the quality of the chicken thighs. Meat from good sources, such as organic chicken, often has a more intense flavor and better texture.
    • Pat Dry: Patting the skin dry before marinating is crucial for crispy skin. Moisture prevents browning and crisping.
    • Sufficient Marinating Time: Give the chicken thighs enough time to marinate. A longer marinating time intensifies the flavor and makes the meat more tender.
    • Don’t Overcrowd: Make sure not to place the chicken thighs too close together on the baking sheet. Sufficient spacing ensures better air circulation and even cooking.
    • Do a Doneness Test: Don’t rely solely on the baking time. The doneness test with a knife or meat thermometer is important to ensure that the chicken thighs are cooked through.
    • Broiler for Crispiness: The broiler function or top heat in the last minutes of baking time ensures extra crispy skin. Keep a close eye on the thighs to avoid burning.
    • Plan Resting Time: The short resting time after baking is important for the juiciness of the chicken thighs.

    Serving Suggestions

    • Classic: Mashed potatoes and peas and carrots
    • Rustic: Roasted potatoes and a fresh salad
    • Mediterranean: Rosemary potatoes and grilled vegetables (zucchini, bell peppers, eggplant)
    • Asian: Rice and steamed vegetables with soy sauce
    • Hearty: French fries and dips (ketchup, mayonnaise, BBQ sauce)

    Enjoy your meal and savor your homemade, crispy oven-baked chicken thighs!

Pin It on Pinterest