Author: admin

  • Oven-Baked Pork Tenderloin Recipe – Tender and Juicy

    Oven-Baked Pork Tenderloin Recipe – Tender and Juicy

    Oven-Baked Pork Tenderloin Recipes

    Oven-Baked Pork Tenderloin Recipes: Tender, Juicy, Versatile!

    Pork tenderloin is a premium cut of meat that’s perfectly suited for oven baking. It’s lean, tender, and incredibly versatile. Whether classically marinated, elegantly stuffed, or simply seasoned with herbs and spices, oven-baked pork tenderloin always turns out wonderfully and is a highlight for any occasion. In this article, we’ll show you how to prepare pork tenderloin perfectly in the oven, ensuring it stays juicy and develops a delicious crust. Discover the best tips and tricks for successful oven-baked pork tenderloin!

    Basic Recipe: Oven-Baked Pork Tenderloin (Plain)

    This basic recipe serves as a foundation for many variations and shows you how to prepare a juicy and flavorful pork tenderloin in the oven.

    Ingredients (for 4 servings):

    • 1 pork tenderloin (approx. 500-600g / 1.1-1.3 lbs), trimmed
    • 2 tablespoons olive oil
    • 1 teaspoon salt
    • ½ teaspoon black pepper
    • 1 teaspoon dried thyme or rosemary (or fresh herbs of your choice)
    • 1-2 cloves of garlic (optional), peeled and lightly crushed
    • Optional: 1 tablespoon butter
    Oven-Baked Pork Tenderloin Instructions

    Instructions:

    1. Prepare the Pork Tenderloin: Remove the pork tenderloin from its packaging and pat it dry with paper towels. Trim away any silverskin or tendons (trimming). Trimming ensures a more tender result by removing tough areas.
      Tip: A sharp, flexible knife makes trimming easier.
    2. Season the Tenderloin: Rub the pork tenderloin all over with salt and pepper. Then, evenly distribute the dried herbs (thyme or rosemary) over the tenderloin. If using fresh herbs, chop them finely and distribute them over the tenderloin as well. Optionally, add the lightly crushed garlic cloves. These will release their aroma while roasting.
    3. Sear the Tenderloin (optional, but recommended): Searing creates Maillard reaction flavors and a beautiful crust, intensifying the taste of the pork tenderloin. Heat the olive oil in an oven-safe skillet or roasting pan (that can later go into the oven) over medium-high heat. Once the oil is hot, place the seasoned pork tenderloin in the pan and sear it on all sides (about 2-3 minutes per side) until it has a nice brown color.
      Tip for extra flavor: Towards the end of searing, add a tablespoon of butter to the pan and let it foam. Baste the tenderloin several times with the butter while searing.
    4. Transfer to the Oven: Once the pork tenderloin is seared on all sides, remove the skillet from the stovetop and place it in the preheated oven.
    5. Preheat the Oven: Preheat the oven to 180°C (350°F) for conventional oven settings (top and bottom heat). For convection oven, set to 160°C (320°F).
    6. Baking Time: The baking time for pork tenderloin in the oven depends on the thickness of the tenderloin and the desired level of doneness. For a medium-rare result (recommended), the baking time is about 15-20 minutes. For well-done tenderloin, extend the baking time to about 25-30 minutes.
      Doneness Test with Meat Thermometer: The most reliable method to determine doneness is to use a meat thermometer. For medium-rare, the core temperature should be around 58-60°C (136-140°F), for well-done around 65-70°C (149-158°F). Insert the thermometer into the thickest part of the tenderloin, without touching any bones if present.
    7. Resting Time: Once the pork tenderloin has reached the desired core temperature, remove the skillet from the oven. Transfer the tenderloin to a cutting board and loosely cover it with aluminum foil. Let it rest for about 5-10 minutes. Resting time is crucial because it allows the meat juices to redistribute evenly throughout the tenderloin, preventing them from running out when slicing. The result is a juicier tenderloin.
    8. Slice and Serve: Slice the pork tenderloin against the grain into approximately 1-2 cm (½-¾ inch) thick slices. Serve immediately and enjoy the tender and juicy flavor. Suitable side dishes include potatoes (e.g., potato gratin, rosemary potatoes, mashed potatoes), vegetables (e.g., green asparagus, green beans, ratatouille), or salads. A light sauce based on the pan drippings (deglazed with a little broth, cream, or wine) perfectly complements the dish.
    Pork Tenderloin Tips and Serving Suggestions

    Tips and Tricks for Perfect Oven-Baked Pork Tenderloin:

    • Quality of the Meat: Pay attention to the quality of the pork tenderloin. Meat from good sources, such as organic quality or from regional providers, often has a better flavor and finer texture.
    • Trimming: Trimming the tenderloin is important to remove tough areas and silverskin, resulting in a more tender outcome.
    • Searing for Flavor: Searing the tenderloin before baking is optional but highly recommended. It creates delicious Maillard reaction flavors and a beautiful crust.
    • Avoid Overcooking: Pork tenderloin can quickly become dry if left in the oven for too long. Pay attention to the baking time and ideally use a meat thermometer to determine the doneness accurately. Medium-rare (core temperature around 58-60°C / 136-140°F) is ideal for a particularly juicy result.
    • Resting Time is Key: Resting time after baking is crucial for the juiciness of the tenderloin. Be sure to include this time in your cooking plan.
    • Oven-Safe Skillet/Roasting Pan: Use an oven-safe skillet or roasting pan to sear the tenderloin first and then bake it directly in the oven. This saves dishes and keeps the tenderloin warm.
    • Vary Herbs and Spices: Experiment with different herbs and spices to vary the flavor of the pork tenderloin. In addition to thyme and rosemary, sage, garlic, paprika powder, or a Mediterranean herb mix also work wonderfully.
    • Stuffings: Pork tenderloin can also be wonderfully stuffed. To do this, slice the tenderloin lengthwise, open it up, and fill it as desired (e.g., with cream cheese, herbs, sun-dried tomatoes, bacon, mushrooms). Then tie it with kitchen twine and prepare as described in the basic recipe.
    • Sauce from Pan Drippings: The pan drippings in the skillet are the basis for a quick and delicious sauce. After searing and baking, deglaze the pan drippings with a little broth, wine, or cream, reduce the liquid briefly, and season it with salt, pepper, and possibly a little mustard or lemon juice.

    Serving Suggestions:

    Classic

    With potato gratin and green beans.

    Mediterranean

    With rosemary potatoes and ratatouille.

    Festive

    With mashed potatoes, glazed carrots, and a red wine sauce.

    Light

    With a fresh salad and herb quark (herb-flavored fresh cheese).

    Rustic

    With fried potatoes and bacon-wrapped green beans.

    Oven-baked pork tenderloin is a true all-rounder and can be reinvented again and again. Try this basic recipe and discover the variety of oven-baked pork tenderloin recipes! Enjoy your meal!

  • Oven-Baked Chicken Thighs

    Oven-Baked Chicken Thighs

    Oven-Baked Chicken Thighs

    Oven-Baked Chicken Thighs

    Crispy, Juicy, Simply Perfect!

    Oven-baked chicken thighs are an uncomplicated yet incredibly delicious dish for any occasion. Prepared with just a few steps, they become wonderfully crispy in the oven while remaining juicy on the inside. This recipe will show you how to conjure perfect oven-baked chicken thighs with simple ingredients and techniques.

    Ingredients (for 4 servings)

    • 8 chicken thighs (approx. 1.2 kg / 2.6 lbs)
    • 3 tablespoons olive oil
    • 1 tablespoon sweet paprika powder
    • 1 teaspoon hot paprika powder (optional, for more spice)
    • 1 teaspoon garlic powder
    • 1 teaspoon onion powder
    • 1 teaspoon dried oregano
    • ½ teaspoon dried thyme
    • ½ teaspoon chili flakes (optional, for more spice)
    • 1 teaspoon salt (or to taste)
    • ½ teaspoon black pepper (or to taste)
    • Optional: 2-3 cloves of garlic (fresh), 1 lemon (in slices)
    Oven-Baked Chicken Thighs – Instructions

    Instructions

    1. Prepare the Chicken Thighs: Remove the chicken thighs from their packaging and rinse them thoroughly under cold, running water. Place the thighs on paper towels and pat them dry carefully. Dry skin is crucial for achieving a crispy result. Check the thighs for any remaining feather quills and remove them with tweezers if necessary.
    2. Mix the Marinade: In a sufficiently large bowl, one that can hold all the chicken thighs, add the olive oil. Now add the spices: sweet paprika powder, hot paprika powder (if desired), garlic powder, onion powder, dried oregano, dried thyme, chili flakes (if desired), salt, and black pepper. Mix all the ingredients thoroughly with a spoon or fork until a homogenous marinade is formed. If you want to use fresh garlic, peel the garlic cloves and chop them very finely or press them through a garlic press. Add the fresh garlic to the marinade and stir everything again.
    3. Marinate the Chicken Thighs: Place the dried chicken thighs into the bowl with the marinade. Use your hands (or disposable gloves) to distribute the marinade evenly on all sides of the chicken thighs. Gently massage the marinade into the meat so that all areas are covered. Try to slide some marinade under the skin as well to intensify the flavor. Cover the bowl with plastic wrap or a lid and place it in the refrigerator for at least 30 minutes, but ideally for 2-3 hours or overnight. The longer the marinating time, the more intense the flavor of the chicken thighs will become.
    4. Preheat the Oven: Preheat the oven to 200°C (390°F) for conventional oven settings (top and bottom heat). If your oven has a convection function, you can set it to 180°C (350°F). Preheating is important so that the chicken thighs start cooking at the correct temperature right from the beginning.
    5. Place Chicken Thighs on a Baking Sheet: Line a baking sheet with parchment paper. The parchment paper prevents the chicken thighs from sticking to the sheet and makes cleaning easier. Take the marinated chicken thighs out of the refrigerator and spread them side by side on the baking sheet. Make sure the thighs are not overlapping, as this will hinder air circulation and the thighs may not become crispy evenly. If you like, you can now place lemon slices between or underneath the chicken thighs. This gives the thighs a fresh aroma and prevents them from sticking to the baking sheet.
    6. Bake in the Oven: Slide the baking sheet with the chicken thighs into the preheated oven. Bake the thighs for about 40-50 minutes. The exact baking time may vary depending on the size of the chicken thighs and the performance of your oven. After about 40 minutes, perform a doneness test: pierce the thickest part of a chicken thigh with a sharp knife or fork. If clear meat juices come out and no red juices are visible, the thighs are cooked through. The core temperature should ideally reach 85°C (185°F). A meat thermometer is the safest way to check for doneness.
    7. For Extra Crispiness: If you want particularly crispy skin, turn on the broiler function of your oven or increase the temperature to top heat in the last 10-15 minutes of the baking time. Observe the chicken thighs closely to ensure that the skin becomes golden brown and crispy, but does not burn. Turn the baking sheet once to achieve even browning.
    8. Resting Time: Remove the baking sheet with the finished chicken thighs from the oven. Loosely cover the thighs with aluminum foil and let them rest for about 5 minutes before serving. This resting time allows the meat fibers to relax and the meat juices to distribute evenly, which keeps the chicken thighs particularly juicy.
    9. Serve: Serve the crispy oven-baked chicken thighs hot. They go perfectly with a variety of side dishes.

    Oven-Baked Chicken Thighs – Tips & Serving

    Tips and Tricks for Perfect Chicken Thighs

    • Quality Matters: Pay attention to the quality of the chicken thighs. Meat from good sources, such as organic chicken, often has a more intense flavor and better texture.
    • Pat Dry: Patting the skin dry before marinating is crucial for crispy skin. Moisture prevents browning and crisping.
    • Sufficient Marinating Time: Give the chicken thighs enough time to marinate. A longer marinating time intensifies the flavor and makes the meat more tender.
    • Don’t Overcrowd: Make sure not to place the chicken thighs too close together on the baking sheet. Sufficient spacing ensures better air circulation and even cooking.
    • Do a Doneness Test: Don’t rely solely on the baking time. The doneness test with a knife or meat thermometer is important to ensure that the chicken thighs are cooked through.
    • Broiler for Crispiness: The broiler function or top heat in the last minutes of baking time ensures extra crispy skin. Keep a close eye on the thighs to avoid burning.
    • Plan Resting Time: The short resting time after baking is important for the juiciness of the chicken thighs.

    Serving Suggestions

    • Classic: Mashed potatoes and peas and carrots
    • Rustic: Roasted potatoes and a fresh salad
    • Mediterranean: Rosemary potatoes and grilled vegetables (zucchini, bell peppers, eggplant)
    • Asian: Rice and steamed vegetables with soy sauce
    • Hearty: French fries and dips (ketchup, mayonnaise, BBQ sauce)

    Enjoy your meal and savor your homemade, crispy oven-baked chicken thighs!

  • The Ultimate Guide to Japandi Style House: Room by Room

    The Ultimate Guide to Japandi Style House: Room by Room

    [et_pb_section admin_label=”section”] [et_pb_row admin_label=”row”] [et_pb_column type=”4_4″][et_pb_text admin_label=”Text”]

    Japandi style, a harmonious blend of Japanese minimalism and Scandinavian coziness, has captured the hearts of homeowners looking to create calm, serene living spaces. This guide will take you through each room of the house, offering four distinctive variations for each, so you can personalize your Japandi-inspired haven. By embracing natural materials, clean lines, and a mix of warmth and simplicity, you can create a sanctuary that is both functional and beautiful.

    Japandi Living Room

    The living room is the heart of your home, where Japandi style can truly shine through its balance of simplicity, warmth, and elegance. It is a space meant for relaxation, entertaining guests, and finding comfort in everyday moments.

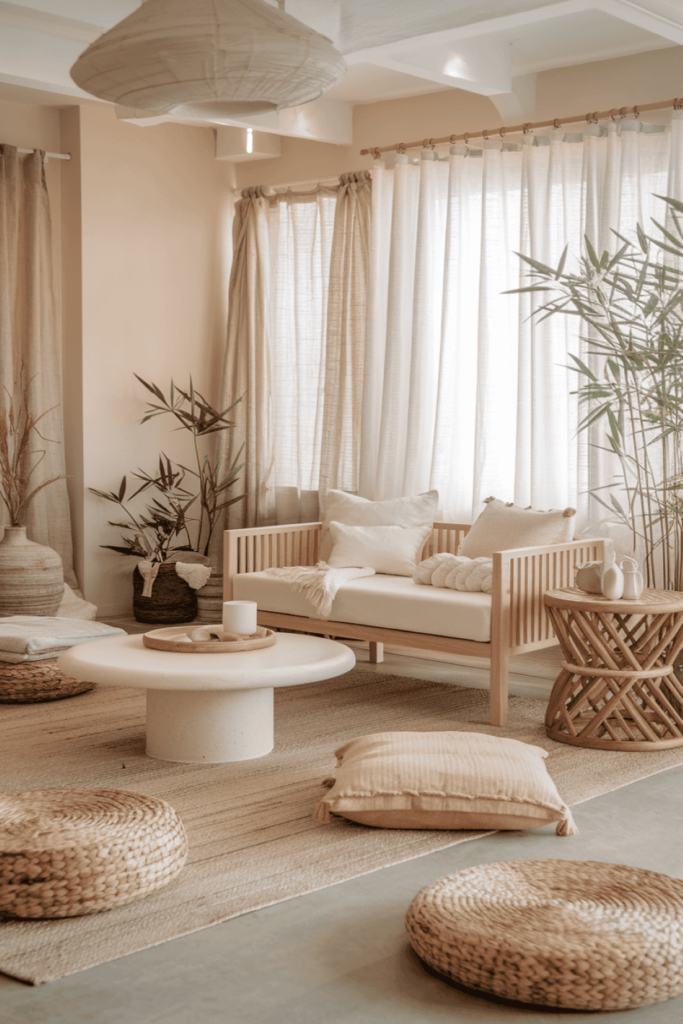
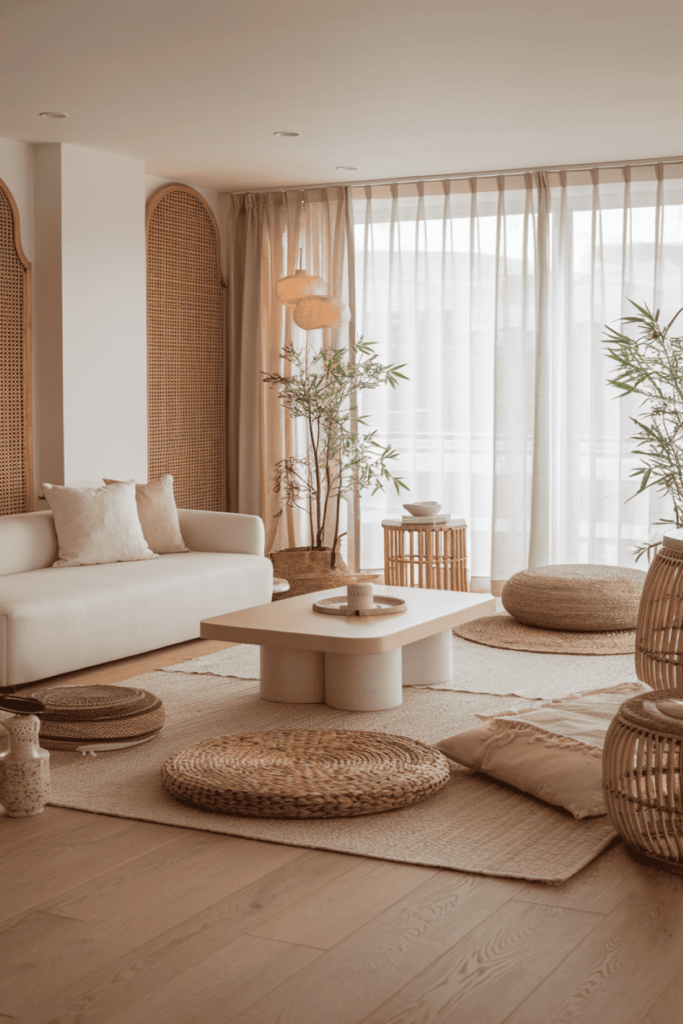
    Natural Warmth

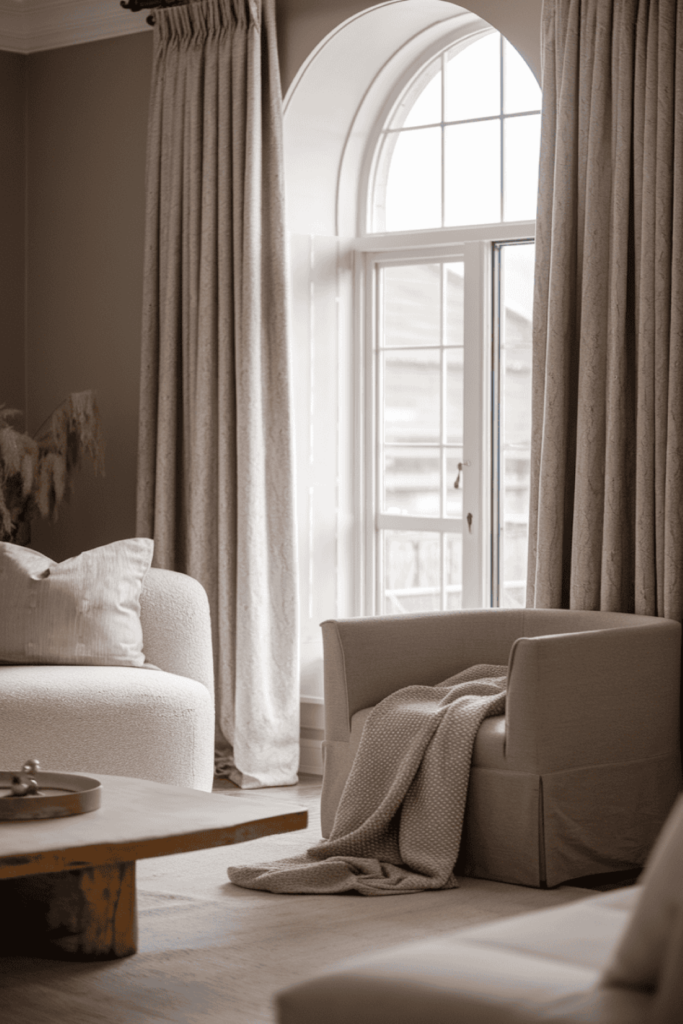
    Embrace natural materials like light oak and rattan. Use a light beige or soft white as your base color, and accent the room with bamboo decorations. The key is to keep clutter minimal and let the natural textures shine. Consider adding woven baskets for storage and a few cozy floor cushions to enhance the welcoming atmosphere. Incorporate sheer curtains to let in natural light, and add soft, textured rugs to bring warmth to the space.

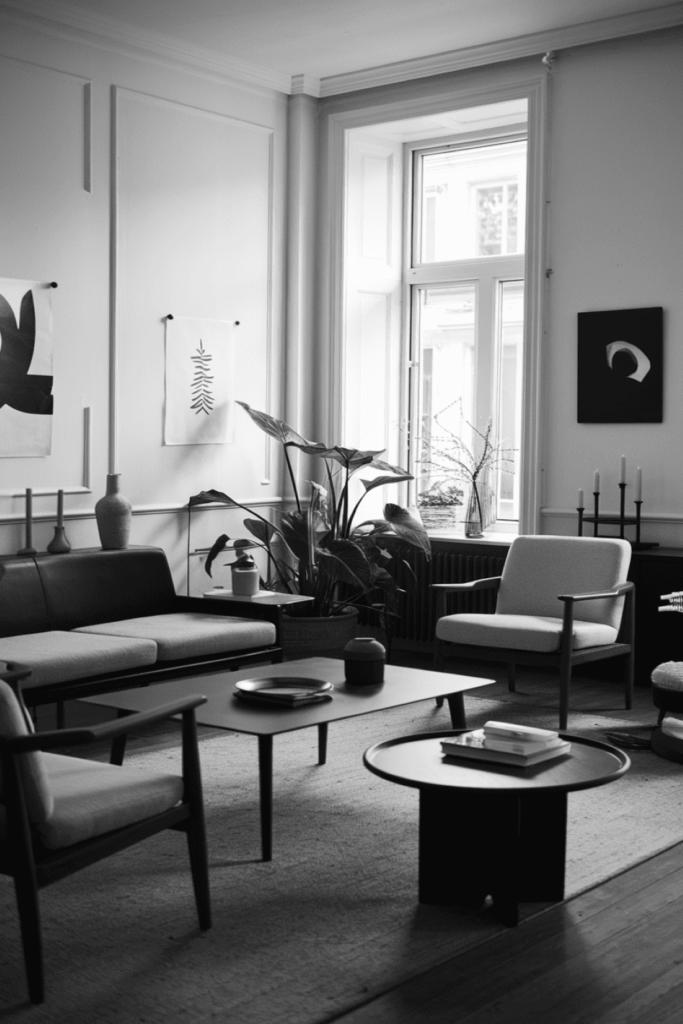
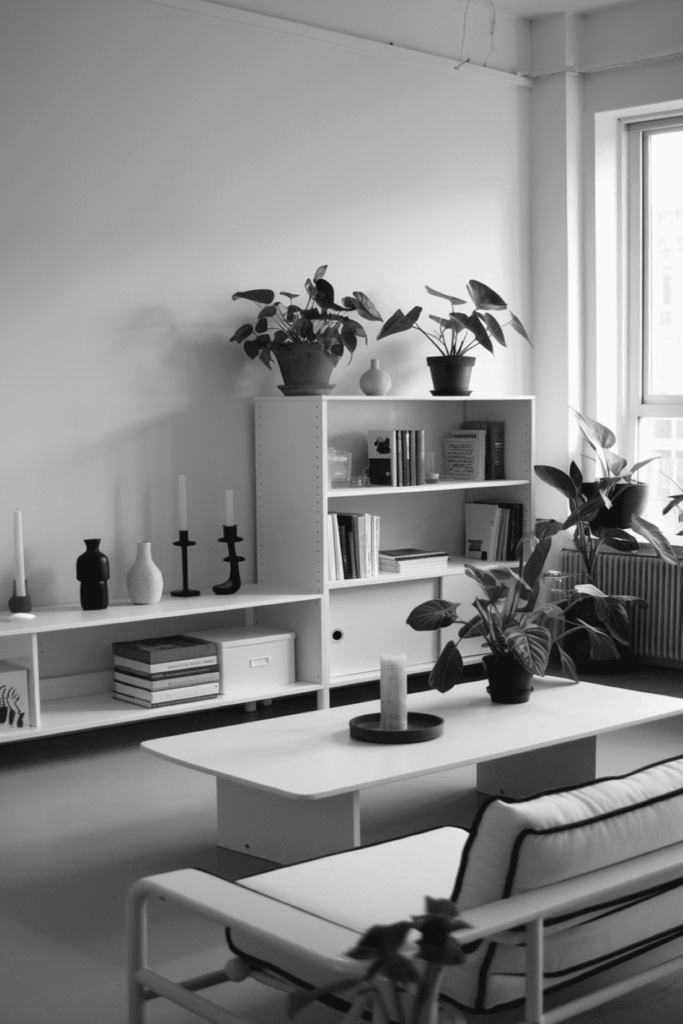
    Monochrome Minimalism

    For a cleaner look, go for a monochrome color scheme. Use black and white as the primary colors, with simple lines and low-profile furniture. Add a few houseplants to bring a touch of nature and soften the contrast. Keep decor items like vases and candle holders in similar tones to maintain harmony. Opt for furniture with clean, straight lines, and use wall art sparingly to enhance the minimal aesthetic. A large, plush rug in a neutral tone can add an element of coziness without compromising the minimalist vibe.

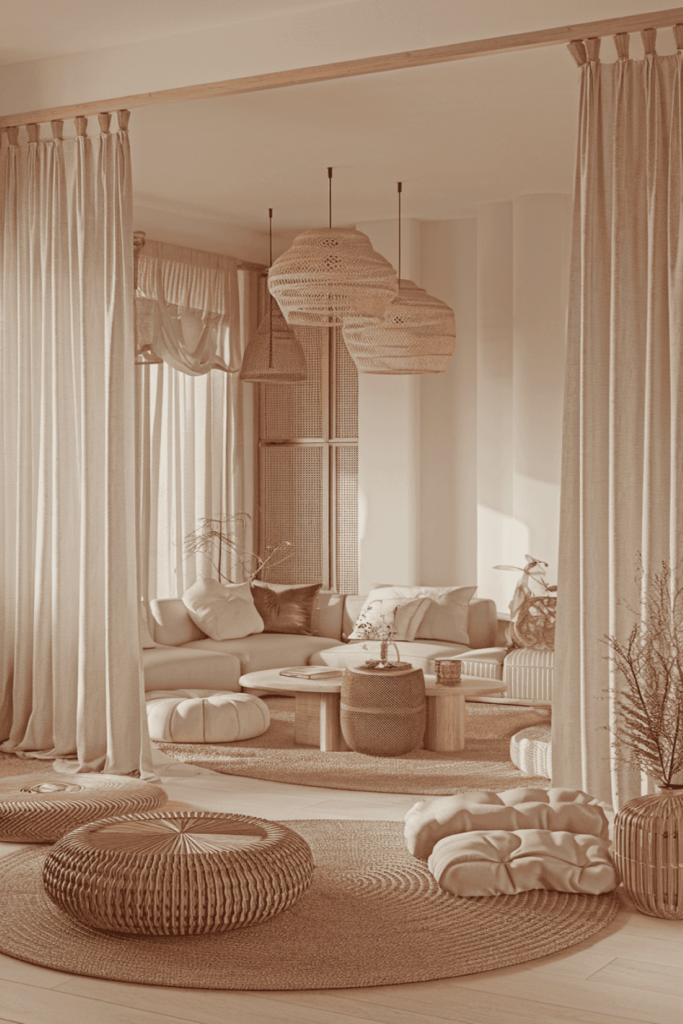
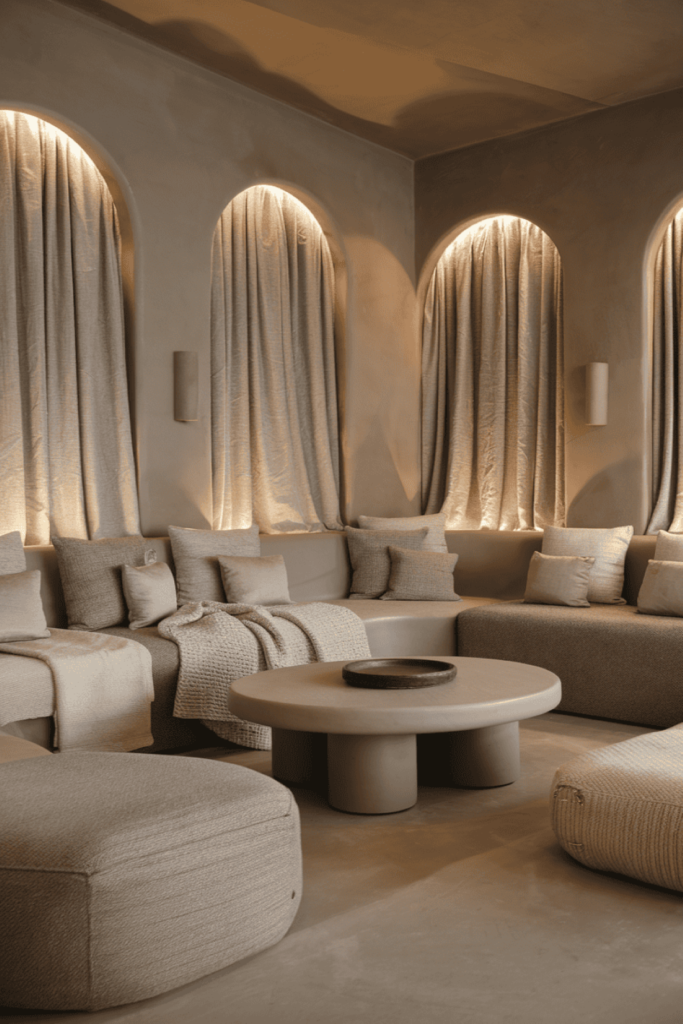
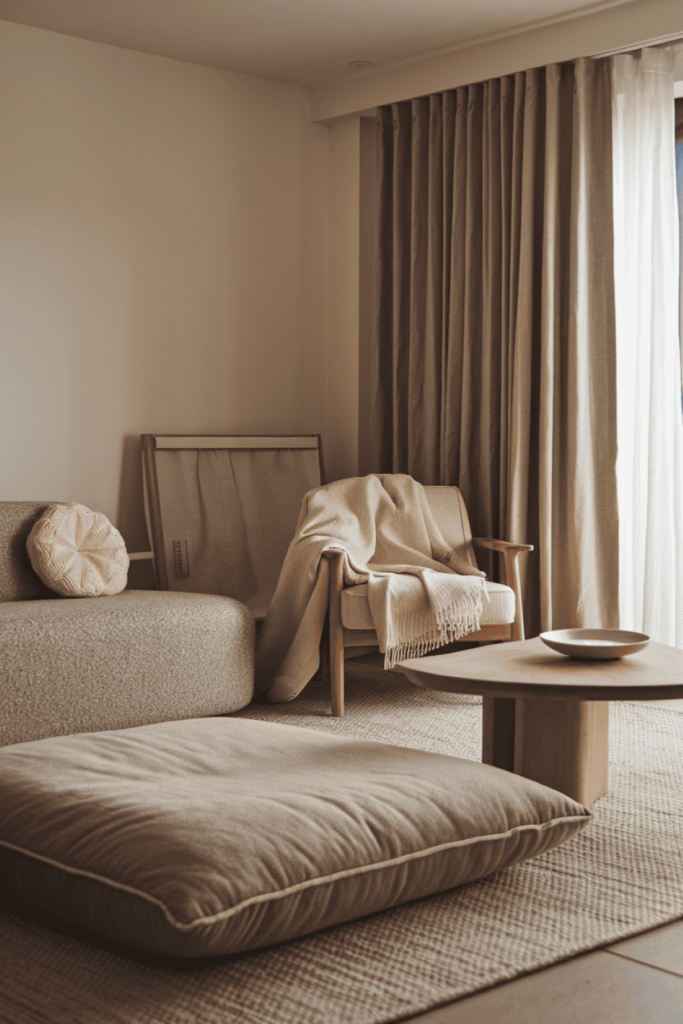
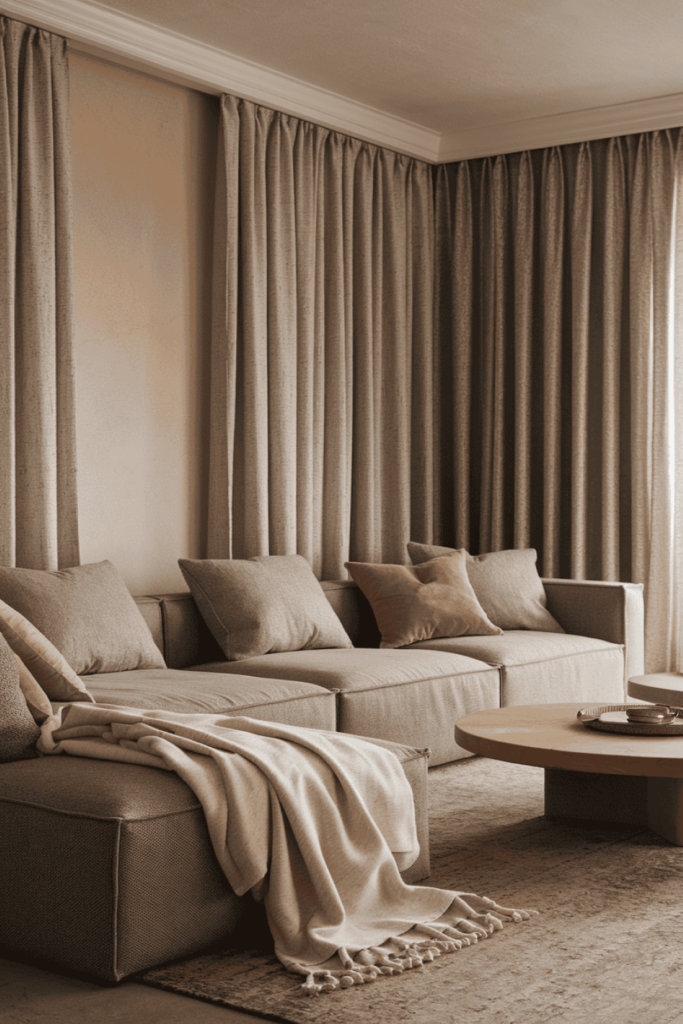
    Cozy Neutrals

    Layer various neutral shades like taupe, stone, and cream to create a warm and inviting space. Opt for oversized, plush cushions and a soft wool throw to complete the look. A simple wooden coffee table can add an element of nature. Use textured fabrics like linen and cotton for curtains and upholstery to add depth. Place a few decorative bowls or trays on the coffee table, filled with natural elements like pine cones or smooth stones. Wall sconces with soft lighting can help create a cozy, intimate atmosphere in the evenings.

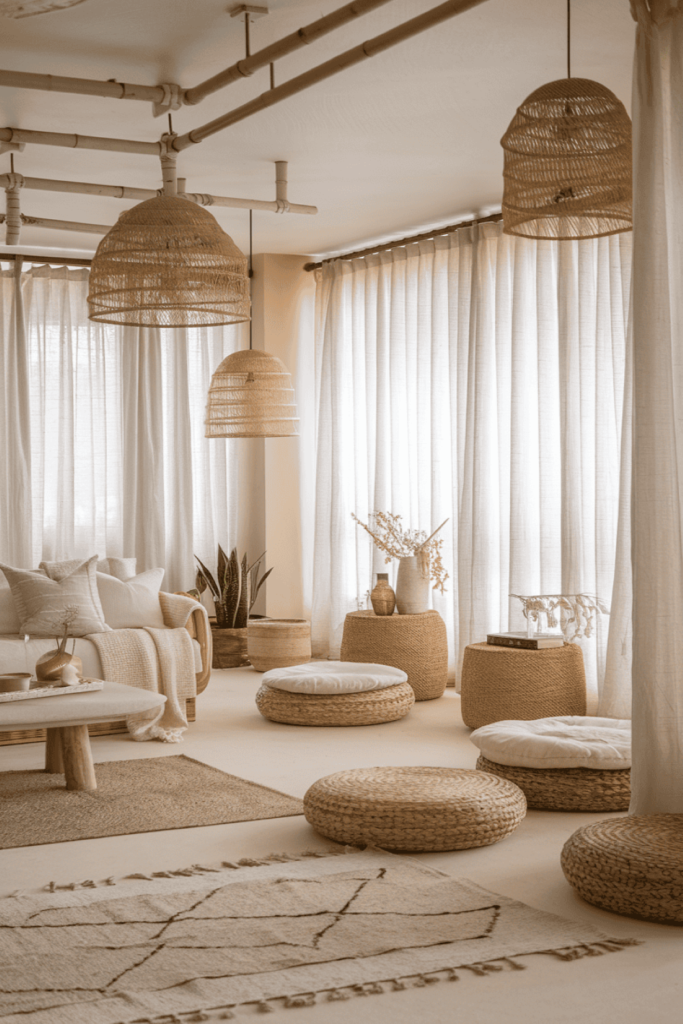
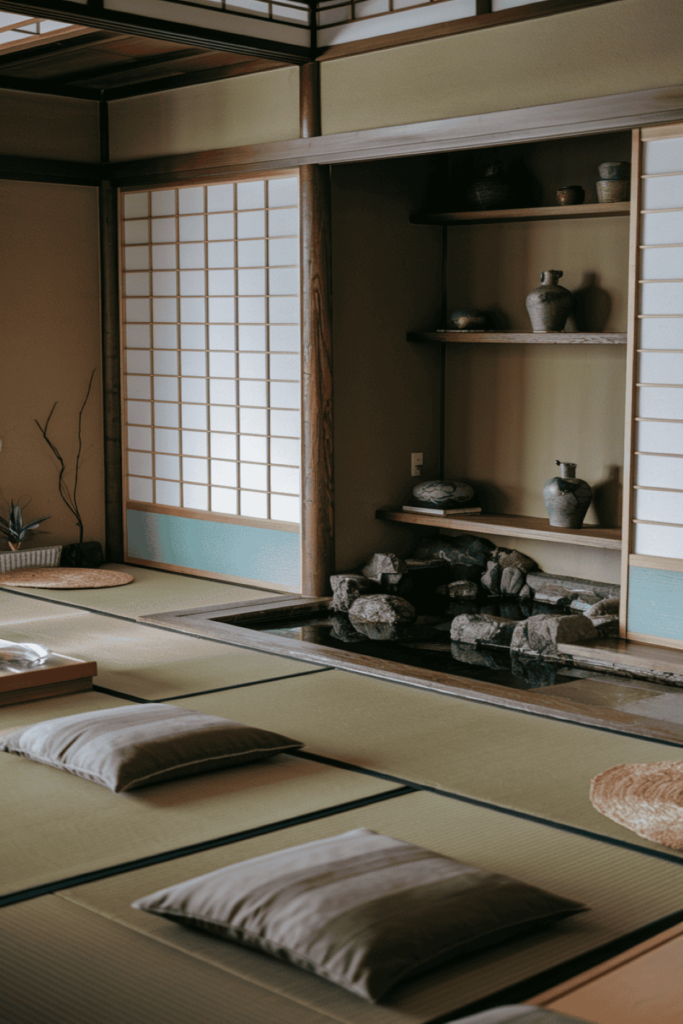
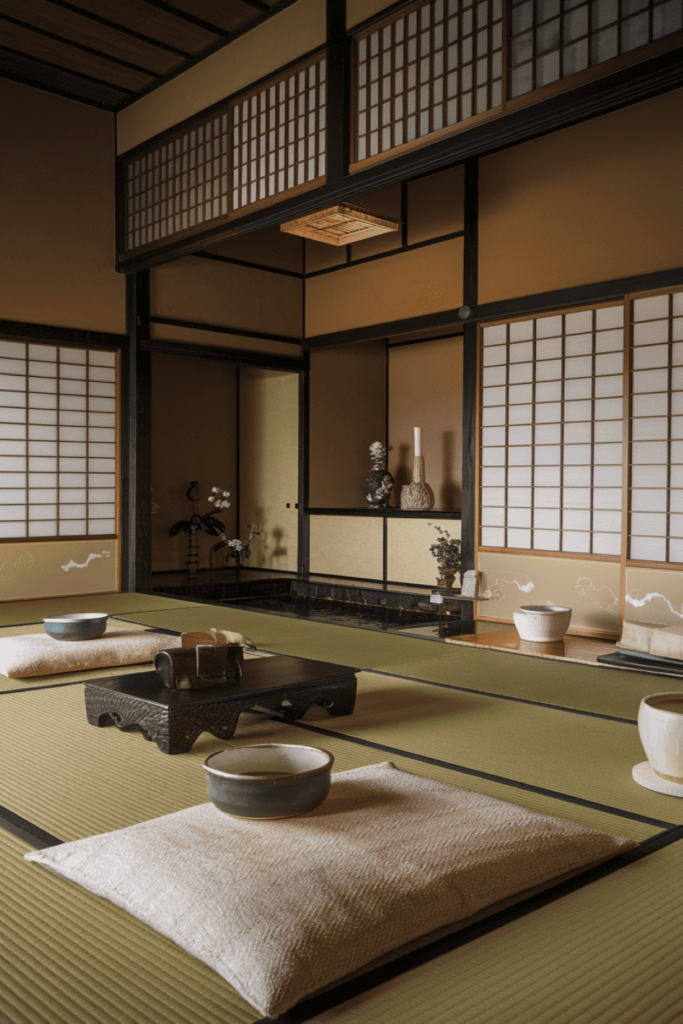
    Zen Elegance

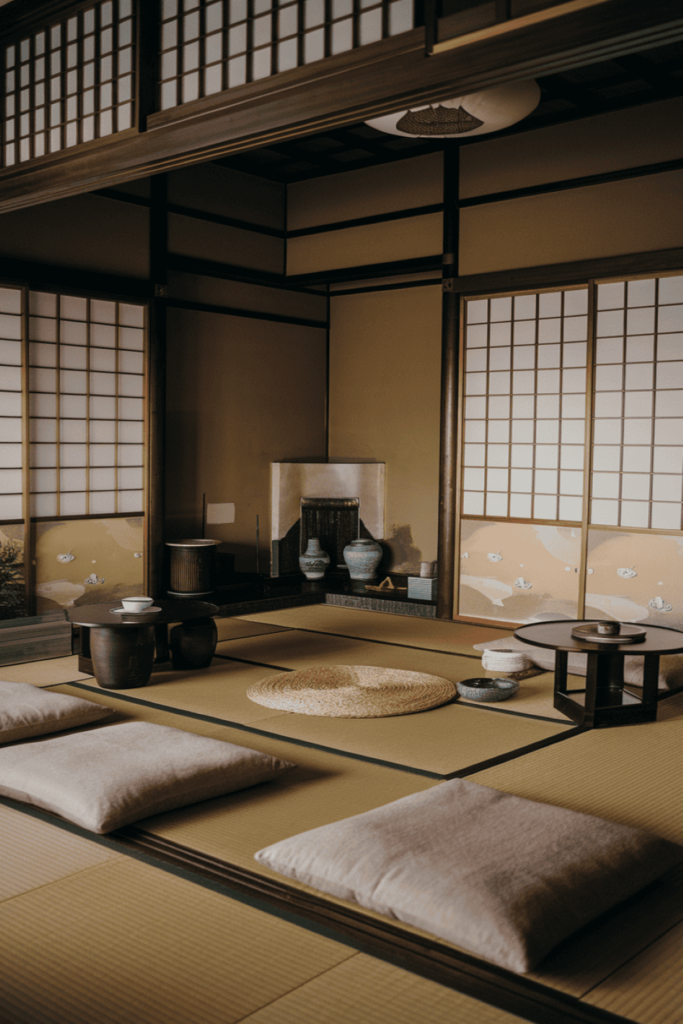
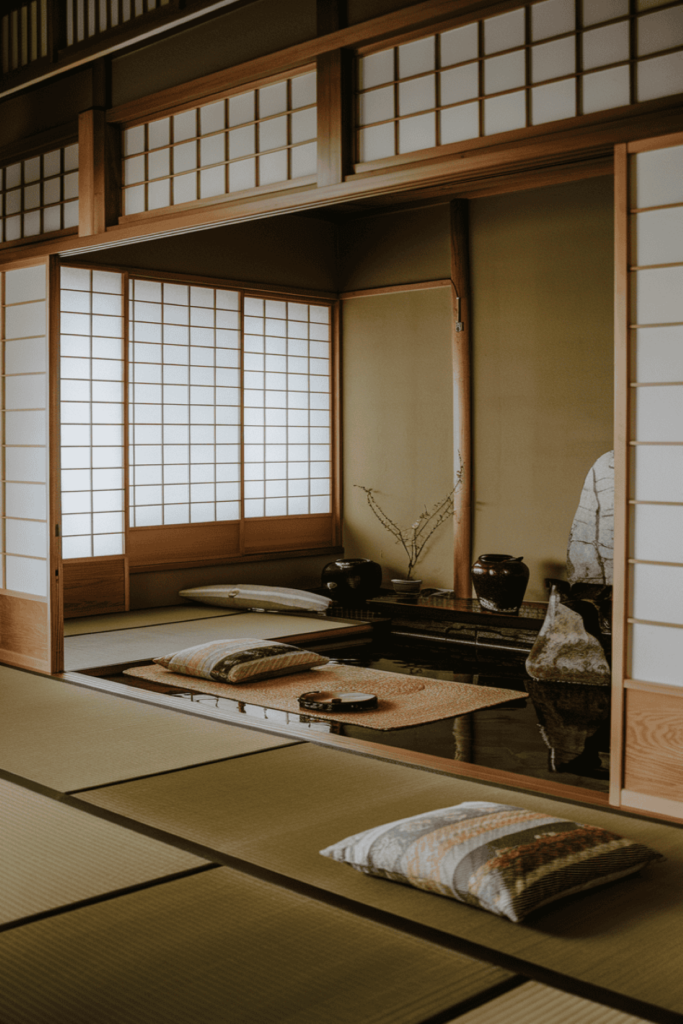
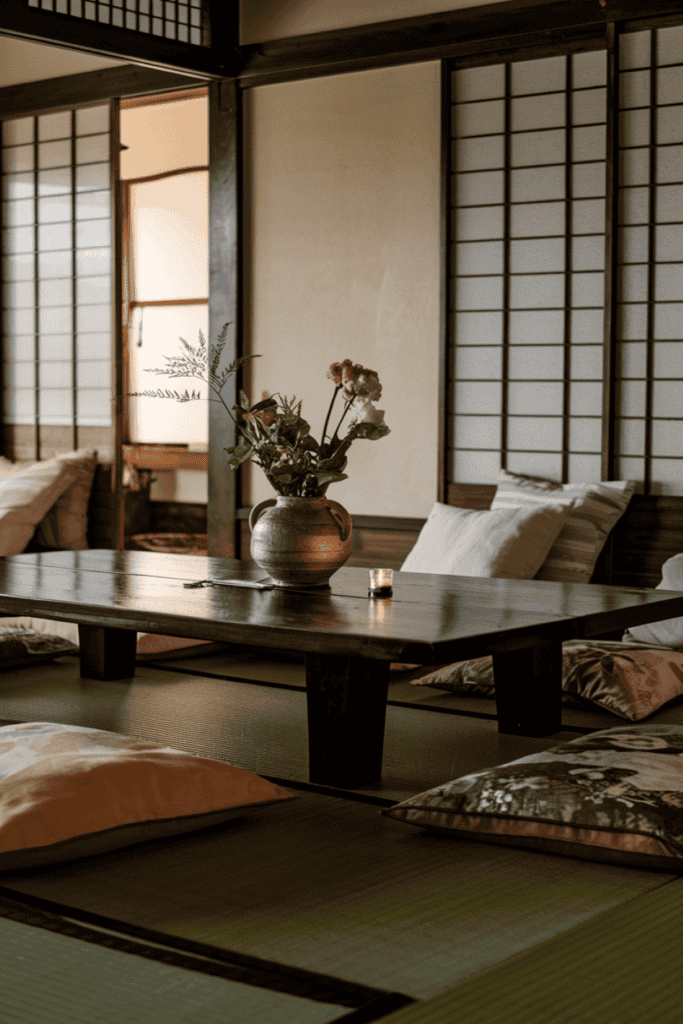
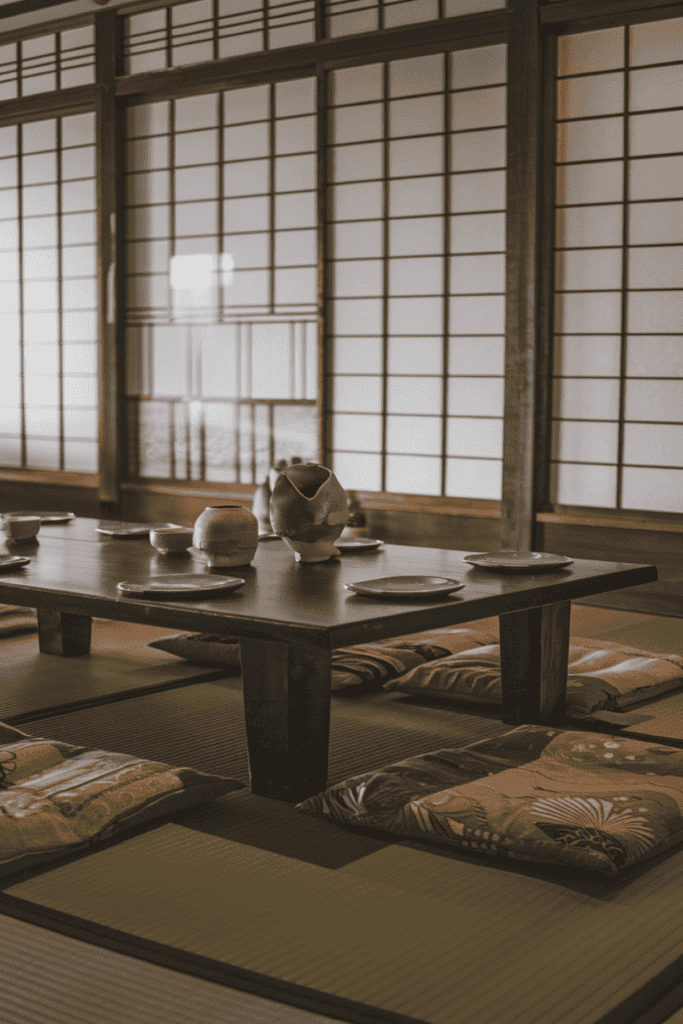
    Incorporate traditional Japanese elements like tatami mats and shoji screens. Keep the furniture low, with minimal decoration, to bring in the Zen feeling. A simple, asymmetrical arrangement of ceramics on an open shelf can act as subtle decoration. Consider adding a small indoor water feature to enhance the sense of tranquility. Use natural fiber rugs and cushions to soften the space, and keep the color palette subdued to promote relaxation. A few pieces of art inspired by nature, such as ink wash paintings, can add a sophisticated touch without overwhelming the room.

    Japandi Bedroom

    The Japandi bedroom is a space designed for tranquility and rest, combining soft textures with a minimalist approach to create an ideal sleep environment. It is a place where simplicity and comfort meet, ensuring that the atmosphere is conducive to relaxation and restful sleep.

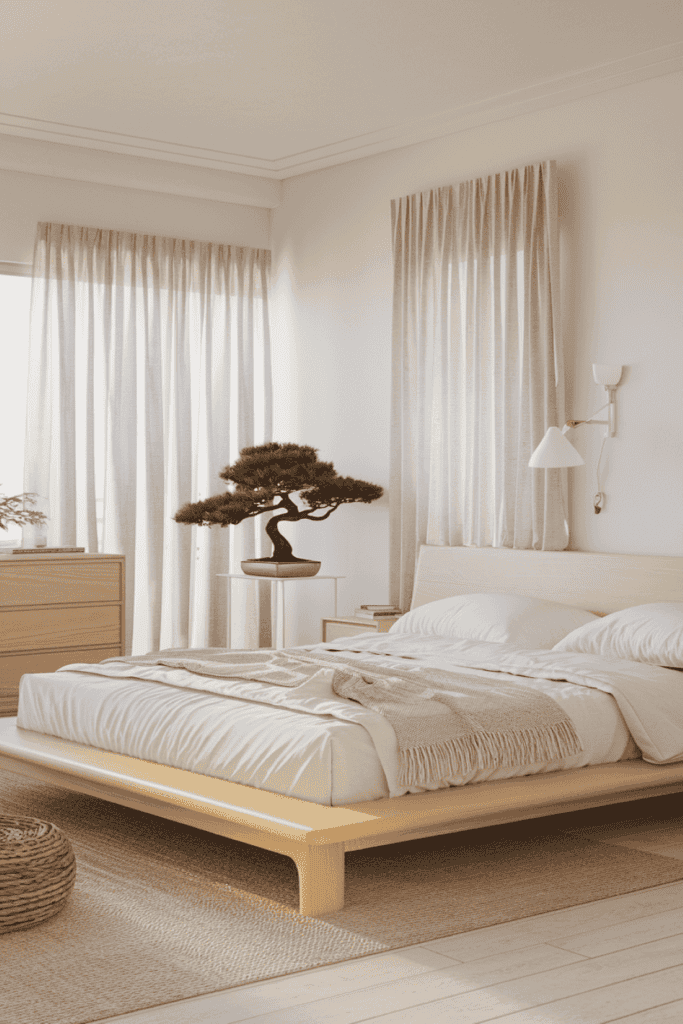
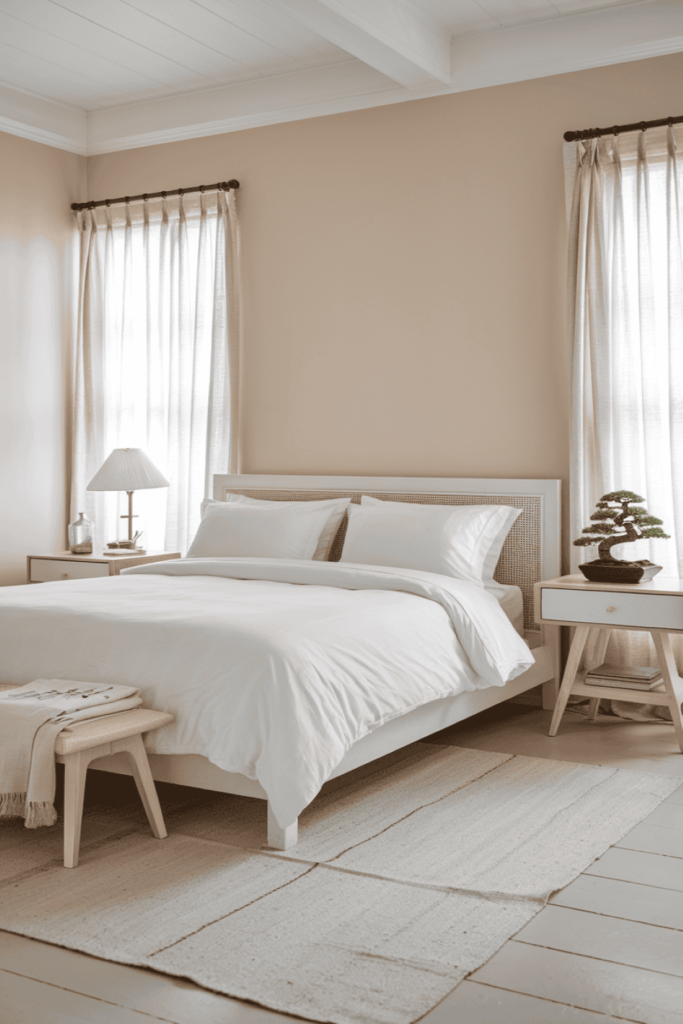
    Light and Airy

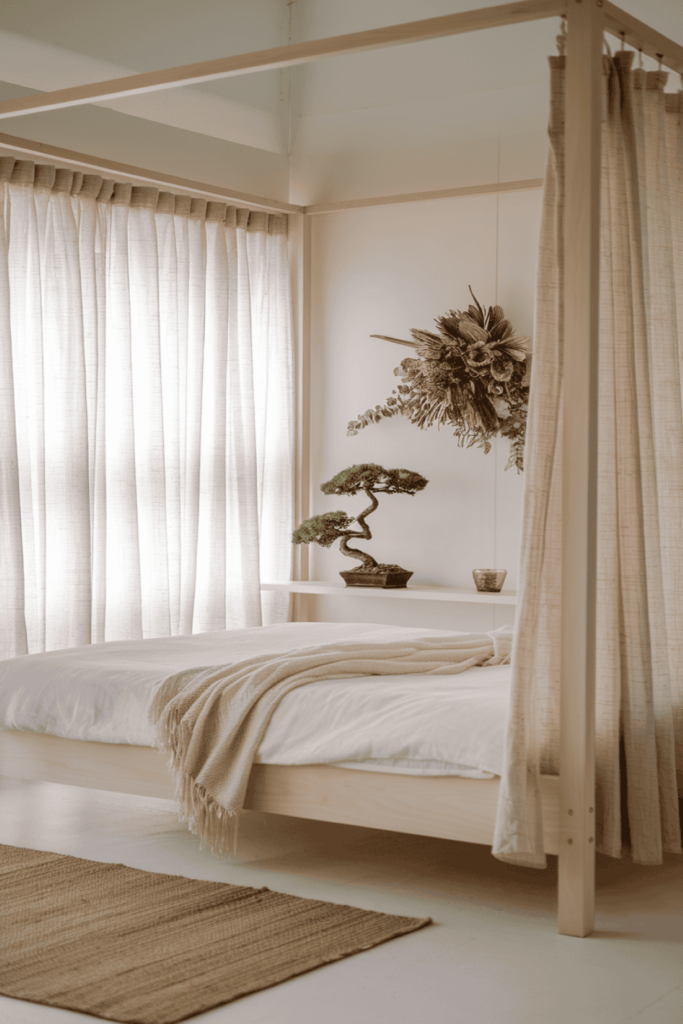
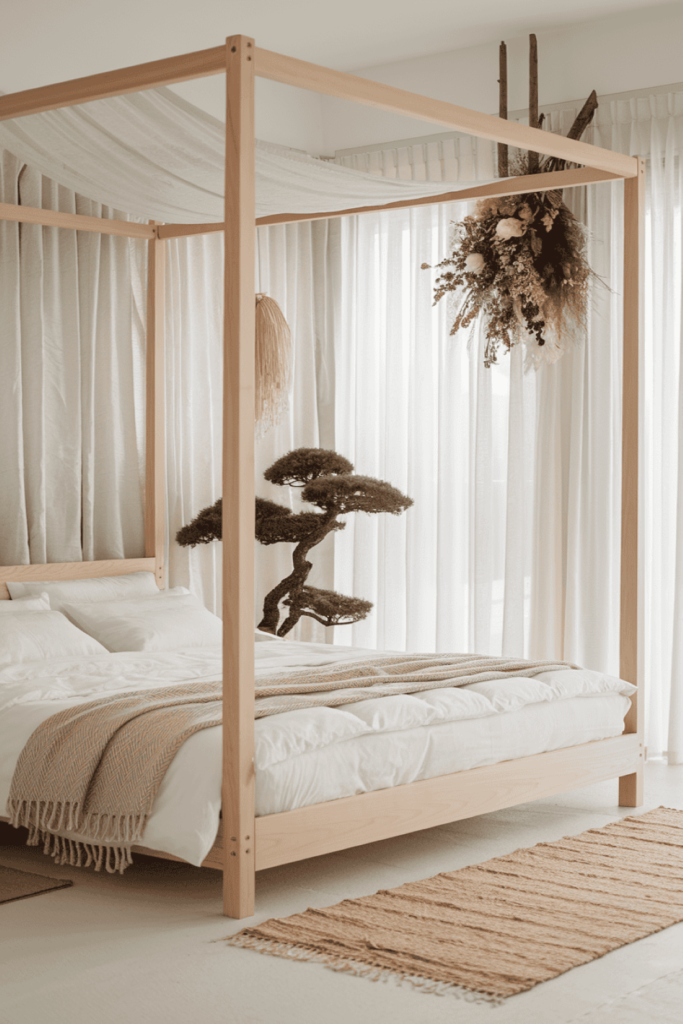
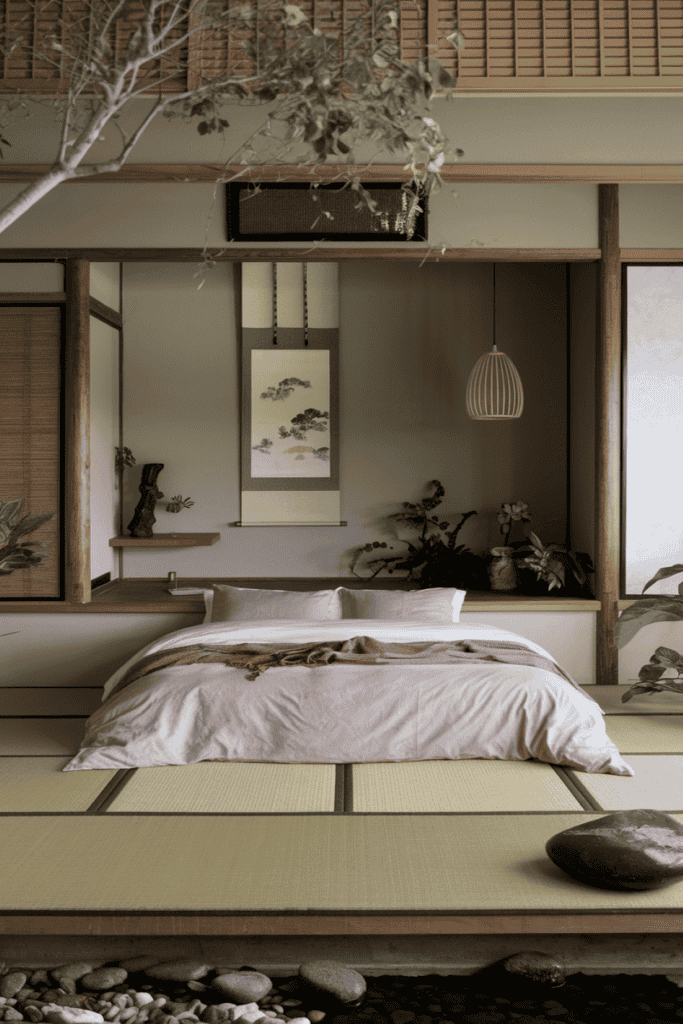
    Choose light woods and soft white linens to create an airy atmosphere. Keep decorations to a minimum, focusing on one or two nature-inspired elements like a small bonsai or a dried floral arrangement. Use sheer curtains to allow natural light to filter in, creating a bright and open feel. Add a textured throw blanket at the foot of the bed for extra comfort, and consider a simple woven rug to add warmth. A small wooden bench or stool can be placed near the bed for added functionality and charm.

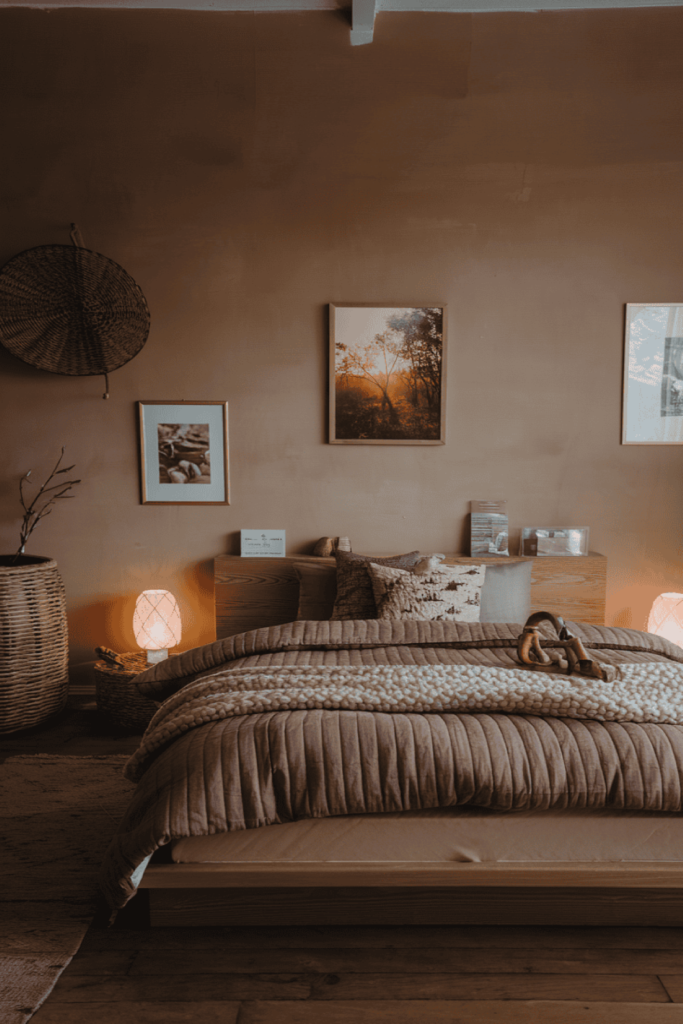
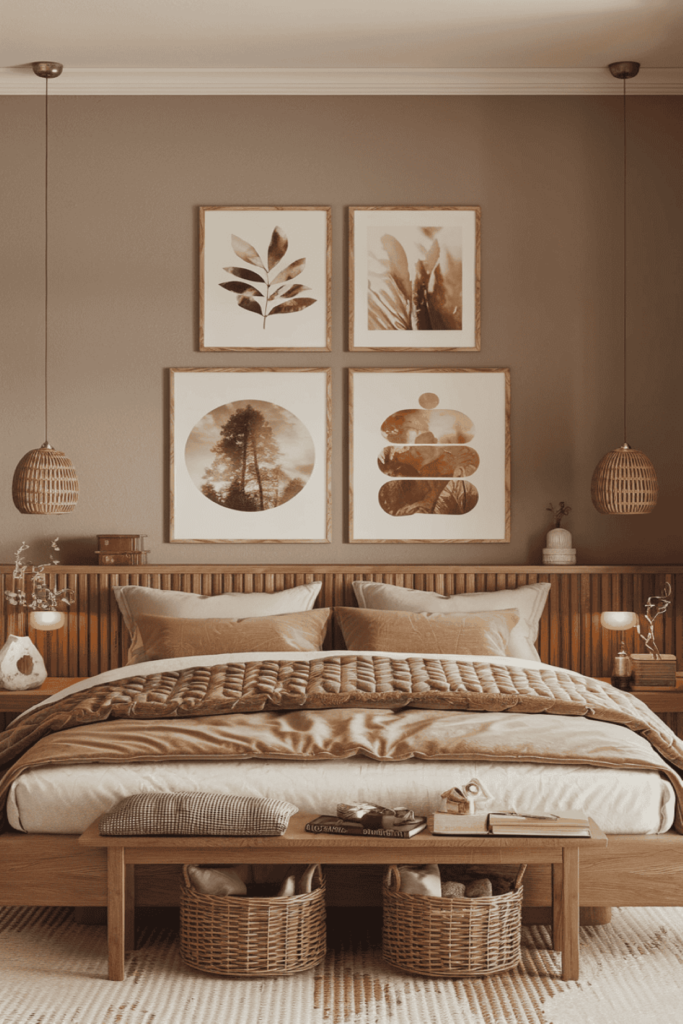
    Warm and Cozy

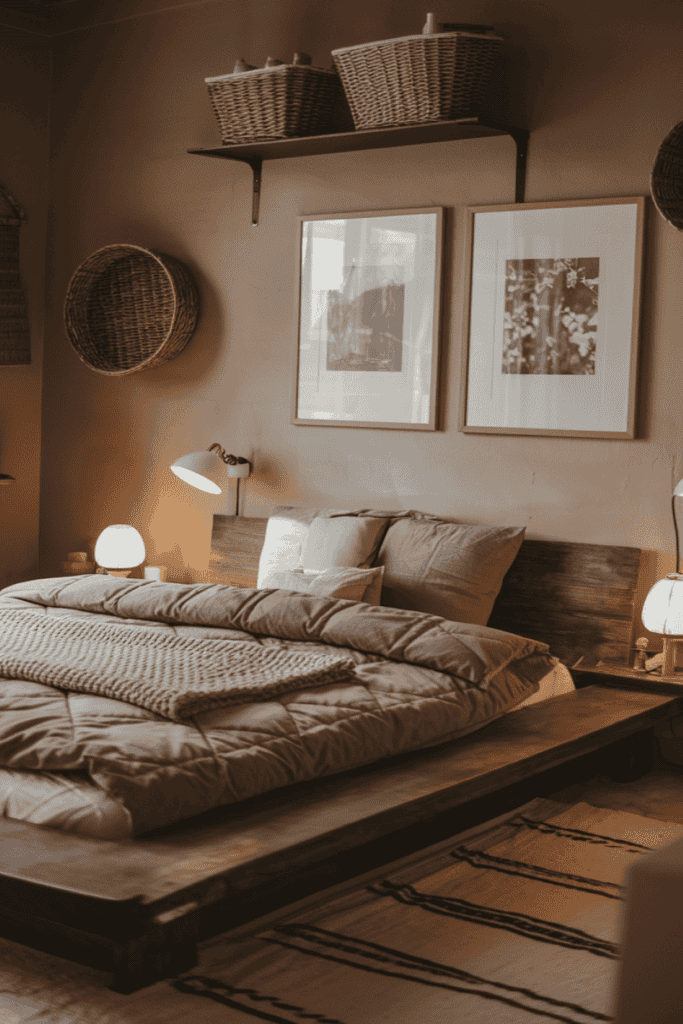
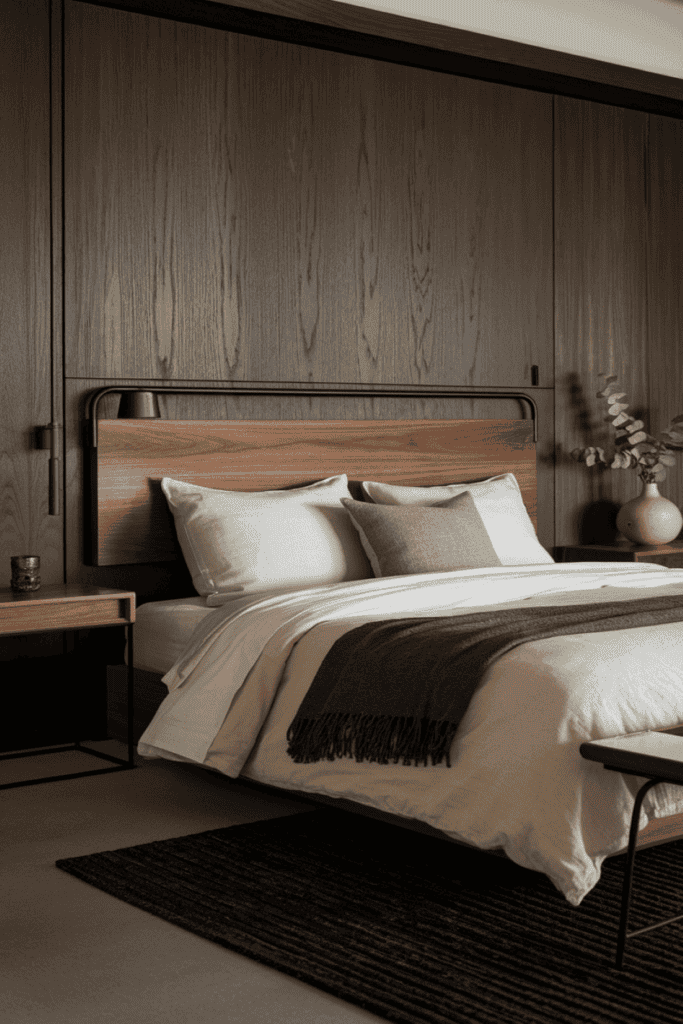
    Opt for natural, warm tones like muted browns and soft greys. A low wooden bed frame paired with a thick, quilted duvet and a knitted throw brings warmth to the minimalist space. Add bedside lamps with soft, ambient lighting. Incorporate wooden wall hooks for hanging robes or accessories, and use wicker baskets for storage to maintain the natural theme. A few framed prints of nature scenes can be hung on the wall to enhance the cozy, inviting atmosphere.

    Zen Minimalist

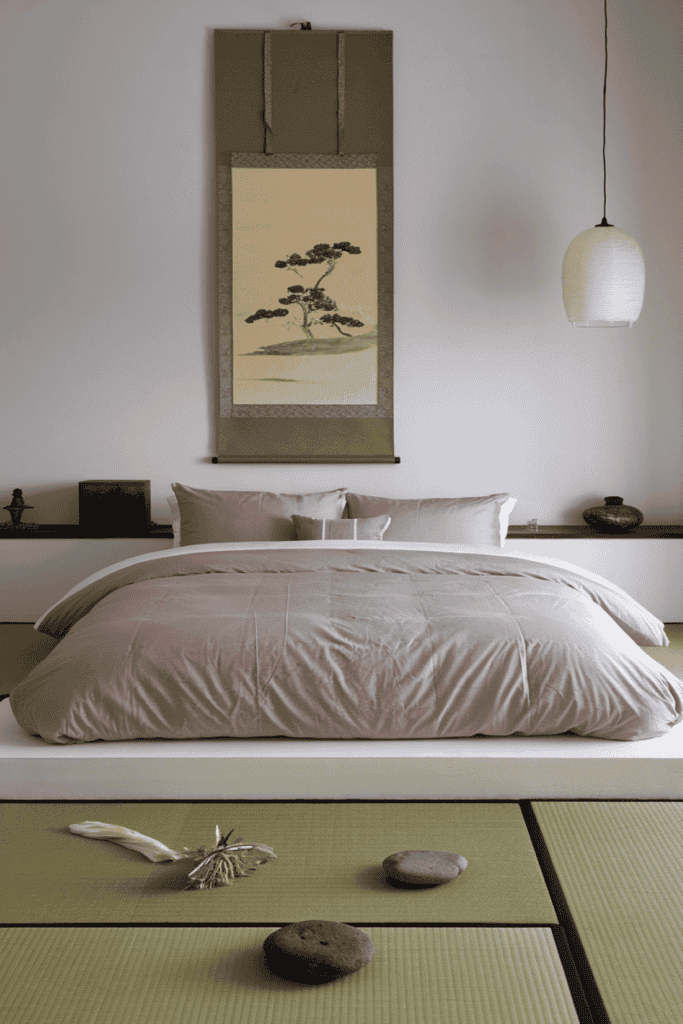
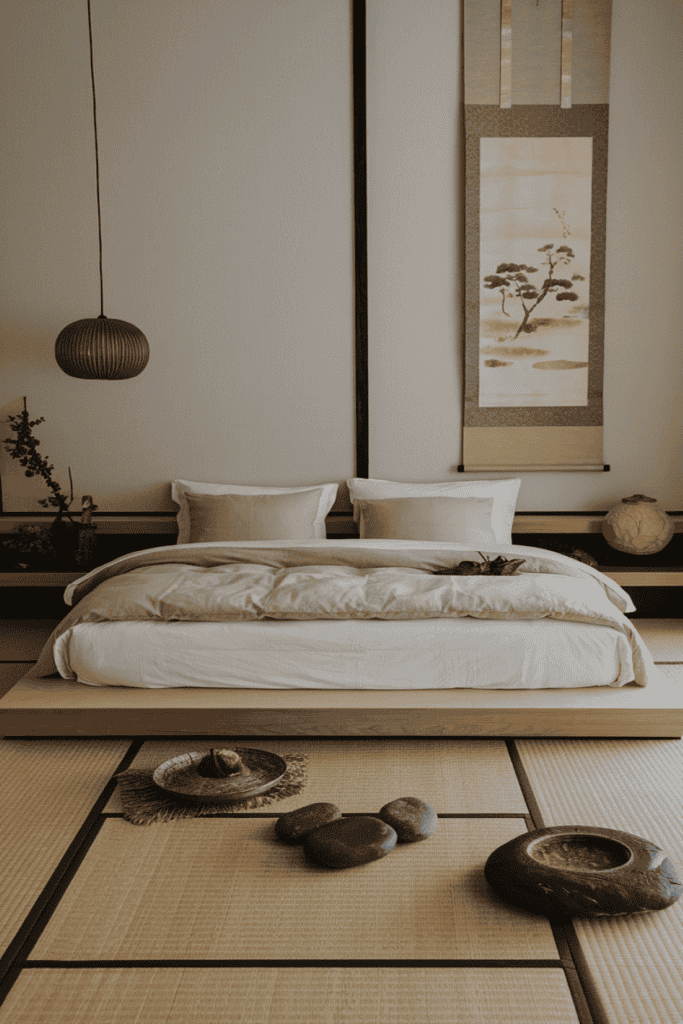
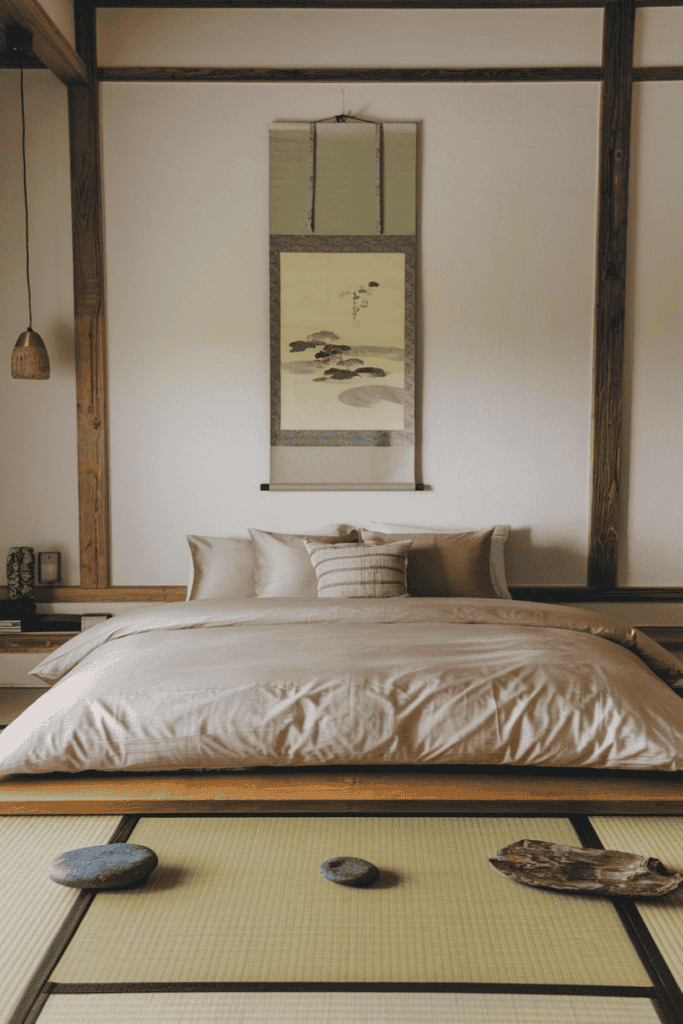
    Go for a simple platform bed with no visible frame, using neutral-toned bedding. A few natural accents like river stones in a small bowl or a single hanging pendant lamp can make the space feel distinctly Japanese yet cozy. Keep the walls bare or use a simple scroll painting to add interest without clutter. Place a tatami mat on the floor to bring in a traditional Japanese element, and consider adding a small, low-profile bench at the end of the bed for practicality. Use diffused lighting to maintain a calming ambiance.

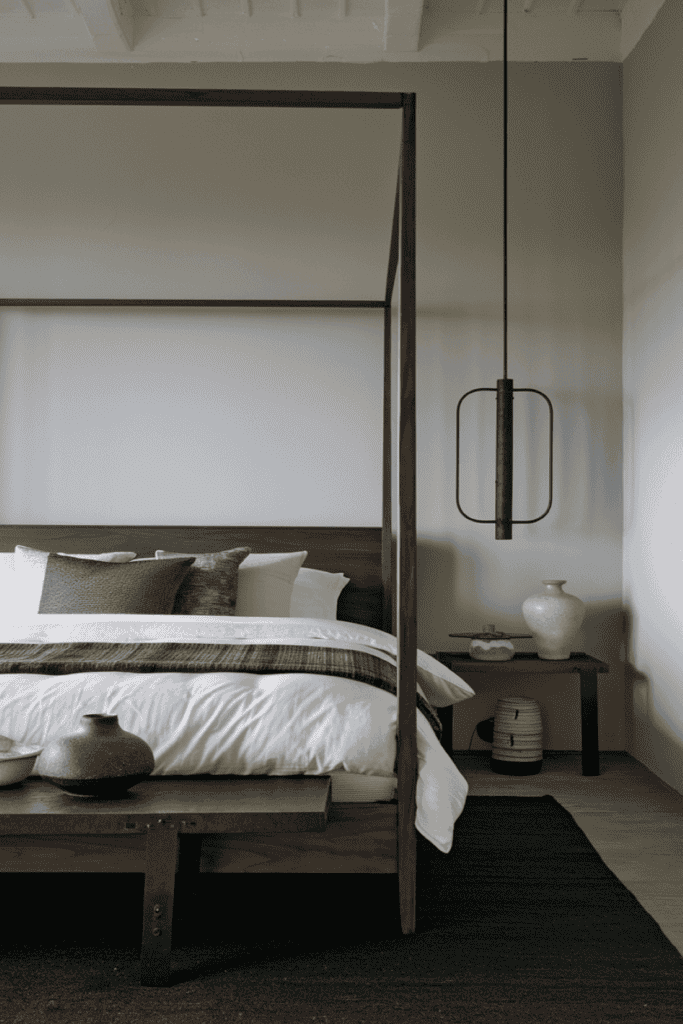
    Dark Accents

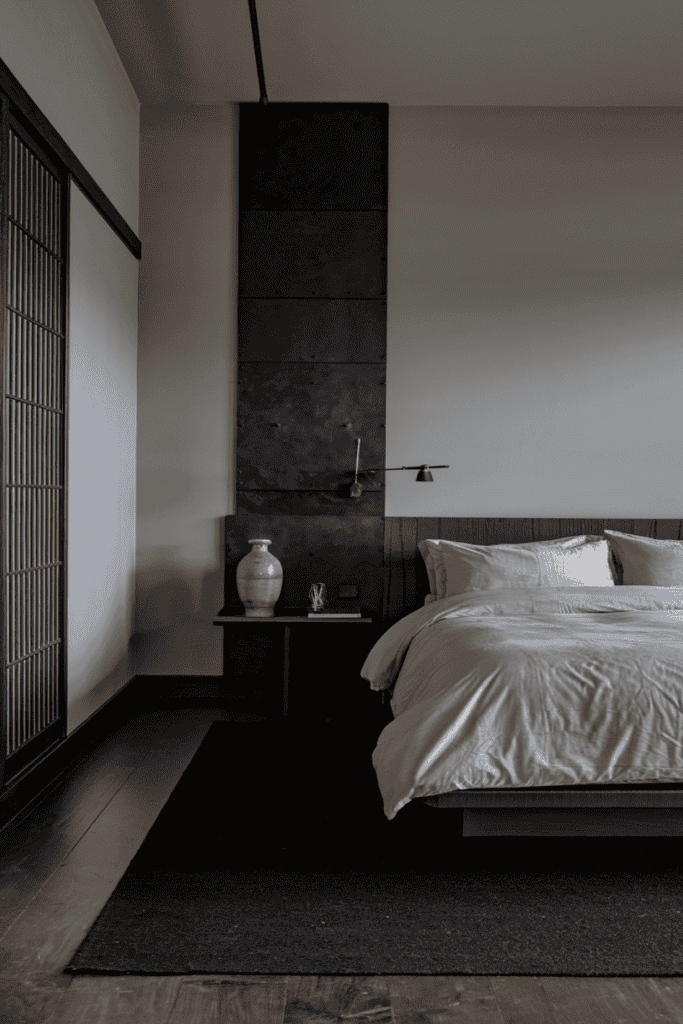
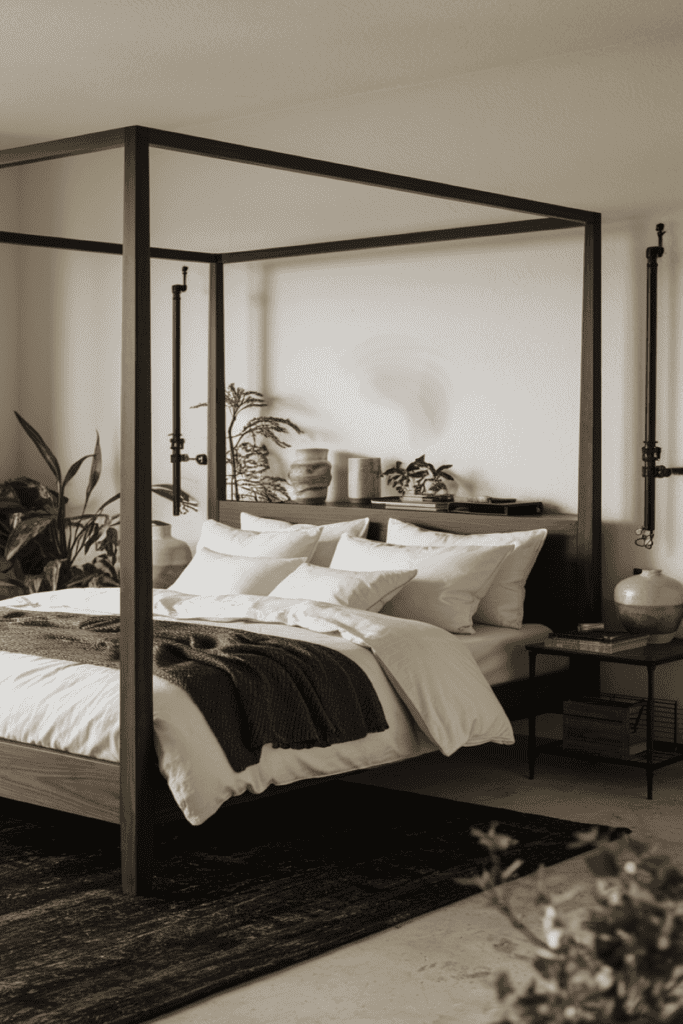
    Use darker wood tones like walnut for the bed frame and furniture. Contrast these with off-white or grey bedding. Black metal accents and simple, soft lighting can add a modern touch while maintaining the serene ambiance. Add a dark-toned rug to anchor the space and create a feeling of warmth. Use sleek, minimal bedside tables and keep decor items to a minimum, focusing on quality over quantity. A few dark ceramic vases or planters can enhance the overall aesthetic, adding depth and richness.

    Japandi Kitchen

    Japandi kitchens focus on functionality and simplicity, combining modern appliances with natural materials to create a practical yet beautiful space. The kitchen should feel organized and efficient, while still being a warm, inviting place for cooking and gathering.

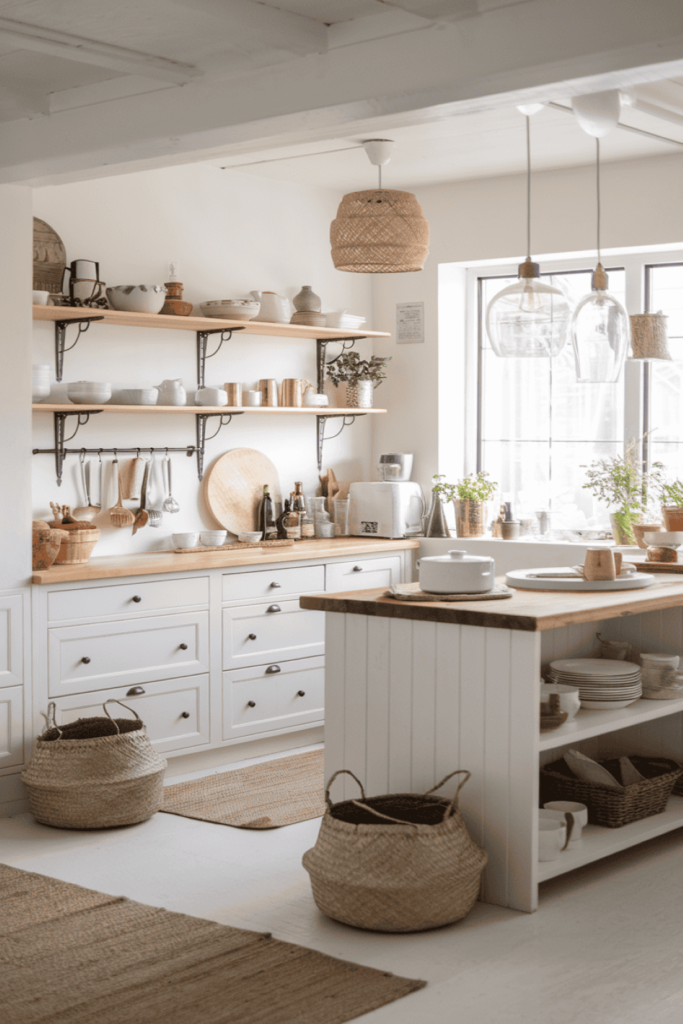
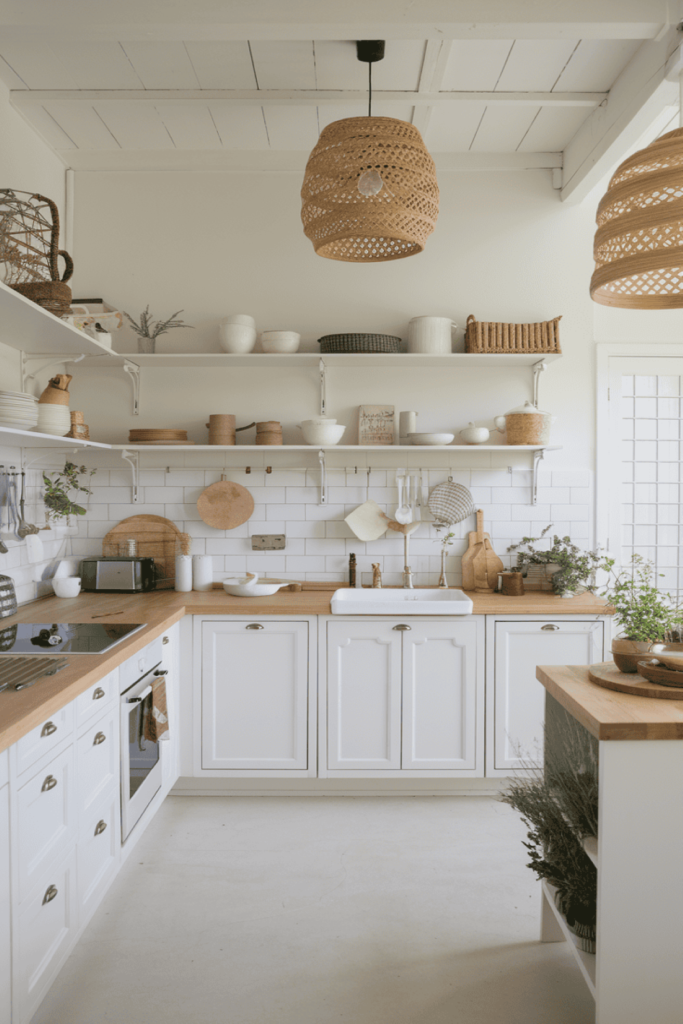
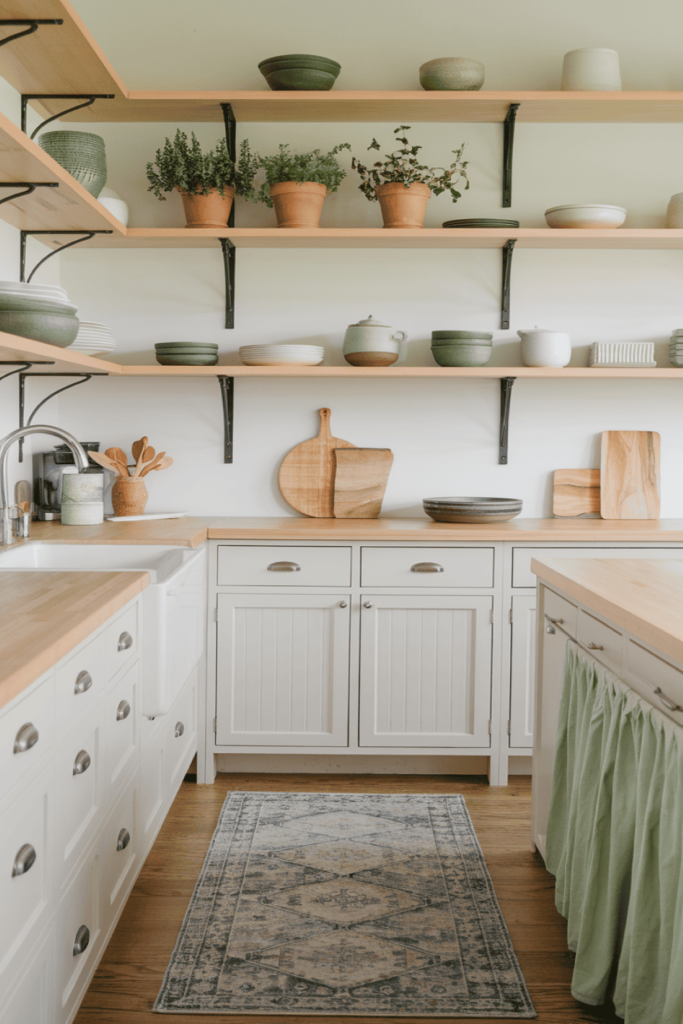
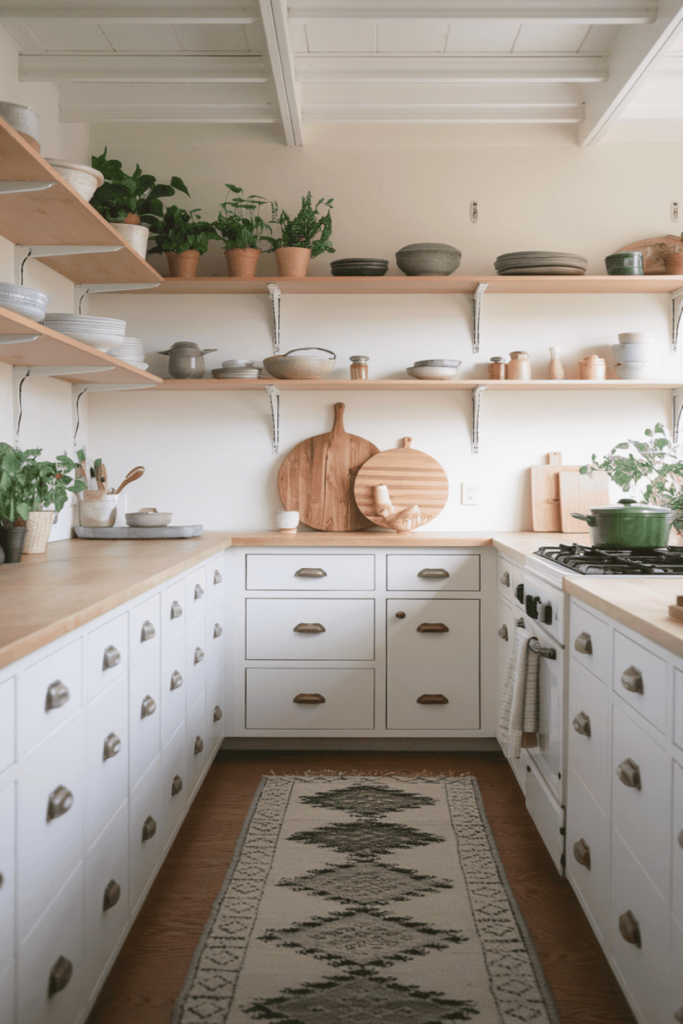
    Open Shelving Simplicity

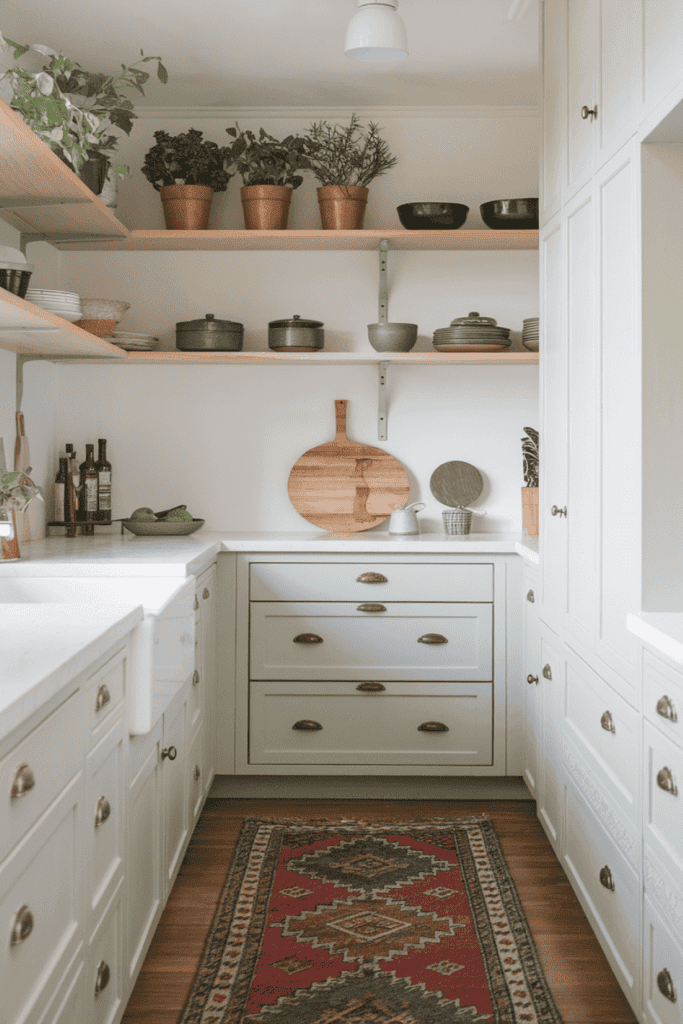
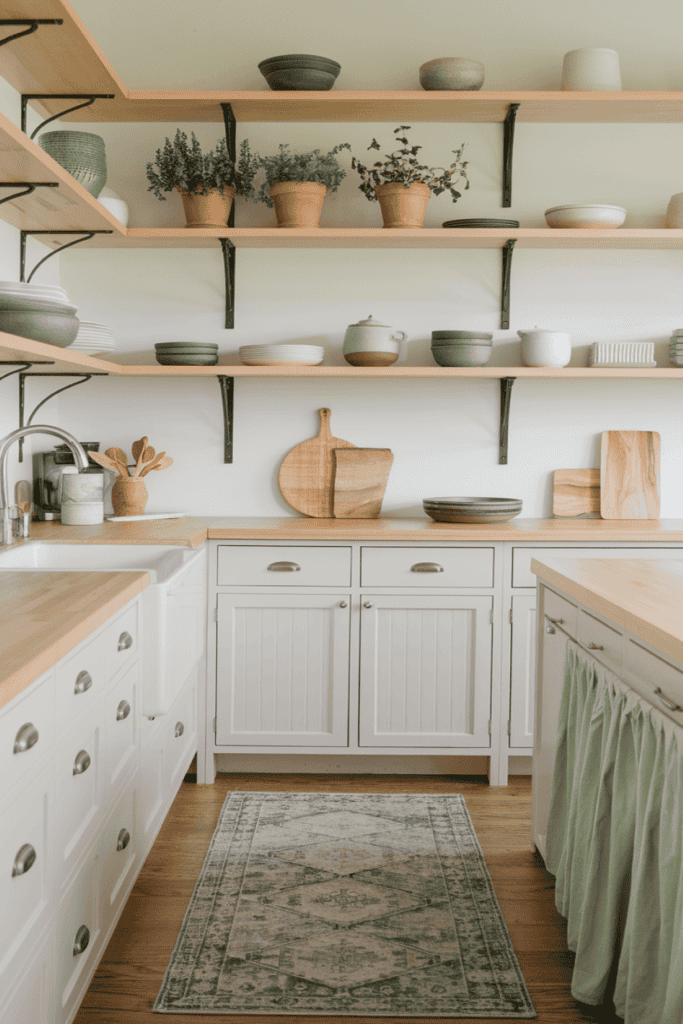
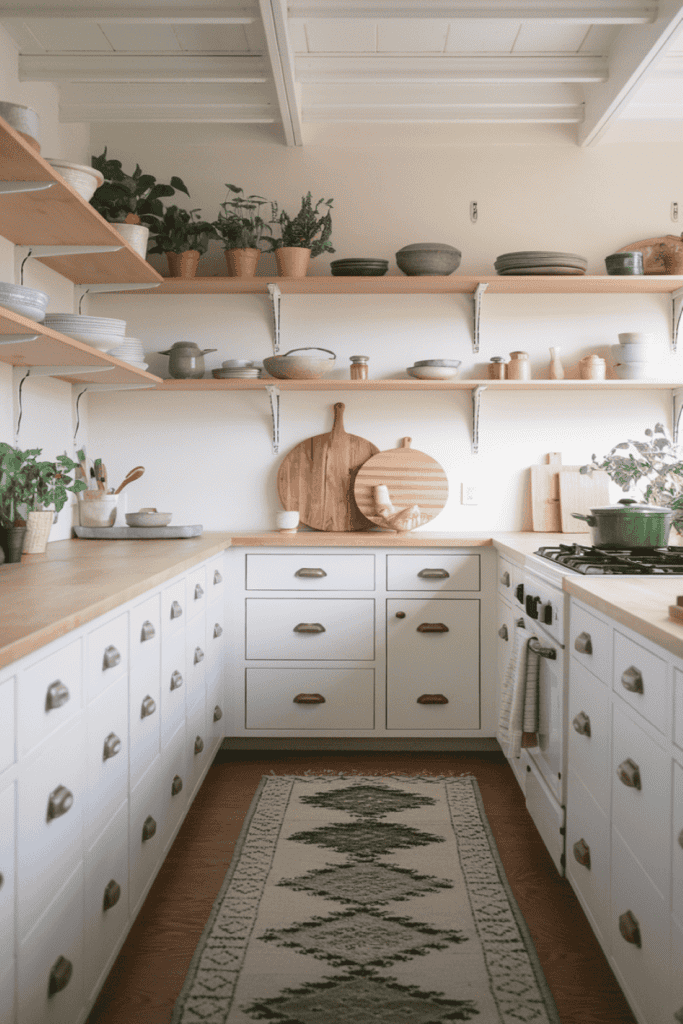
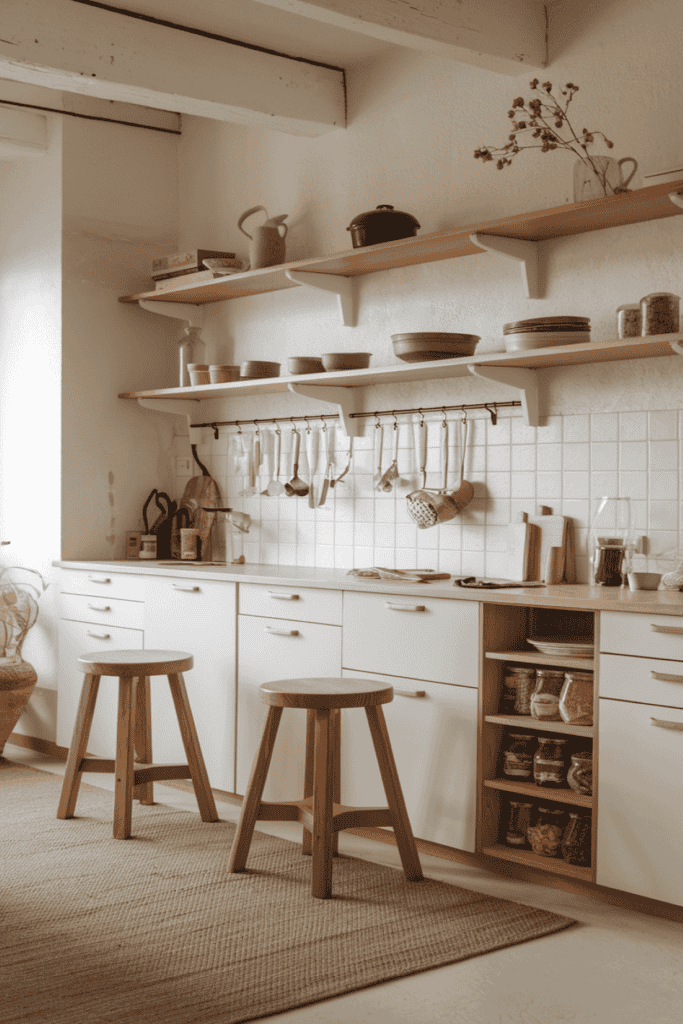
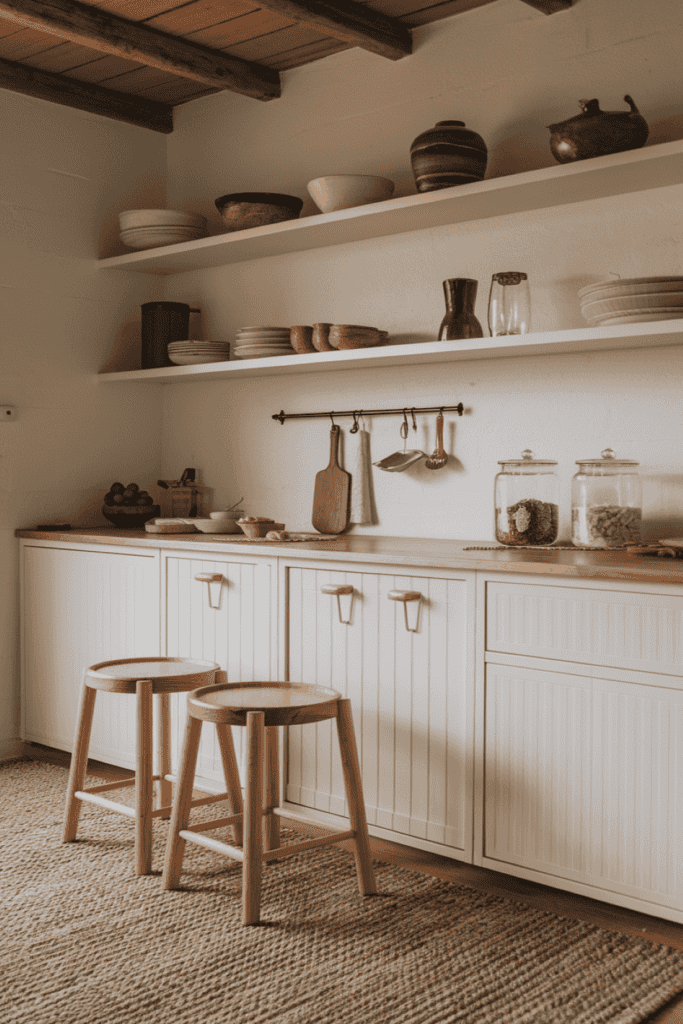
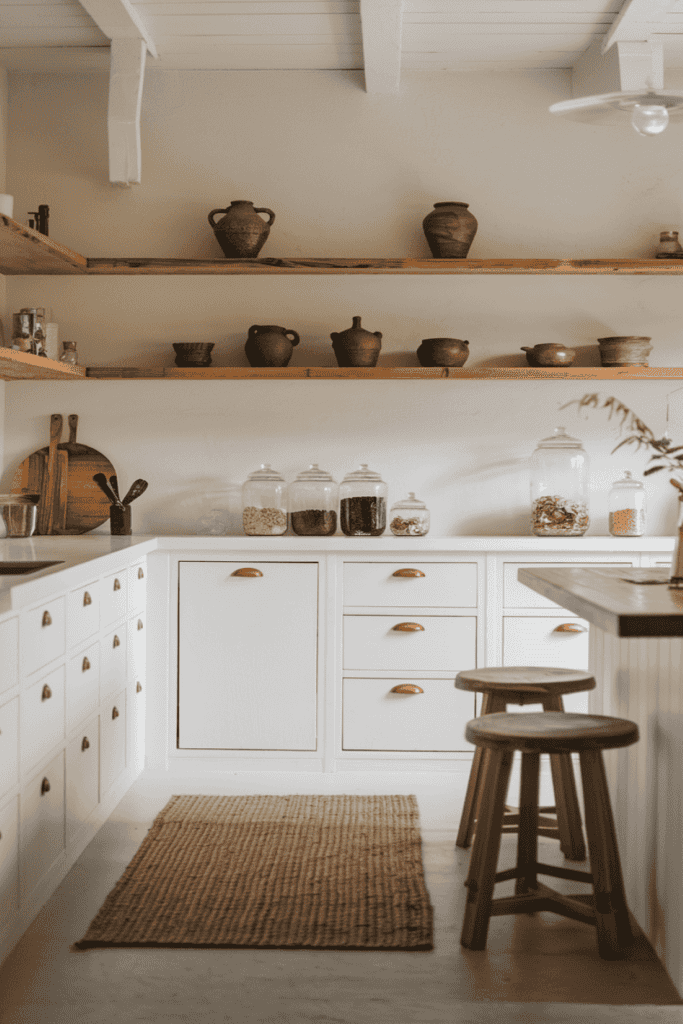
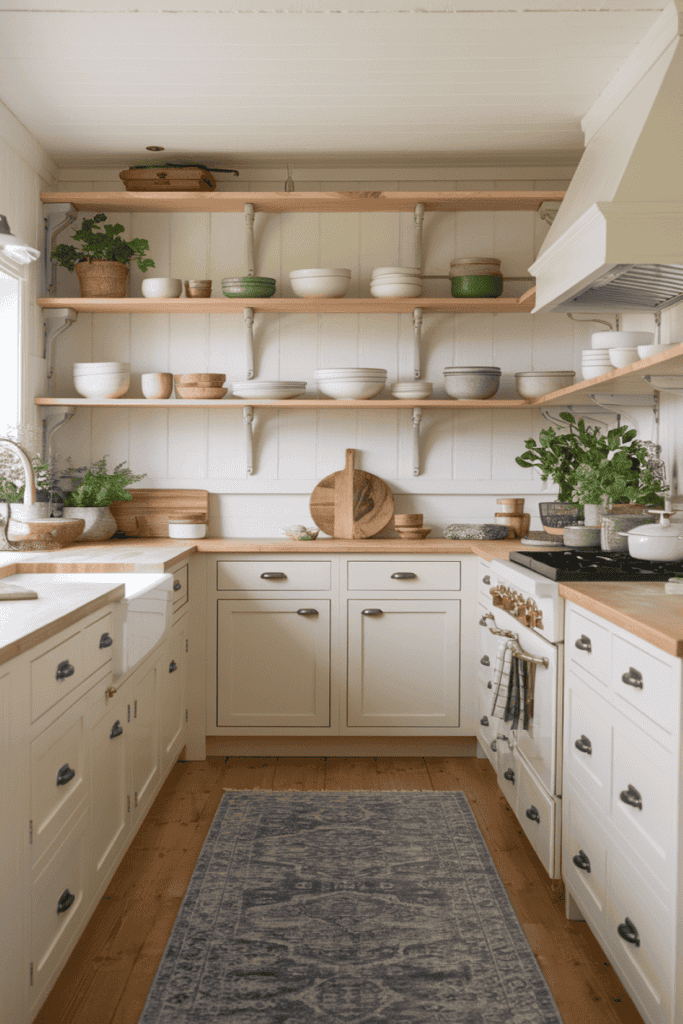
    Opt for open wooden shelving in light tones. Display only essential items in a tidy, deliberate manner. Choose white or cream cabinetry, and use subtle accents of green with potted herbs to bring nature indoors. Use stoneware dishes and wooden cutting boards to add texture and maintain the natural theme. Consider a simple runner rug in neutral tones to add warmth to the floor, and keep small appliances tucked away to maintain a clean, uncluttered look.

    Dark and Moody

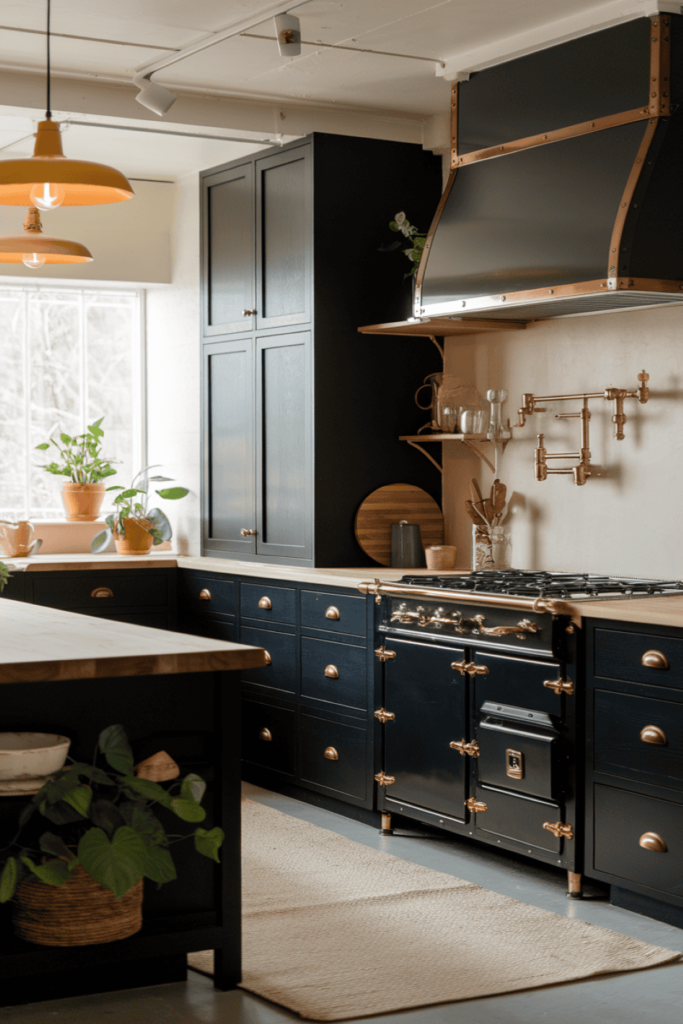
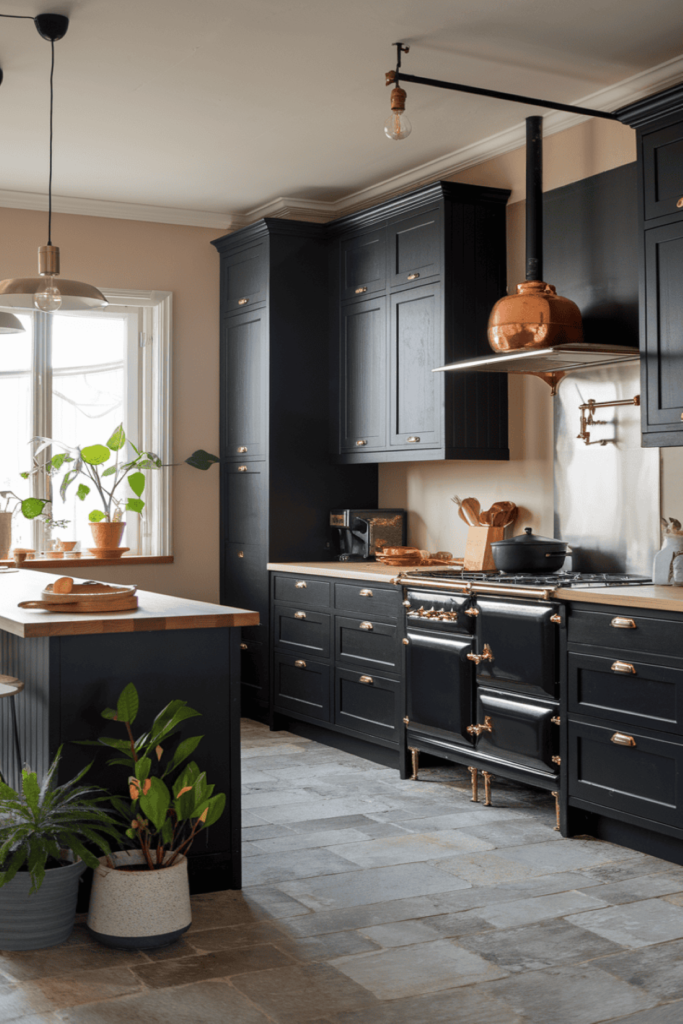
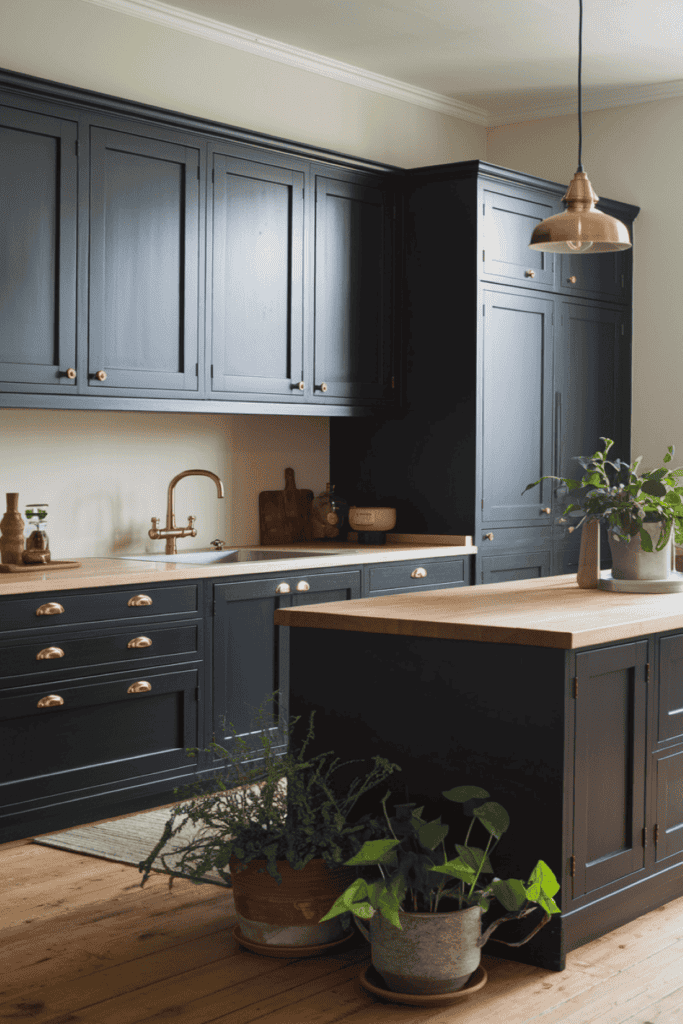
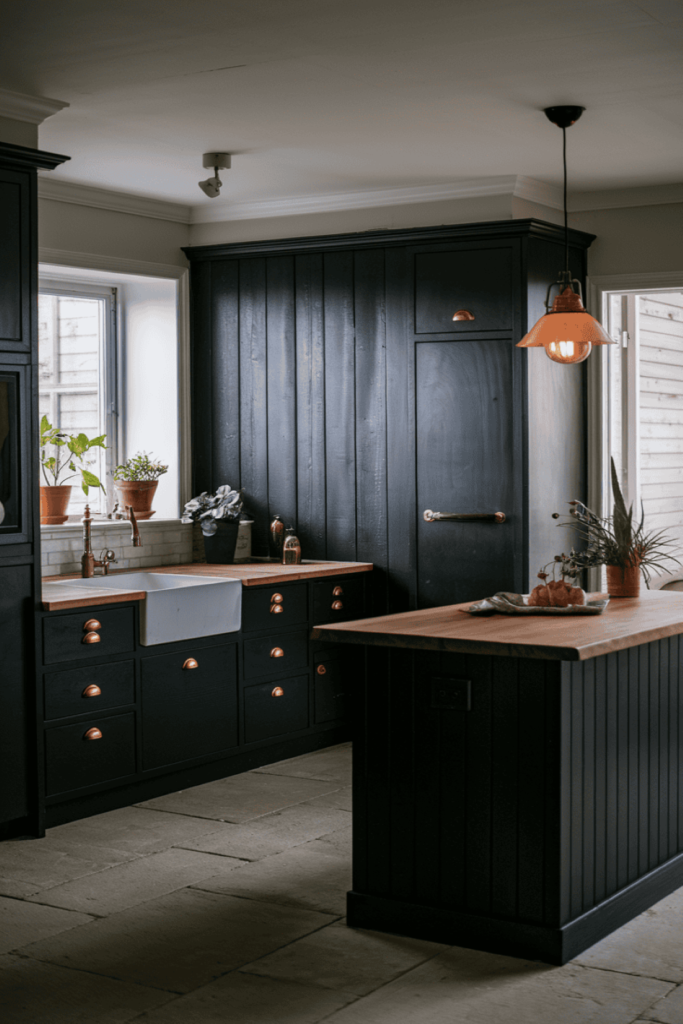
    For a more dramatic approach, use dark-toned cabinetry, like matte black or charcoal. Balance this with light wood countertops and warm accents. Incorporate simple hardware and open storage to keep the design functional and minimal. Use brass or copper accents for a touch of warmth, and consider pendant lights with a soft glow to create a cozy atmosphere. Dark stone countertops can add a luxurious feel, while simple potted plants can help soften the overall look.

    Scandinavian Charm

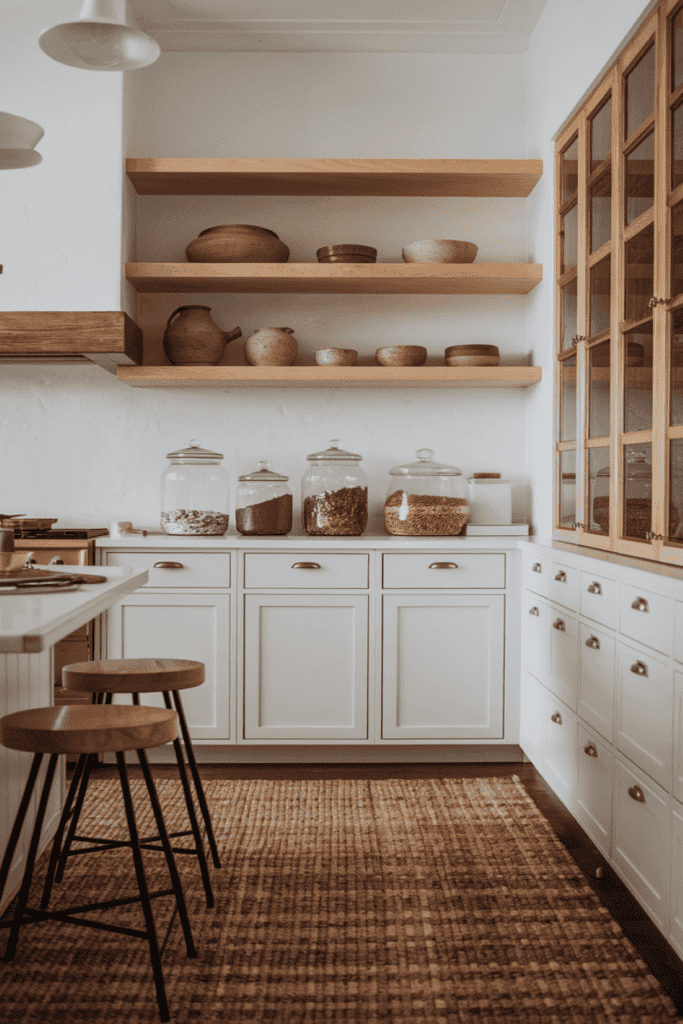
    Use a neutral color palette with white cabinetry and natural wood countertops. Incorporate Scandinavian elements like minimalist pendant lights and practical, beautiful tools that can be displayed openly. Focus on clean lines and light-filled spaces. Add a few woven baskets for storage, and use open shelving to display ceramics and glassware. A small herb garden on the windowsill can bring life to the space, while a simple, understated backsplash can add texture without overwhelming the design.

    Natural Touch

    Keep the kitchen bright and clean with white cabinetry and add bamboo or oak accents. Use handmade pottery or ceramics to decorate open shelves, and choose simple, minimalist stools for a kitchen island or counter seating. Add a woven rug for texture, and incorporate glass jars for storing dry goods in an aesthetically pleasing way. Use soft, diffused lighting to create a warm atmosphere, and consider adding a large wooden cutting board as both a functional and decorative element.

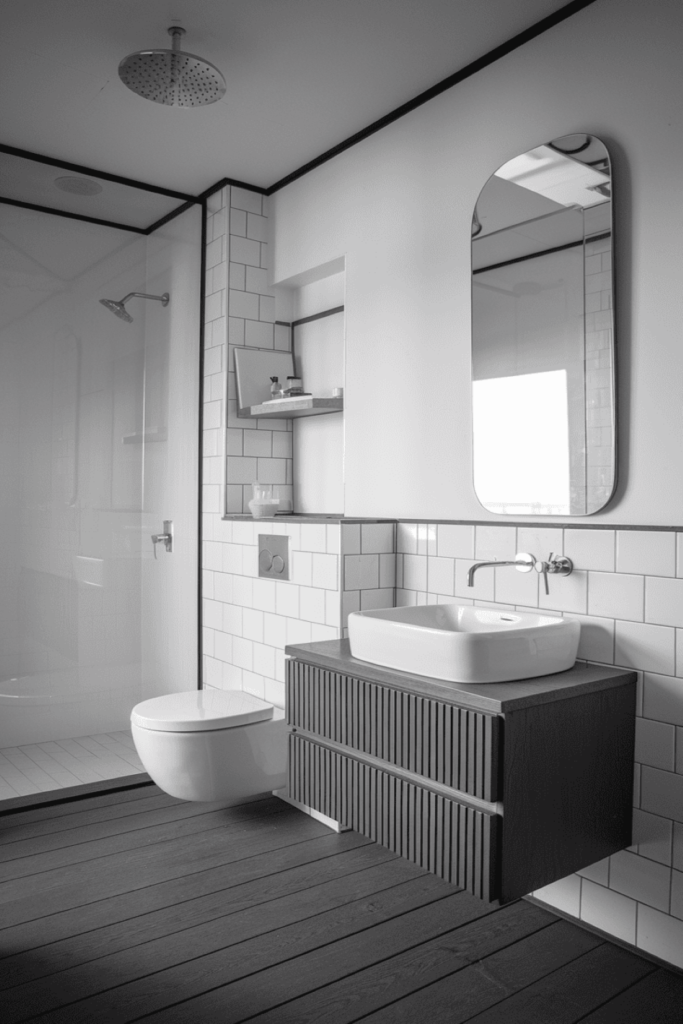
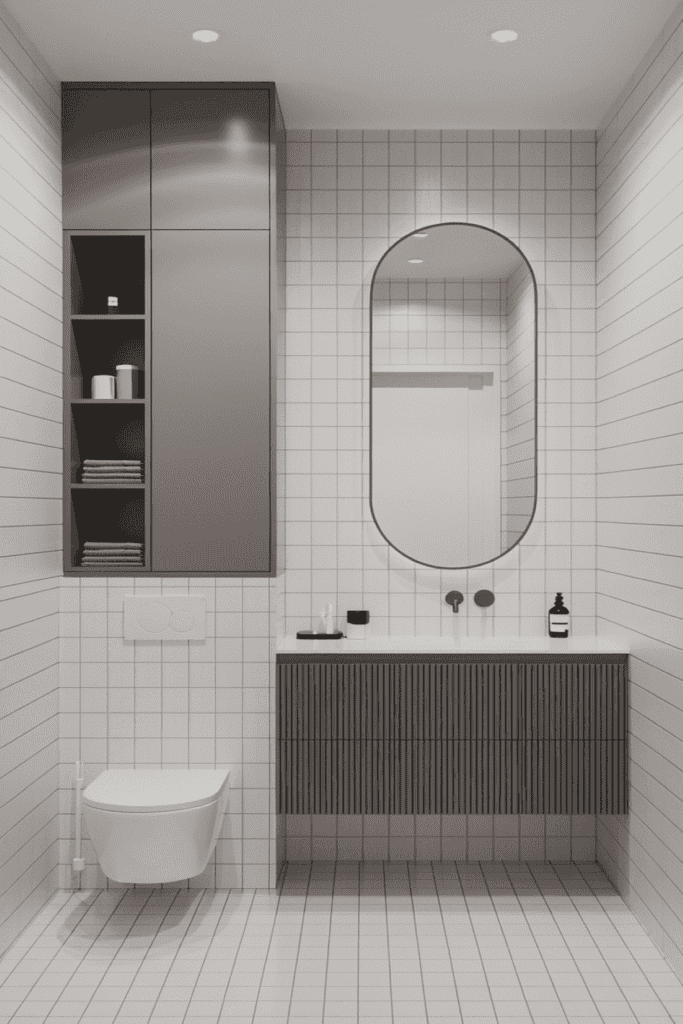
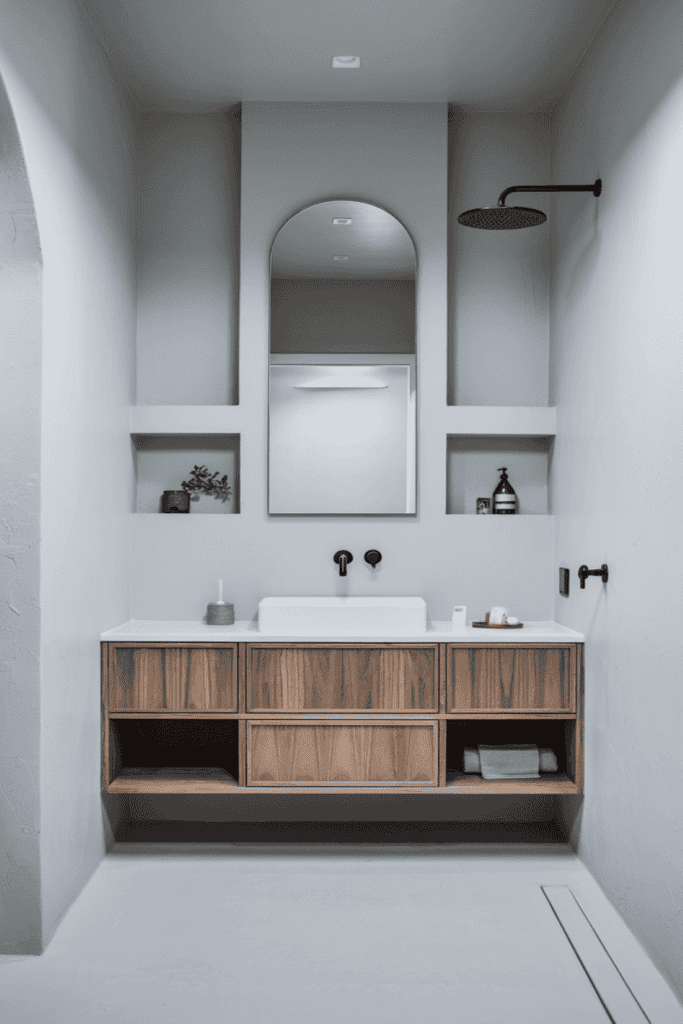
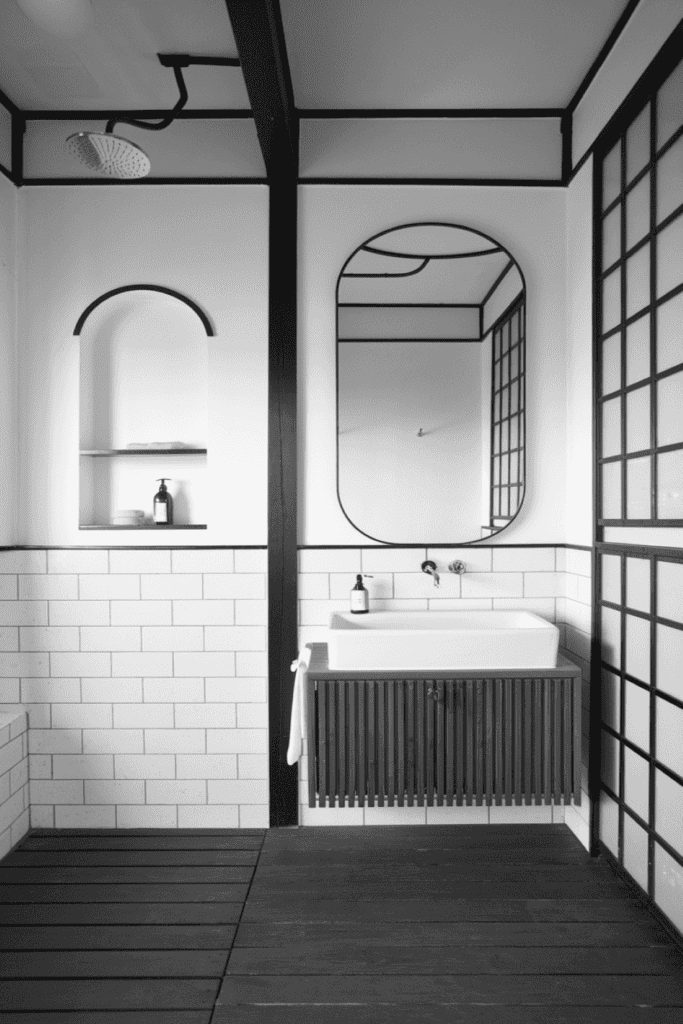
    Japandi Bathroom

    The Japandi bathroom is all about creating a spa-like, calming retreat with organic elements and uncluttered space. It should be a sanctuary where you can unwind and rejuvenate, combining practicality with serene beauty.

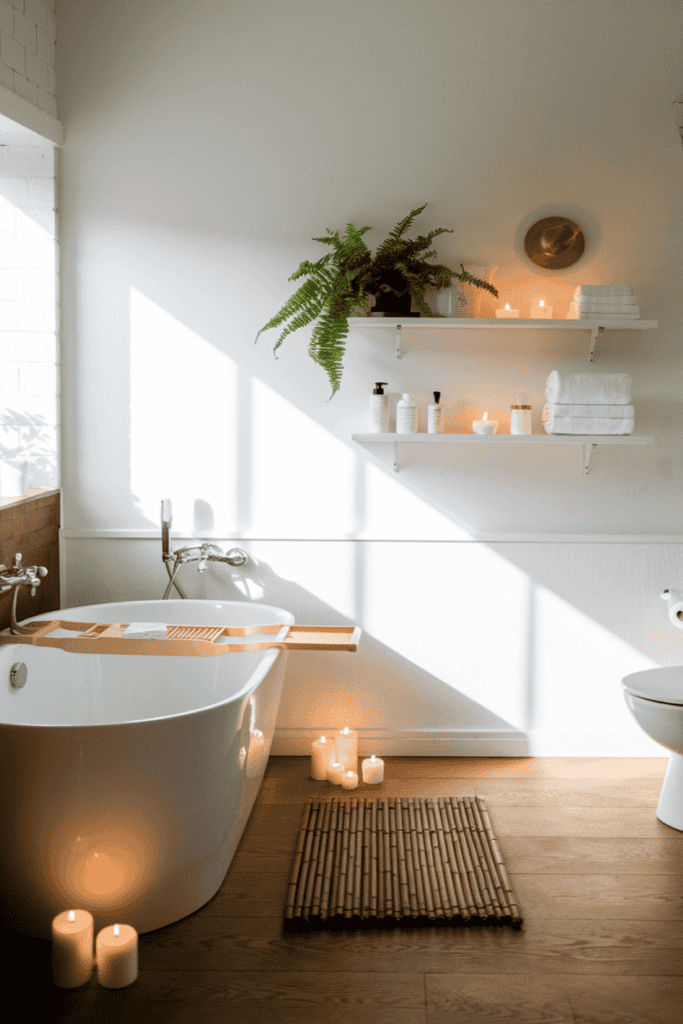
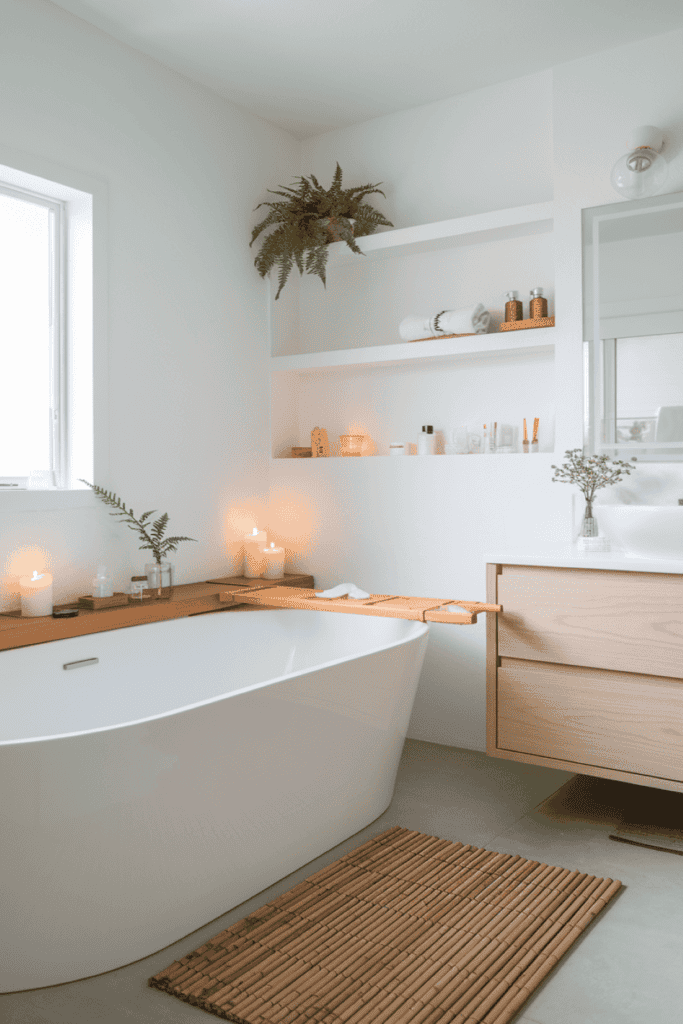
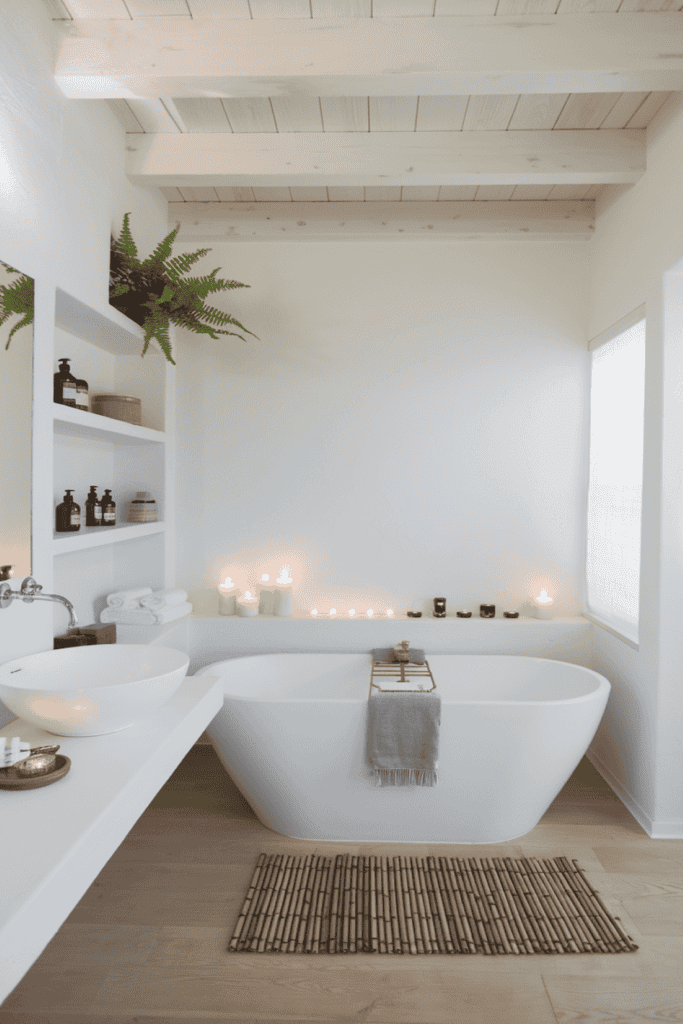
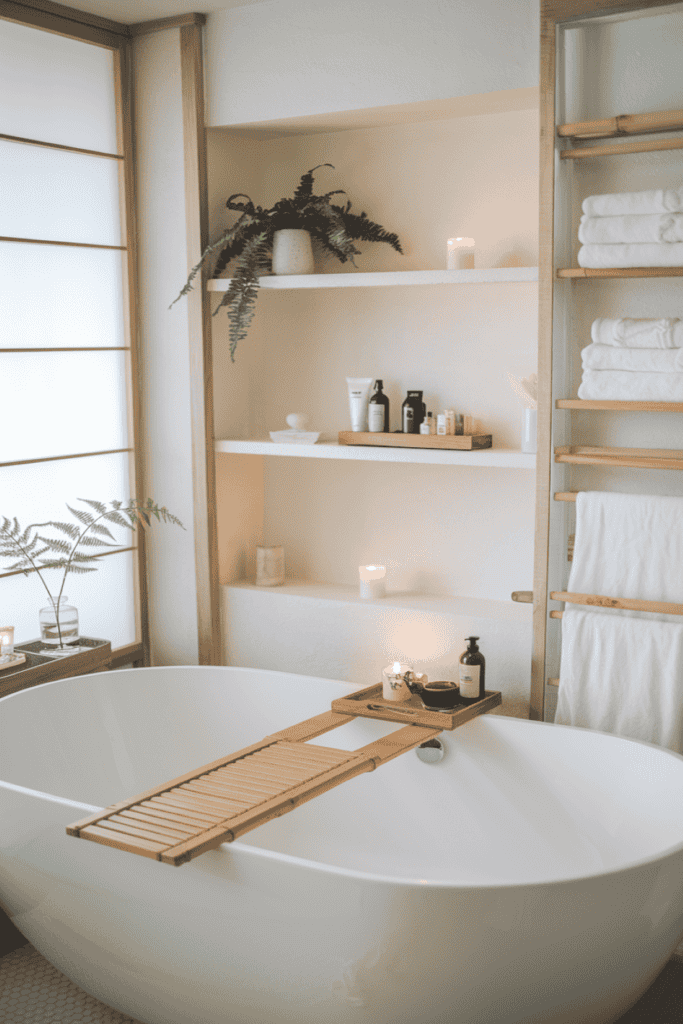
    Light Spa Retreat

    Use white and light wood for a bright, spa-like feeling. A simple, freestanding bathtub and minimal decor, such as a wooden stool with a few neatly folded towels, provide a tranquil atmosphere. Add a bamboo bath mat and a few candles for a touch of luxury. Incorporate open shelving with neatly arranged toiletries, and use natural fiber baskets for storage. A small plant, like a fern or a peace lily, can add a fresh, relaxing element to the space.

    Stone and Wood

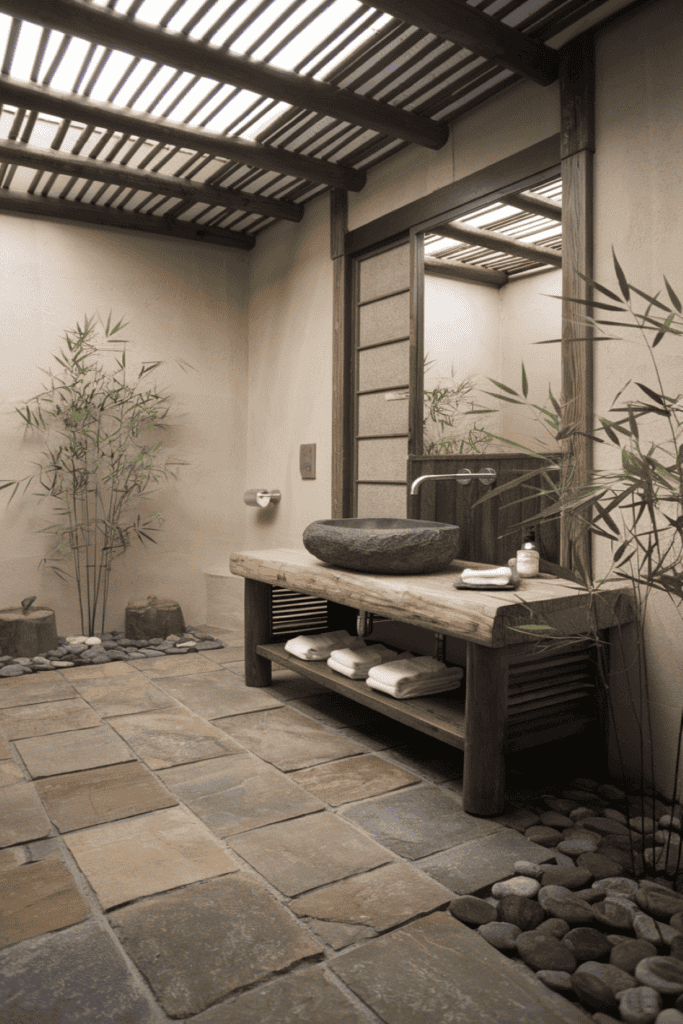
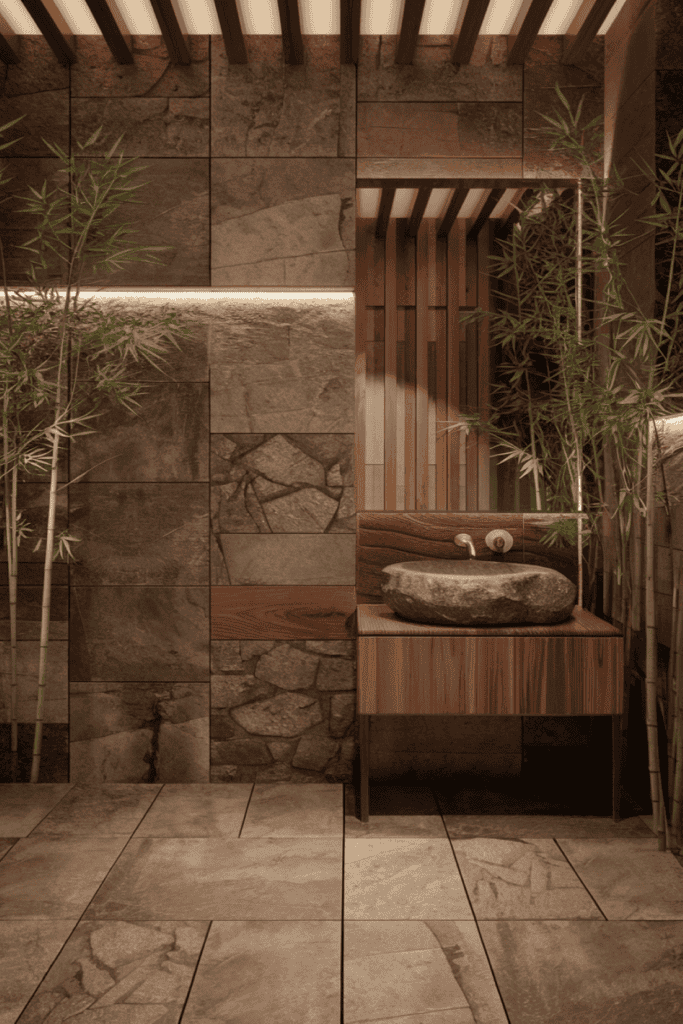
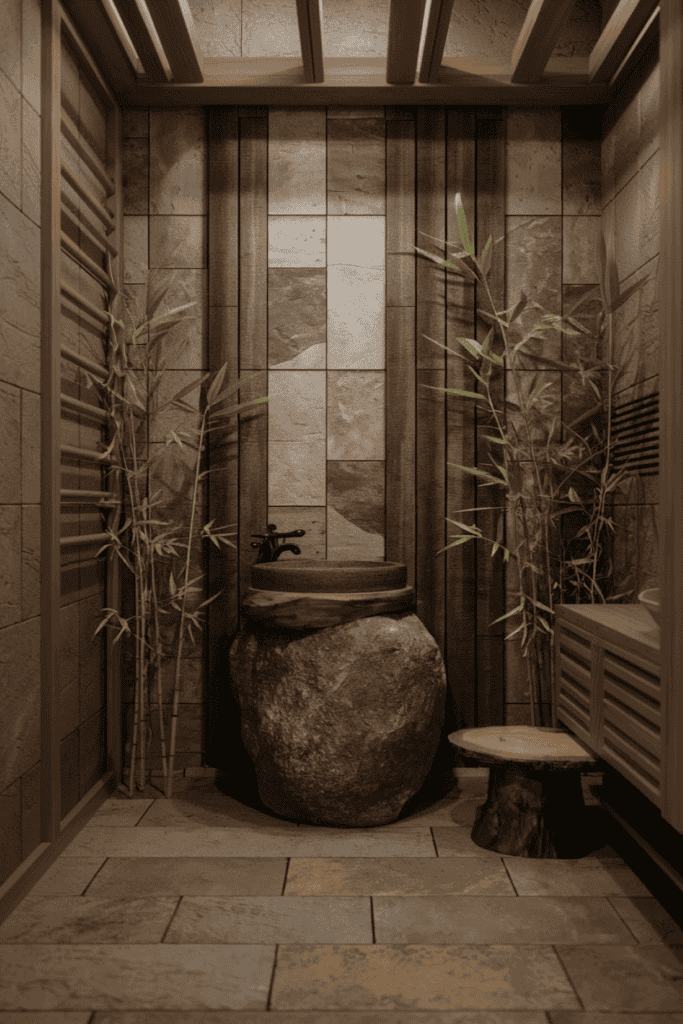
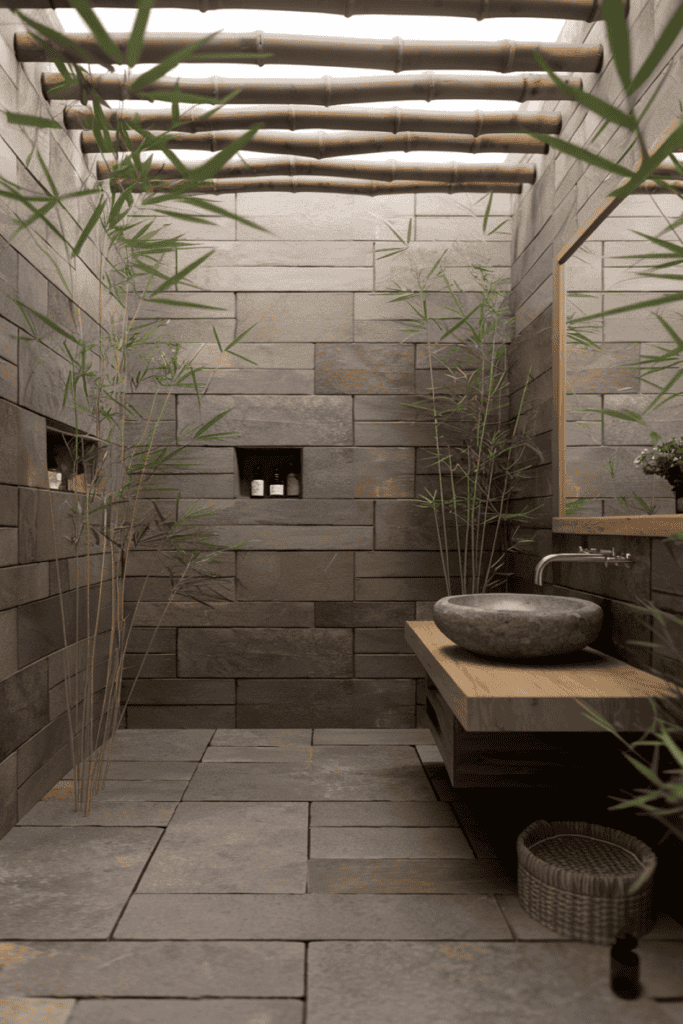
    Incorporate natural stone tiles paired with wooden accents. Opt for a stone basin and wood vanity for an earthy, natural feel. A few carefully placed bamboo plants add a touch of nature and a calming effect. Use soft, diffused lighting to create a warm, inviting atmosphere, and consider adding a wooden bath caddy for a luxurious touch. Choose towels in neutral tones to maintain the natural color palette, and keep accessories minimal to avoid clutter.

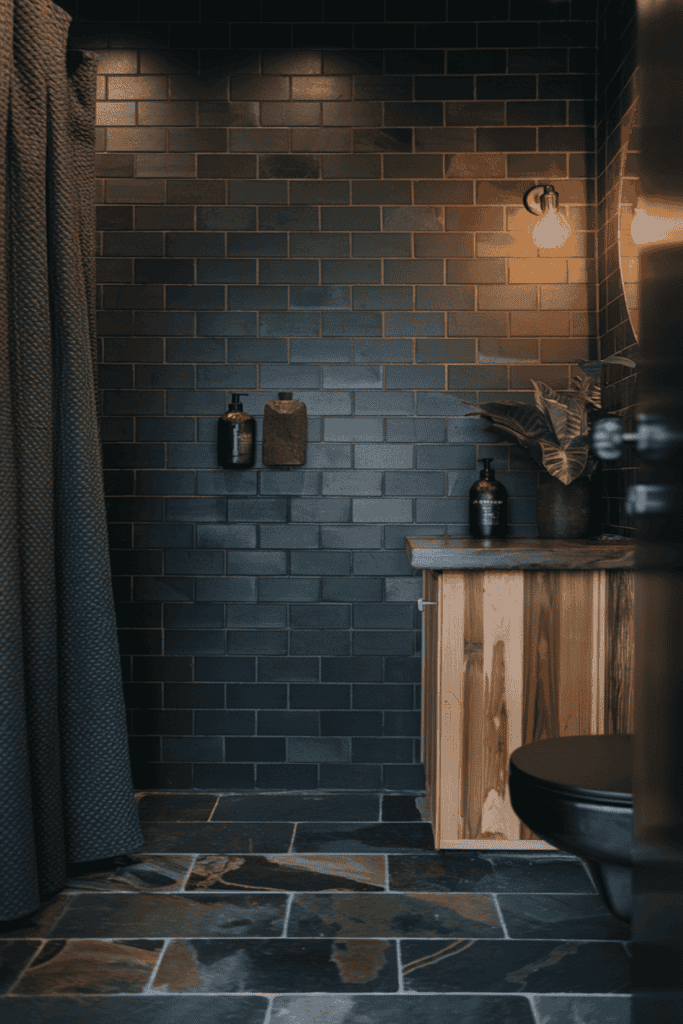
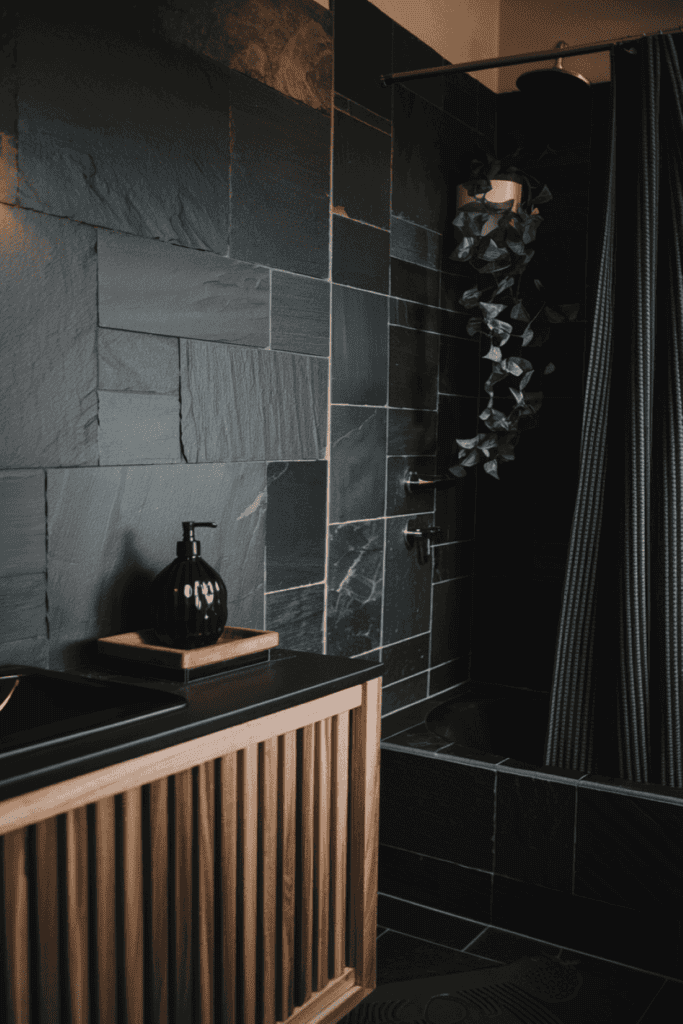
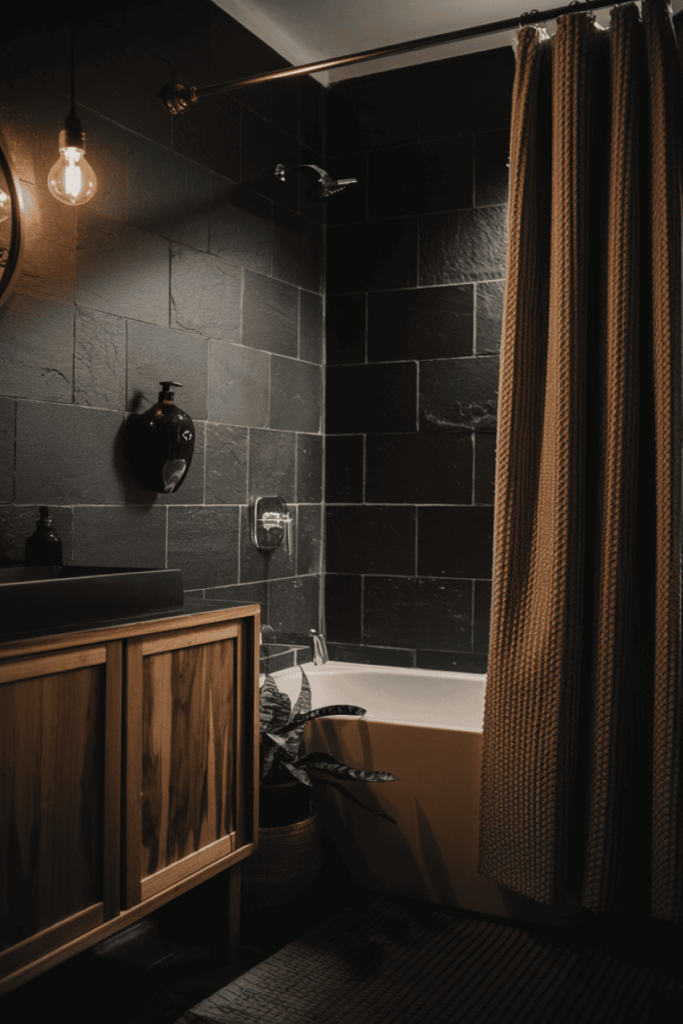
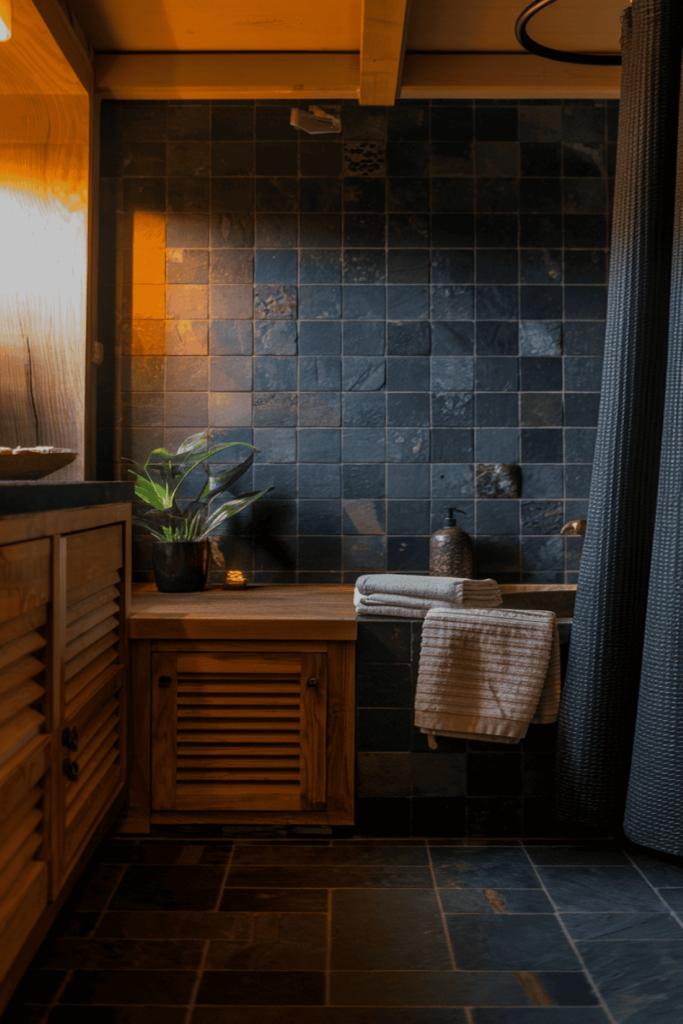
    Dark Zen

    Use dark tiles or slate to create a moody atmosphere. Balance the darker tones with natural wood shelving or cabinetry. Soft, warm lighting helps to maintain a relaxing ambiance. Add a few minimalist accessories, such as a dark ceramic soap dispenser or a wooden tray for toiletries. Use a textured shower curtain or glass partition to add interest, and consider adding a small, recessed shelf in the shower area for convenience and style. A single potted plant can bring a touch of life to the otherwise moody space.

    Minimalist Elegance

    Opt for clean lines and a monochrome palette. A wall-mounted vanity and minimal hardware keep the space looking sleek. Use organic elements like a simple clay vase with a sprig of greenery to add softness. Incorporate built-in shelving to keep toiletries organized and out of sight. Use a frameless mirror to enhance the minimalist look, and consider a rainfall showerhead for a luxurious, spa-like experience. Keep towels and bath mats in neutral tones to maintain the clean, elegant aesthetic.

    Japandi Dining Room

    The dining room in a Japandi home should be functional yet elegant, with an emphasis on natural materials and uncluttered space. It is a place for gathering, sharing meals, and enjoying the simplicity of good design.

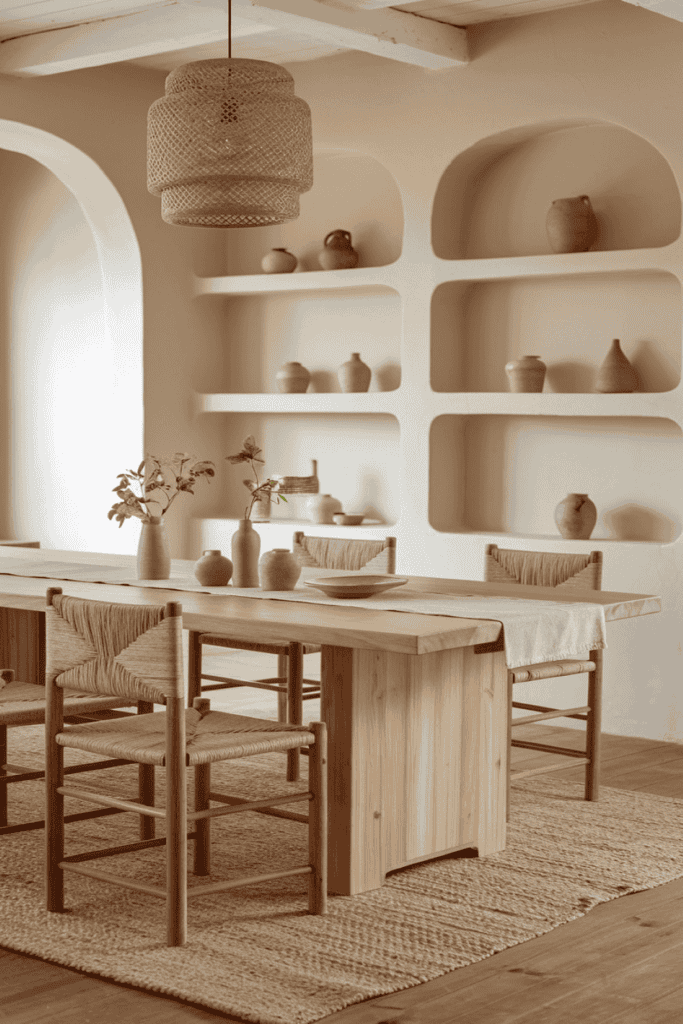
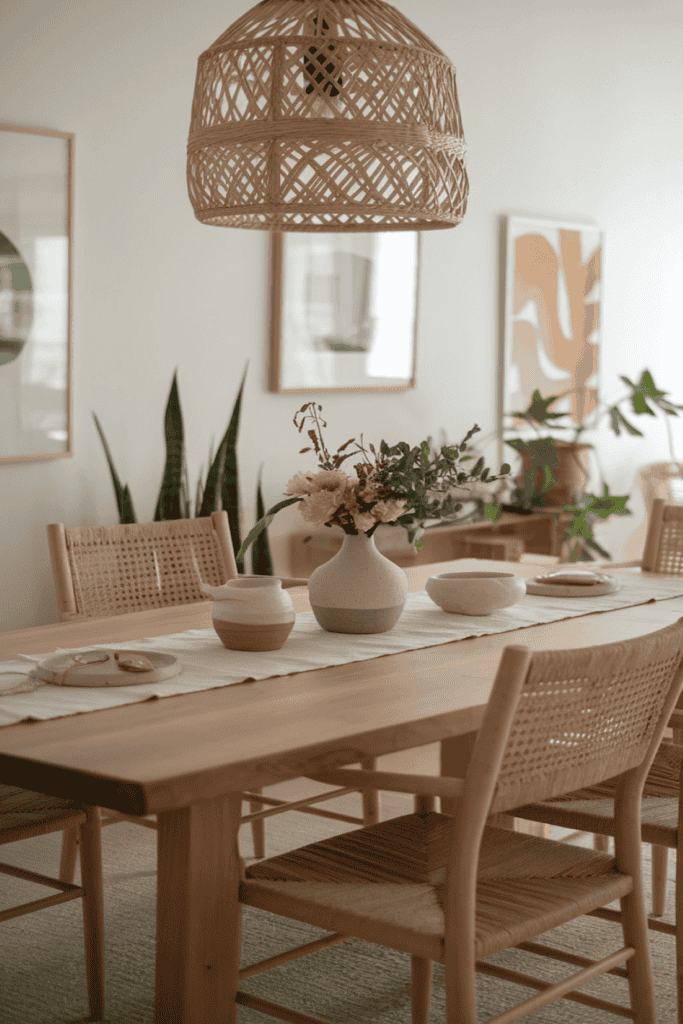
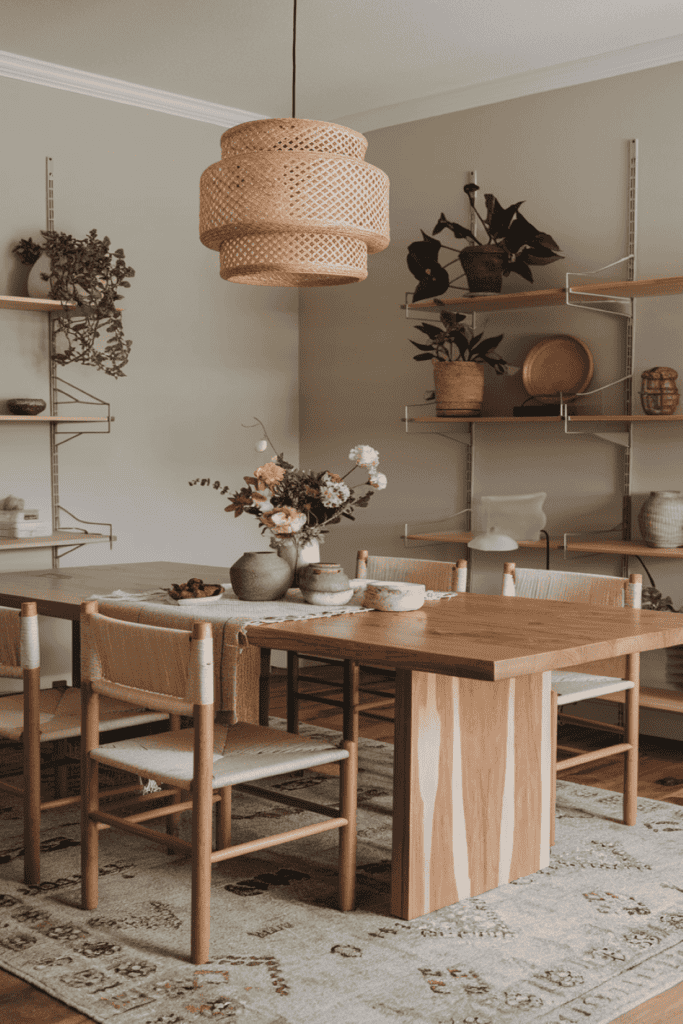
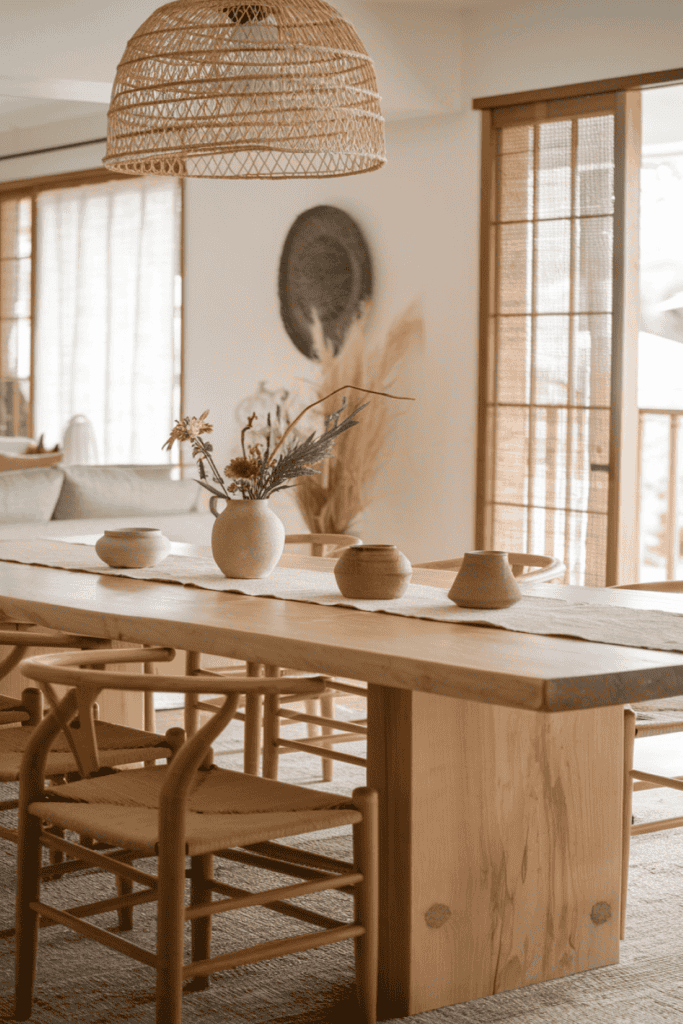
    Natural Gathering

    Use a solid wood dining table in a light finish with simple, natural fiber chairs. Keep the table setting minimal, with a neutral table runner and a small vase of seasonal flowers. Consider adding a woven pendant light above the table to create a warm, inviting atmosphere. Use handmade ceramics for tableware to add a personal touch, and keep additional decor to a minimum. A simple sideboard in a matching wood tone can provide extra storage while maintaining the cohesive look.

    Low Seating Tradition

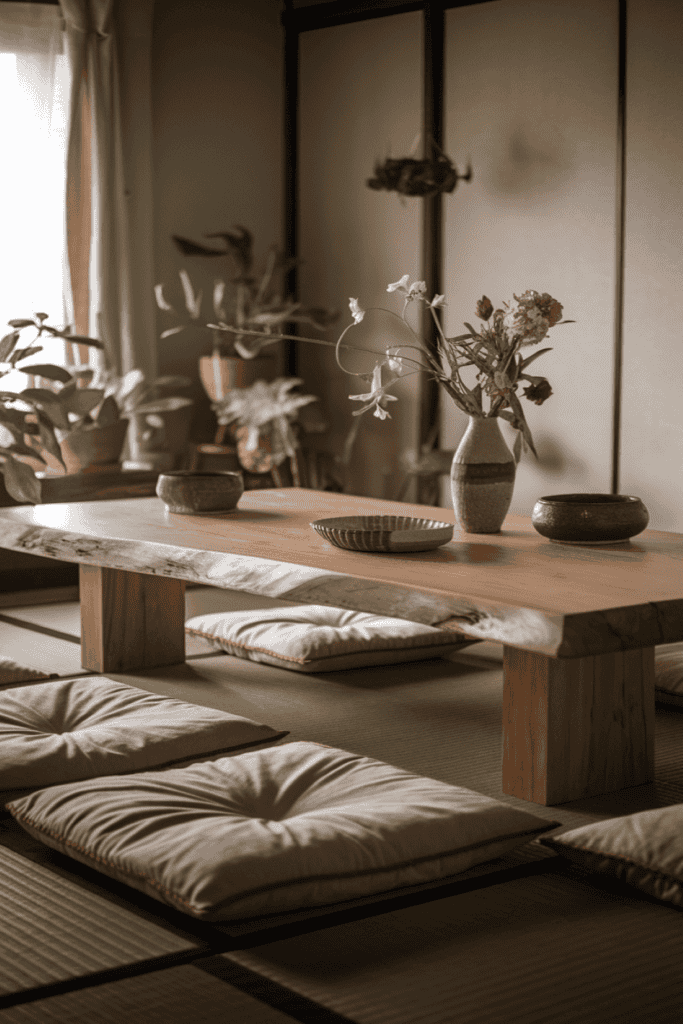
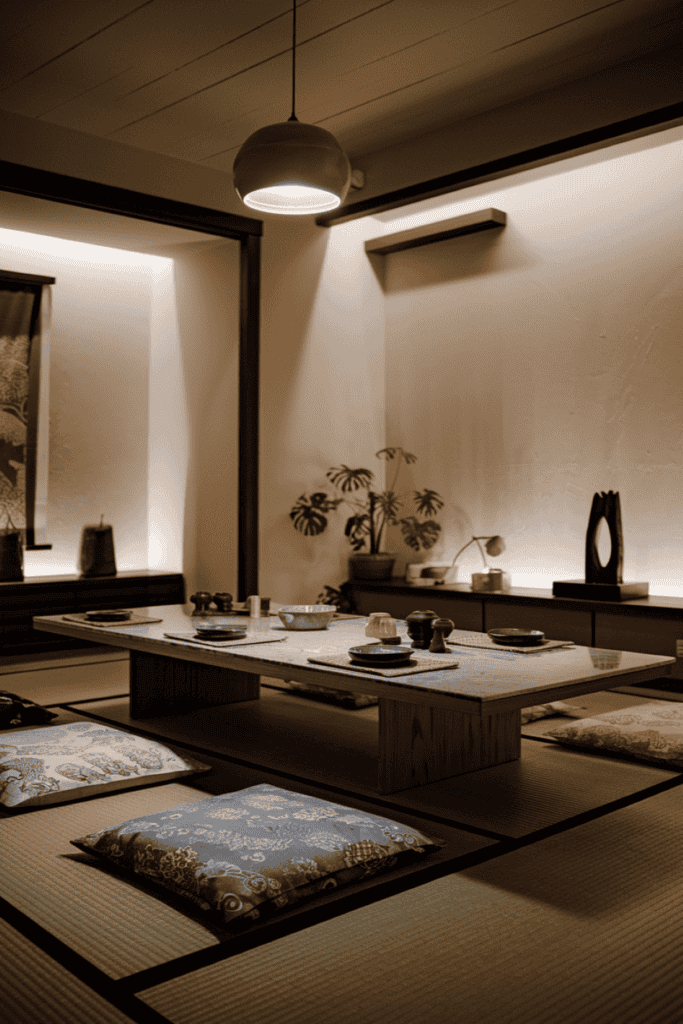
    Incorporate a low-profile dining table with floor cushions or low stools for a more Japanese-inspired setup. Keep the palette neutral and use handmade ceramics to add character to the dining experience. Use a tatami mat under the table to enhance the traditional feel, and consider adding a low, open shelf for displaying decorative items. Soft, diffused lighting can help create a cozy, intimate atmosphere, perfect for shared meals and relaxed gatherings.

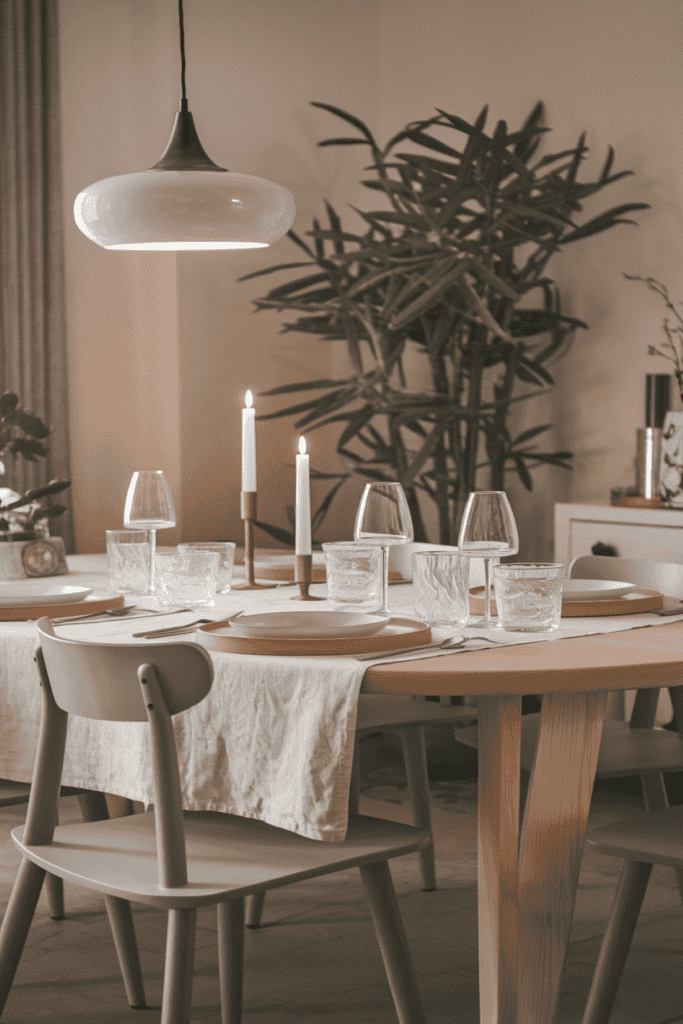
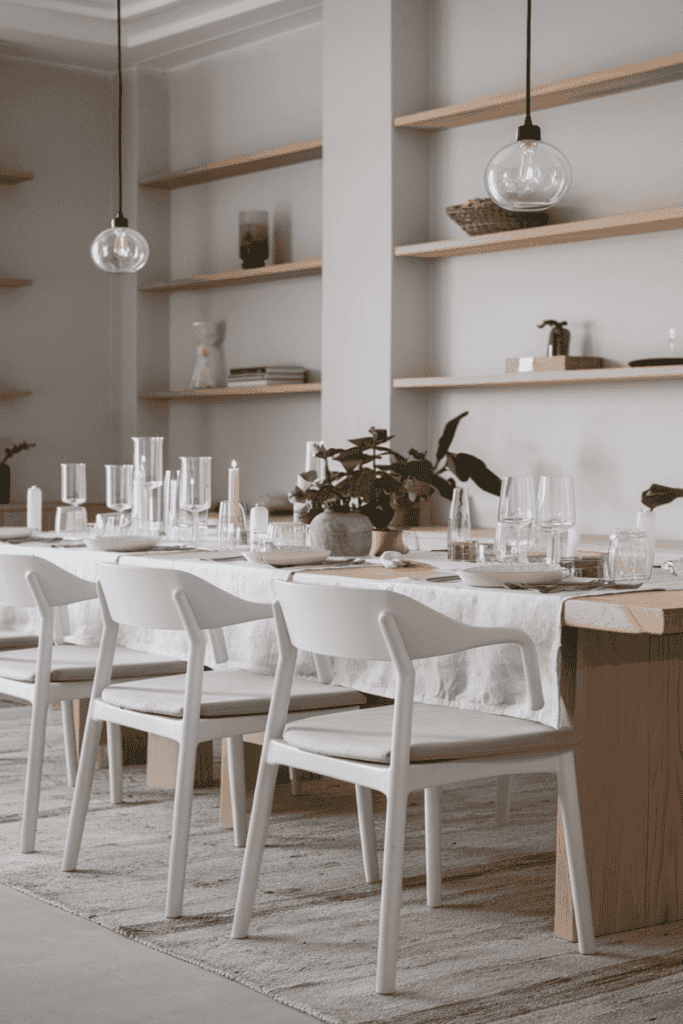
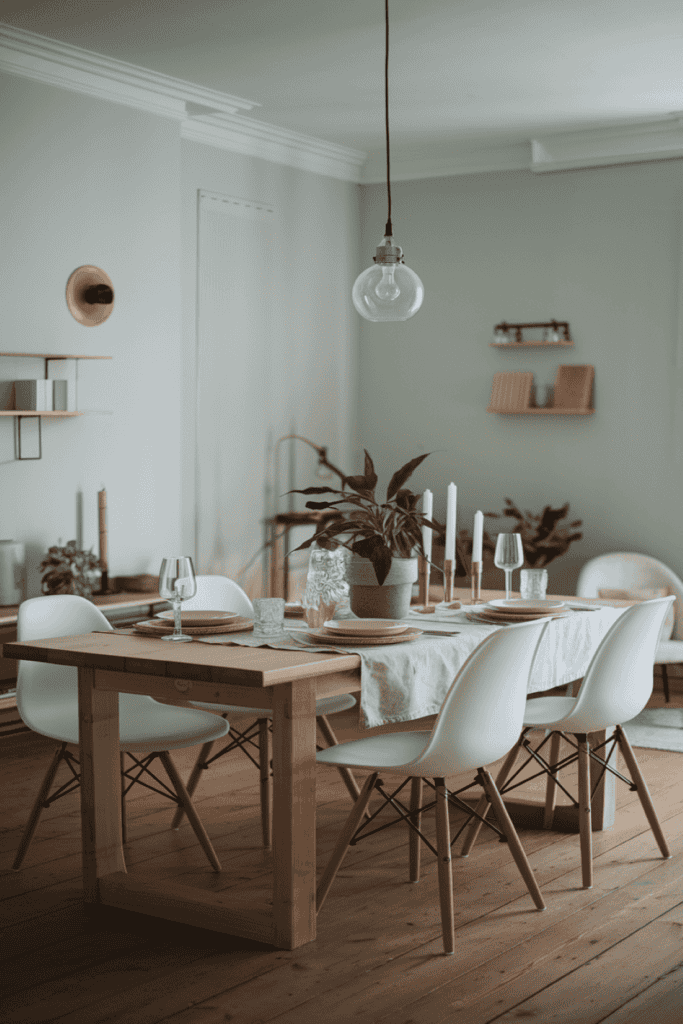
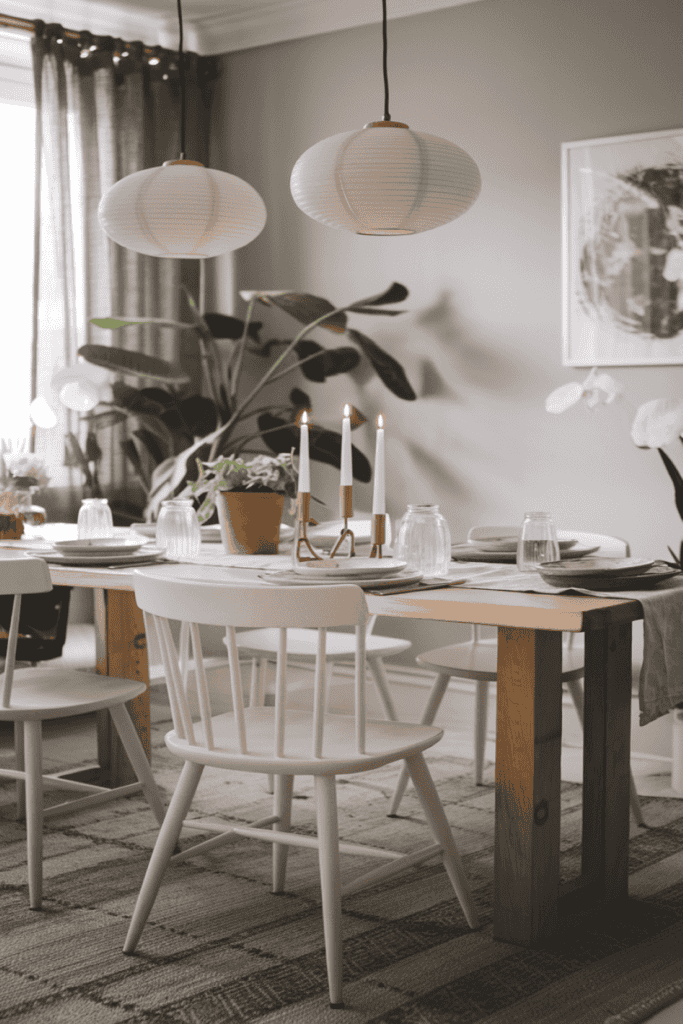
    Scandinavian Simplicity

    Go for a classic Scandinavian look with white or light grey chairs paired with a natural wood table. Use pendant lighting above the table to create a warm, inviting atmosphere. Add a simple linen tablecloth or placemats to enhance the cozy feel, and use clear glassware for an understated, elegant touch. Incorporate a few decorative items, such as a small potted plant or a cluster of candles, to add warmth without cluttering the space.

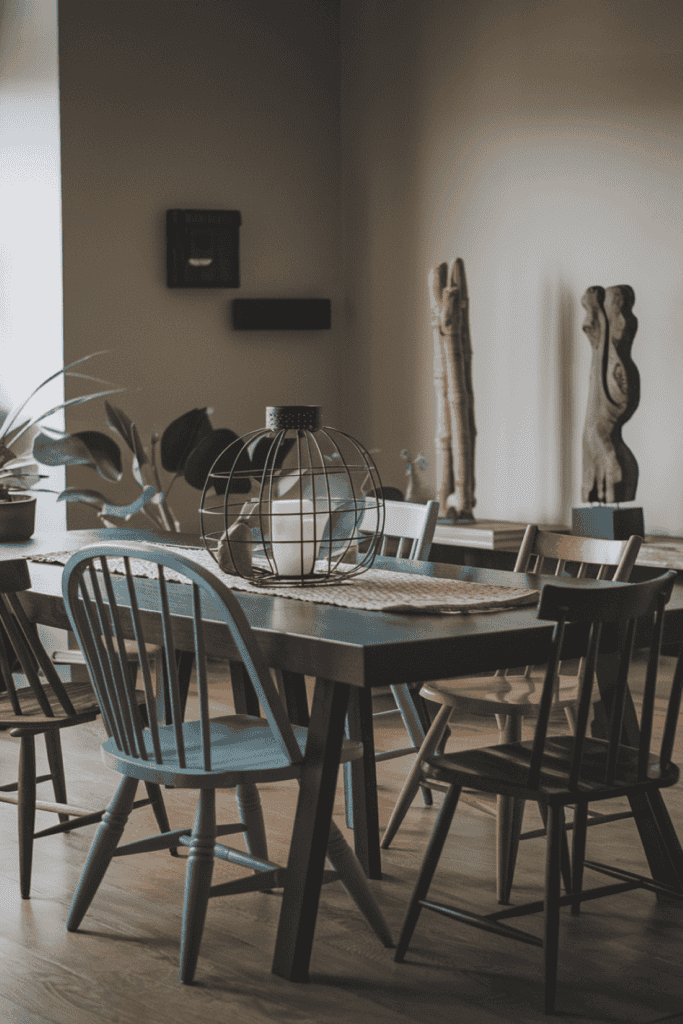
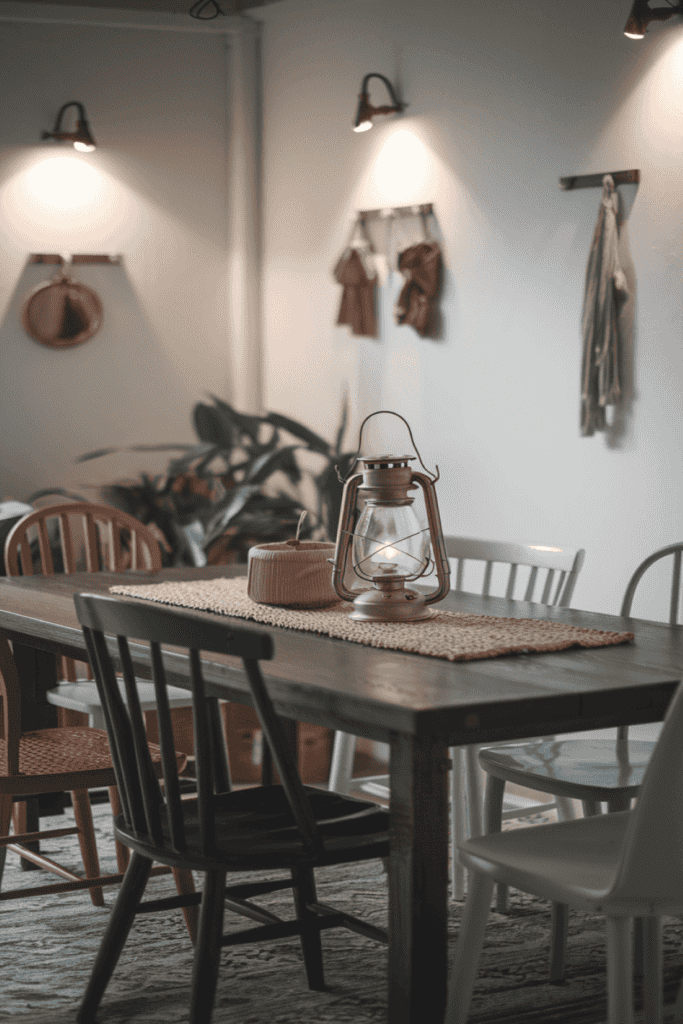
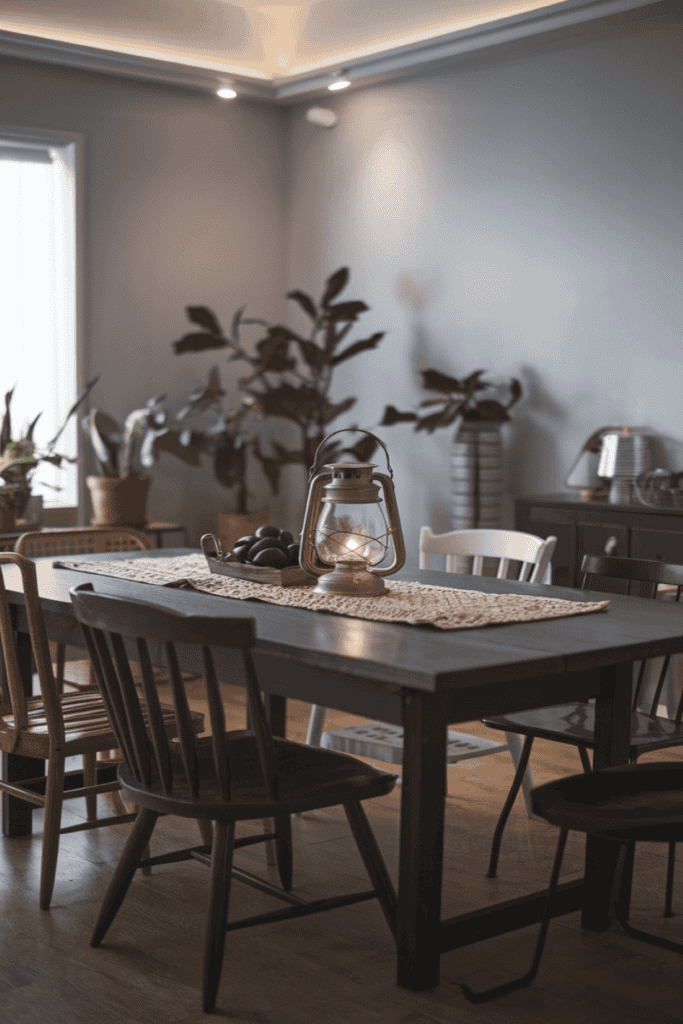
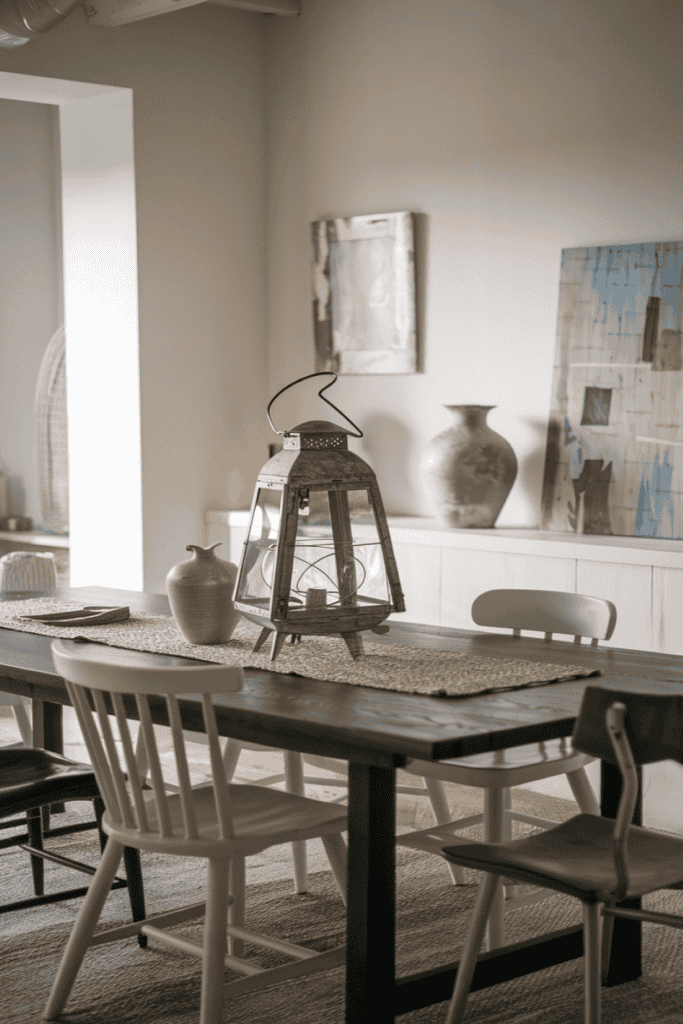
    Rustic Modern

    Opt for a dark wood table with mismatched chairs in similar tones for a more rustic take on Japandi. Keep decoration minimal, and let the texture of the wood and the simplicity of the design speak for itself. Use a woven table runner to add texture, and consider adding a few vintage-inspired pieces, like a metal lantern or a ceramic vase, for character. Soft, ambient lighting can help create a warm, welcoming atmosphere, perfect for family dinners and entertaining guests.

    Japandi Style Offer something for everyone

    Japandi style is all about simplicity, nature, and a sense of calm. Each room of the home can be adapted to reflect this harmonious blend of Japanese and Scandinavian aesthetics while still allowing for individual variations that suit your personal style. Whether you lean towards light and airy or dark and moody, the key to Japandi is embracing the beauty of simplicity and natural materials. By carefully choosing elements that bring warmth, functionality, and tranquility, you can create a home that is not only visually pleasing but also deeply comforting and serene.

    [/et_pb_text][/et_pb_column] [/et_pb_row] [/et_pb_section]
  • 20 Irresistible Boho Bedroom Ideas That Will Make You Fall in Love with Your Space

    20 Irresistible Boho Bedroom Ideas That Will Make You Fall in Love with Your Space

    Bohemian (or Boho) style is known for its relaxed, eclectic, and artistic aesthetic. It embraces natural elements, vibrant colors, and a mix of textures to create a cozy and inviting space. Here are 20 inspiring ideas for designing a Boho style bedroom, each with a unique twist to suit different preferences.

    1. Embrace Bold Colors

    Use a vibrant color palette with rich reds, oranges, and blues. Consider adding tapestries or wall hangings to create a dramatic effect. Add colorful cushions and throws to the bed to make the space feel lively and inviting.

    Tip: Balance bold colors with neutral-toned bedding to avoid overwhelming the space.

    2. Layered Textiles

    Incorporate different textiles such as throws, rugs, and cushions. The more layers, the cozier the feel. Use different patterns and textures to add depth and character to the room.

    Tip: Mix textures like cotton, wool, and velvet to add depth and warmth.

    3. Add Greenery

    Bring nature indoors with a variety of houseplants. Plants like ferns and monstera fit perfectly into the Boho aesthetic. Consider placing plants at different heights to create visual interest.

    Tip: Use macramé plant hangers to add a touch of handmade charm.

    4. Mix Patterns

    Don’t be afraid to mix and match patterns—floral, geometric, and tribal prints can all coexist in a Boho bedroom. Use patterned bedding, curtains, and cushions to create a rich and eclectic look.

    Tip: Use a unifying color to tie different patterns together.

    5. Low-Level Furniture

    Opt for low-to-the-ground furniture like platform beds to give your room a relaxed and grounded feel. Add a low coffee table or bench to enhance the laid-back vibe.

    Tip: Add floor cushions for extra seating and a laid-back vibe.

    6. Vintage Finds

    Incorporate vintage furniture or decor pieces to add character and uniqueness to the room. Look for unique pieces like an old dresser or a vintage chair to make the space feel curated.

    Tip: Look for distressed wood pieces or vintage mirrors to enhance the Boho charm.

    7. Canopy Bed

    Create a dreamy atmosphere with a canopy bed draped in light, flowing fabric. Use fabric in soft colors like white or pastel pink for a romantic touch.

    Tip: Use sheer curtains to keep the look light and airy.

    8. Fairy Lights

    String up fairy lights to create a warm and cozy ambiance. Wrap them around the headboard or hang them along the walls to add a magical glow.

    Tip: Drape lights around the headboard or along the walls for a magical touch.

    9. Natural Materials

    Use natural materials like rattan, jute, and bamboo for furniture and decor. Incorporate a rattan chair or bamboo shelves to add an earthy element.

    Tip: A rattan headboard or jute rug can make a great focal point.

    10. Wall Art

    Decorate the walls with eclectic artwork, such as macramé, woven baskets, or framed prints. Consider using a mix of different types of wall art to create a gallery wall.

    Tip: Create a gallery wall to showcase different textures and colors.

    11. Earthy Tones

    Use earthy tones like terracotta, mustard, and olive green to create a warm and inviting atmosphere. Add these colors through bedding, cushions, and curtains.

    Tip: Combine earthy colors with wooden furniture for a cohesive look.

    12. Handmade Decor

    Incorporate handmade decor items such as macramé wall hangings or handwoven rugs. Handmade items add a personal touch and make the room feel more authentic.

    Tip: Look for local artisans or DIY your own pieces for a personal touch.

    13. Dreamcatchers

    Add dreamcatchers above the bed to enhance the Boho vibe. Use different sizes and colors to create an interesting display.

    Tip: Choose dreamcatchers with colorful feathers to add a pop of color.

    14. Floor Seating

    Create a cozy corner with floor cushions and poufs for lounging. Add a low coffee table and a rug to define the space.

    Tip: Add a low table to make it a perfect spot for reading or enjoying tea.

    15. Beaded Curtains

    Use beaded curtains to separate different areas of the room or as a decorative element. They add a playful and whimsical touch to the space.

    Tip: Choose natural wood or colorful beads to match your room’s palette.

    16. Woven Rugs

    Layer woven rugs with different patterns and textures to add warmth to the room. Use rugs of different sizes to create a layered effect.

    Tip: Place a large rug under the bed and smaller ones around the room for a cohesive look.

    17. Eclectic Furniture

    Mix different styles of furniture—vintage, modern, and handcrafted pieces can all work together in a Boho bedroom. Use mismatched nightstands or an eclectic mix of chairs to create a unique look.

    Tip: Don’t worry about matching; the more eclectic, the better.

    18. Hanging Chairs

    Install a hanging chair or hammock to add a playful element to the room. Use soft cushions and throws to make it extra cozy.

    Tip: Place it near a window to create a cozy reading nook with natural light.

    19. Tribal Prints

    Incorporate tribal prints through bedding, cushions, or wall art for an authentic Boho touch. Use a mix of different tribal patterns to create an eclectic feel.

    Tip: Stick to a consistent color theme to keep the look cohesive.

    20. Decorative Mirrors

    Use decorative mirrors to add light and create the illusion of more space. Choose mirrors with intricate frames that complement the Boho aesthetic.

    Tip: Choose mirrors with intricate frames to add to the Boho aesthetic.

    Conclusion

    Each of these ideas helps to create a unique and cozy Boho style bedroom. Don’t be afraid to mix colors, textures, and patterns to express your individuality. The key to Boho style is embracing an eclectic and relaxed vibe while making the space feel warm and inviting. To enhance the Boho aesthetic even further, incorporate elements from nature, vintage finds, and handmade decor that reflect your personality. Experiment with different materials, colors, and textures until you create a space that feels uniquely yours. A Boho bedroom should be a reflection of your creativity and love for eclectic, artistic elements. Let your imagination run wild, and create a space that is both visually stunning and incredibly comfortable.

  • Fall Nail Ideas: 20 Easy and Fun Styles!

    Fall Nail Ideas: 20 Easy and Fun Styles!

    Fall is a season full of colors, warmth, and fun! It’s the perfect time to make your nails look pretty. Fall nail styles aren’t just about painting your nails—they’re about having fun and being creative! From warm colors like red and orange to cute and simple designs, there’s something for everyone. In this post, we’ll look at 20 easy nail styles for fall, divided into four groups: Nature Nails, Simple Nails, Bold Nails, and Cozy Nails. Let’s get started!

    Nature Inspired Nail Styles

    Fall is when nature puts on a beautiful show, with leaves changing to bright colors like red, orange, and yellow. This transformation makes autumn a wonderful source of inspiration for nail art. With the beauty of nature as your guide, you can create nail designs that truly reflect the magic of fall. Think of delicate golden leaves, vibrant sunsets, and the earthy tones of the forest—each of these elements can be beautifully captured on your nails to celebrate the season.

    Golden Leaves

    Paint tiny gold leaves on a light beige or dark green background to make your nails look like falling autumn leaves

    Autumn Sunset

    Use orange, pink, and purple to make your nails look like a beautiful sunset in the fall

    Pumpkin Spice

    Use orange and brown with a little bit of glitter to make your nails look like pumpkins

    Woodland Wonders

    Draw tiny mushrooms, pine cones, or tree bark to make your nails look like a magical forest.

    Harvest Moon

    Paint your nails dark blue and add little gold moons or stars to look like the night sky.

    Simple Nail Designs

    Sometimes, less is more, and fall is the perfect season to showcase the beauty of simplicity. These nail styles are all about understated elegance, using soft fall colors and minimal designs to create something both chic and easy to do. Simple nail art can be just as beautiful as intricate styles, and it allows the natural warmth of fall shades to shine through. From clean lines to soft matte finishes, these designs are perfect for those who love a classic, effortless look that still captures the essence of autumn.

    Neutral Lines

    Use soft colors like cream or brown with small black or white lines for a simple design.

    Gold Accent Tips

    Instead of white tips, use gold to make your nails look fancy for fall.

    Matte Olive

    Paint your nails a soft green color for a natural fall look.

    Autumn Dots

    Add tiny dots in fall colors like red, yellow, and cream on a clear background.

    Falling Leaves Outline

    Draw simple leaf shapes with black or brown on a clear background for a nice, simple style.

    Bold Nail Styles

    Fall is a season of rich, dramatic colors, and it’s the perfect time to be bold with your nails. If you want your nails to make a statement, these styles are for you. Bold nail designs are all about vibrant colors, shiny finishes, and eye-catching patterns that celebrate the luxurious side of autumn. Whether you’re going for a deep burgundy, a metallic shimmer, or a fun plaid pattern, these nail designs are sure to turn heads and add a glamorous touch to your fall look.

    Burgundy Glam

    Paint your nails dark red and add shiny stones or glitter for a fancy look.

    Plaid Perfection

    Use red, orange, and brown to make a plaid pattern that looks like fall clothes.

    Metallic Copper

    Use shiny copper color to make your nails look like bright fall leaves.

    Vampy Red Ombre

    Blend black and dark red for a bold fall look.

    Animal Print

    Use leopard or tortoiseshell patterns in fall colors like brown and beige for a wild look.

    Cozy Nail Styles

    When the air turns crisp and the sweaters come out, it’s time for nail styles that reflect the comfort and warmth of fall. Cozy nails are all about textures and colors that make you feel snug and comfortable, just like your favorite fall clothes. From cable-knit sweater patterns to soft velvet finishes, these nail designs bring a sense of warmth and coziness to your look. If you love the feeling of wrapping up in a warm blanket with a cup of hot cocoa, these cozy nail styles are perfect for you.

    Sweater Weather

    Use matte polish to draw little sweater designs on your nails.

    Velvet Finish

    Use a special polish that looks like velvet in colors like dark red or green.

    Matte Mustard

    Paint your nails a warm yellow color with a matte finish for a soft, fall look.

    Fuzzy Accents

    Add fuzzy powder to your nails to make them look warm and cozy.

    Cinnamon Spice

    Use warm colors like red and brown to make your nails look like fall spices.

    Something For Everyone

    Whether you love nature, want something simple, like bold looks, or love cozy styles, fall nail art has something for you! Let these styles help you show the beauty of fall in your own way. What’s your favorite fall nail style? Let your nails show the story of fall!
Pin It on Pinterest